REVIEW · MELBOURNE
Great Ocean Road Grampians 2 Day Tour from Melbourne to Adelaide
Book on Viator →Operated by Wildlife Tours Australia · Bookable on Viator
Two days, two parks, one smooth ride. This Melbourne to Adelaide tour strings the Great Ocean Road with Grampians National Park into one guided trip, so you get the scenery without the driving headache. I especially like how the expert driver-tour leader handles the road while sharing nonstop local context, and how the overnight is built in with dinner, breakfast, and hostel-style lodging.
The main trade-off is comfort. You’re sleeping in a hostel setup with shared bathroom facilities in Halls Gap, and you’ll also want to be ready for a moderate level of fitness for the walking portions.
In This Review
- Key Reasons This Tour Fits the Way You Actually Travel
- How This Overnight Melbourne to Adelaide Plan Makes Sense
- Leaving Melbourne: The Morning That Kicks Off the Adventure
- Great Ocean Road Memorial Arch: Quick, Meaningful, and Photogenic
- Apollo Bay Lunch Stop: A Seaside Break With Real Choices
- Great Otway National Park Rainforest Walk: The Quick Reset
- The Twelve Apostles: The Main Event (Plan for Wind and Rain)
- Loch Ard Gorge: A Short Stop With Strong Atmosphere
- Halls Gap Arrival: Late Day, Early Night (or Early Sunrise)
- Hostel-Style Sleep in Halls Gap: What You Should Expect
- Grampians National Park Day Two: Wildlife, Waterfalls, and Big Views
- MacKenzie Falls Hike: A Short Walk to a Real Waterfall
- The Balconies: The Most Stamina-Heavy Viewpoint
- Horsham Stop: A Break Before You Push Toward Adelaide
- Rolling Into Adelaide Around 7:30pm
- Price and Value: Is $340.69 Worth It?
- Group Size and Coach Comfort: 23 People Is Manageable
- What to Pack for Coast Wind and Grampians Walking
- Should You Book This Tour? My Quick Call
- FAQ
- How long is the Great Ocean Road and Grampians 2 Day Tour?
- What is the price per person?
- What meals are included?
- What type of accommodation is provided overnight?
- How many people are in the group?
- What kind of walking is involved?
- Where does the tour start and end?
Key Reasons This Tour Fits the Way You Actually Travel
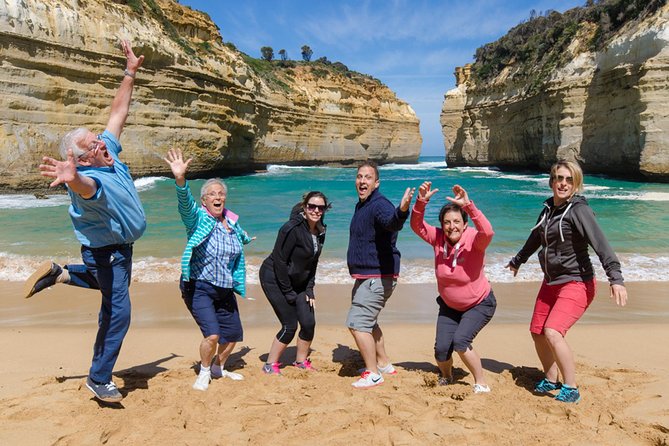
- Driving is handled for you, so you can focus on cliffs, bays, and viewpoints instead of navigation.
- Two National Park days with guided stops, including rainforest walking and short hikes to major lookouts.
- Meals are included (dinner, lunch, breakfast), plus lots of chances to grab extra food along the way.
- Small group size (max 23) on an air-conditioned mini-coach, which keeps the pace manageable.
- Wildlife and park access are part of the plan, including national park fees and wildlife sightings in natural habitat.
- Day two starts early enough to help you catch viewpoints before crowds build.
How This Overnight Melbourne to Adelaide Plan Makes Sense
This is a smart way to connect Melbourne and Adelaide if you don’t want a long, uncomfortable transit day. Instead of racing between cities, you spend daylight on the Shipwreck Coast and the Grampians, then sleep mid-trip and roll into Adelaide late evening.
I like the rhythm here: you travel by air-conditioned mini-coach, you get guided stops for the big hits, and you’re not stuck with the full weight of planning. It’s also a nice option if you’re traveling with limited time and still want classic Victoria scenery.
The schedule is tightly packed, but it’s built around short, doable walking chunks and frequent photo breaks. If you can handle a moderate fitness level, the payoff is huge: dramatic coast one day, sandstone ranges and waterfalls the next.
A few more Melbourne tours and experiences worth a look
Leaving Melbourne: The Morning That Kicks Off the Adventure
The tour meets at the Immigration Museum, 400 Flinders St, Melbourne at 7:35am. From there, you’re on the road with a driver-tour leader who provides local commentary as you go, so the trip feels like travel with a story, not just transport.
You won’t be sitting around much at the start. The first stops happen quickly, which is great if you hate wasting your morning. It’s also the kind of pacing that helps you avoid running out of daylight once you reach the coastal viewpoints.
Great Ocean Road Memorial Arch: Quick, Meaningful, and Photogenic
Your first major roadside moment is the Great Ocean Road Memorial Archway stop. It’s a short photo break, but it matters because it sets the tone. The Great Ocean Road is not just about scenery; it’s also about the historical significance of the route.
This is the kind of stop that works even if you’re not a big history person. You stretch your legs, get the shot, then move on while everyone is still fresh.
Apollo Bay Lunch Stop: A Seaside Break With Real Choices

Next up is Apollo Bay, a surfy seaside town vibe with an esplanade full of options. The tour schedule gives you around 45 minutes, which is just enough time to grab something that fits your appetite—coffee, a quick bite, or a sit-down meal if you find the right spot.
One practical tip: treat this like your chance to refuel for the next few stops. After Apollo Bay, you’ll be stacking viewpoints and short walks, and the day moves fast.
Great Otway National Park Rainforest Walk: The Quick Reset
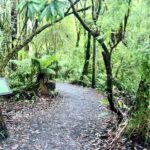
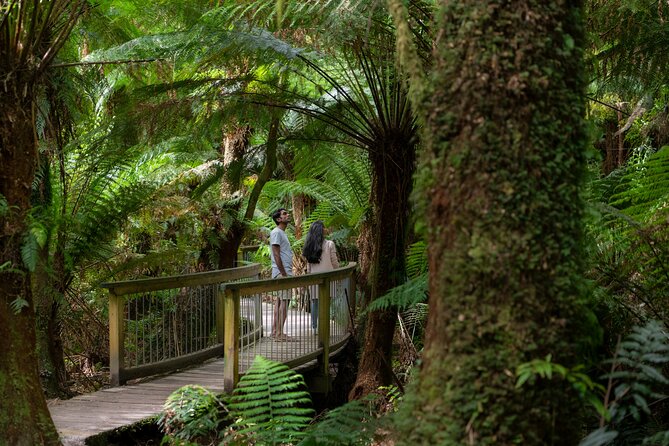
After lunch, you head to Great Otway National Park for a guided walk through towering rainforest. You’re not spending the entire day hiking here—this is more like a nature reset, a switch from sea views to green shade and tall trees.
This stop is only about 30 minutes, but that short guided chunk can be a great breather. If the rest of the trip feels very “lookout, photo, move on,” the rainforest portion adds contrast and keeps the day from feeling one-note.
Bring a light layer even in warm weather. Coastal Victoria can change fast, and rainforest paths can stay cooler.


The Twelve Apostles: The Main Event (Plan for Wind and Rain)
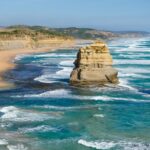
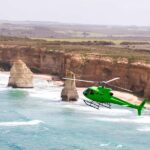
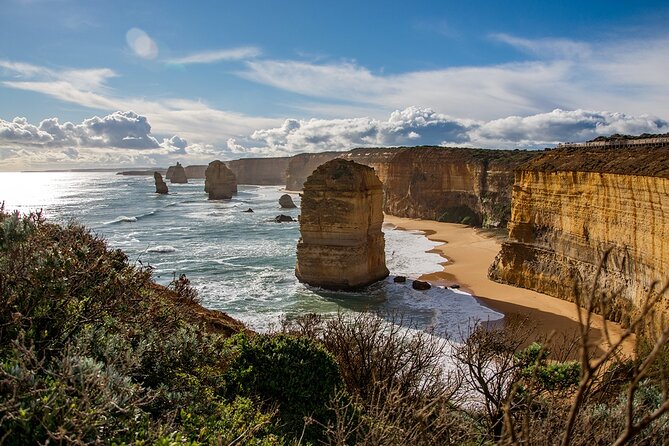
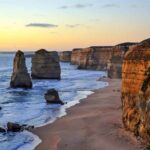
The Twelve Apostles are the headline stop, and you get about 45 minutes here. You’ll walk the cliffside boardwalk, which is the best way to see the limestone formations and take photos safely.
This is also where the tour’s weather reality shows up. On one trip, the Great Ocean Road day was bright and breezy with sharp showers, and the waves were high—photos looked incredible, but people did get drenched at times. The lesson is simple: pack for damp conditions even if the morning looks fine.
Practical move:
- Wear shoes you’re comfortable getting wet.
- Bring a rain shell or poncho that won’t blow away.
- If it’s windy, keep your camera/phone secure during boardwalk moments.
The boardwalk time is long enough to enjoy the views without feeling rushed. Still, if you’re the type who likes ten angles of the same spot, you’ll want to move deliberately so you don’t lose daylight.
Loch Ard Gorge: A Short Stop With Strong Atmosphere

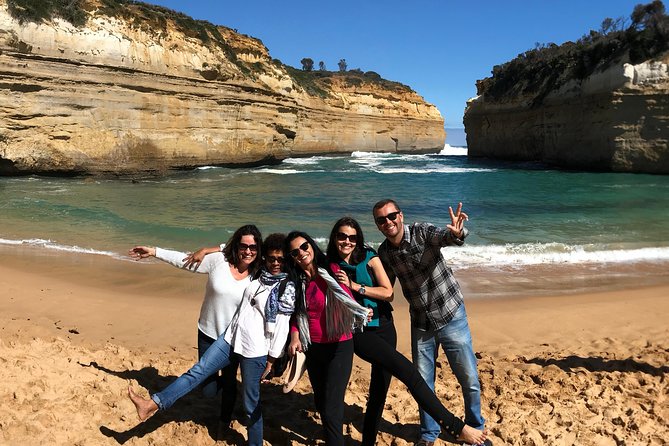
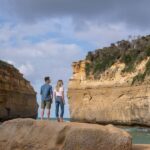
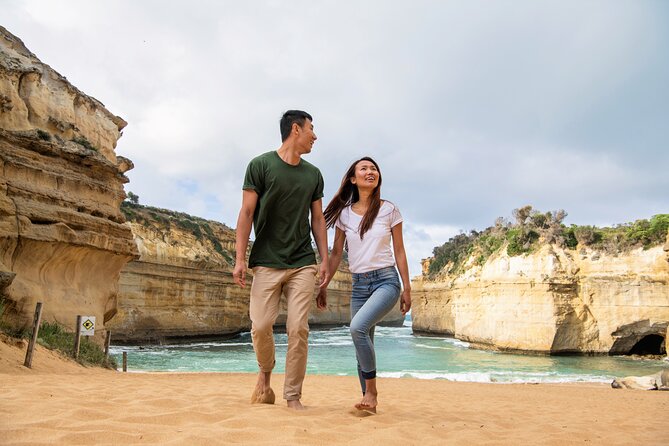
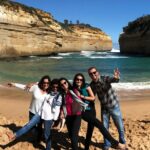
You then head to Loch Ard Gorge, about a 20-minute stop. The scenery here is dramatic—limestone cliffs and a secluded beach feel straight out of a shipwreck story, especially along the Shipwreck Coast.
This is a good “in-between” stop: it’s not as time-consuming as the Apostles, but it adds mood. The limited time also means you’ll likely get just enough without feeling exhausted before the tour switches to inland.
Halls Gap Arrival: Late Day, Early Night (or Early Sunrise)
On day one, the tour leaves the coast and heads inland to Halls Gap near the Grampians. You arrive for a shared hostel-style stay with breakfast included, plus dinner is part of the package.
The schedule notes that you arrive late, so don’t plan on doing much beyond settling in and resting. This is the part of the trip where you’ll really feel that hostel trade-off: shared bathroom facilities, communal vibes, and the reality of hostel sleep comfort.
If you want to maximize your Grampians day two, you’ll probably want an early night. If you’re a sunrise person, you’ll be in the right place for it.
Hostel-Style Sleep in Halls Gap: What You Should Expect
This tour includes 1 night of hostel shared accommodation in Halls Gap with share bathroom facilities. That’s the detail that can make or break this experience for some people.
I see this tour as a value play: the money is clearly going into transport, guiding, park access, and the big stops. You’re not paying for hotel beds. If you already know you hate hostel conditions, factor that in before you book.
If you can handle simple lodging, the benefit is you keep the trip moving and you get the next morning in the Grampians without needing to arrange anything yourself.
Grampians National Park Day Two: Wildlife, Waterfalls, and Big Views
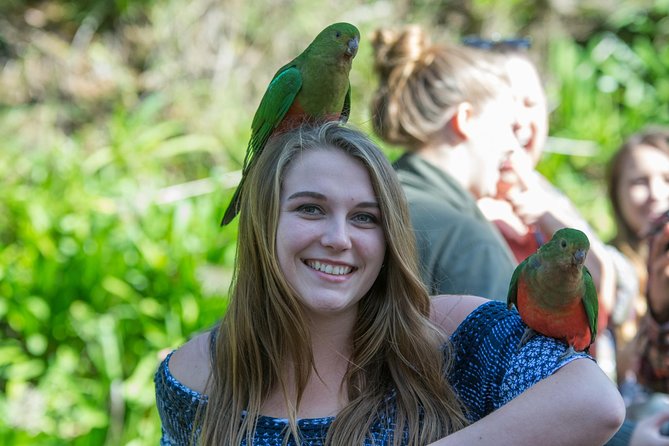
Day two begins inside Grampians National Park, with time set aside to experience the park’s mix of wildlife and walking areas. The park is known for animals like kangaroos, wallabies, koalas, emus, birds, and echidnas, plus plenty of plant life.
Even if you don’t spot everything, the point is that you’re in the right habitat and you’re not just driving past scenery. You’re stopping and moving through key areas long enough to feel like you’re actually in the national park, not just touring it.
You’ll then head to Reed Lookout for about 45 minutes. This is a viewpoint walk with mountain air and room to pause, take photos, and reset before the more physical sections later.
MacKenzie Falls Hike: A Short Walk to a Real Waterfall
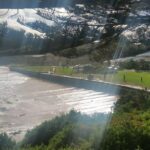
Next is MacKenzie Falls, where you hike down to the base of the falls. This is listed as a 30-minute walk, and it’s a “pleasant walk with beautiful views” kind of effort, not an all-day trek.
Still, treat it like a real hike. That means:
- good shoes (you might be walking on uneven ground),
- water if you typically carry it,
- and a light layer if weather shifts.
This stop is one of the best examples of why this tour works as a two-day plan. You’re not just seeing the waterfall from far away—you’re getting closer, and that changes how it hits.
The Balconies: The Most Stamina-Heavy Viewpoint
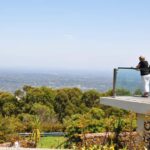
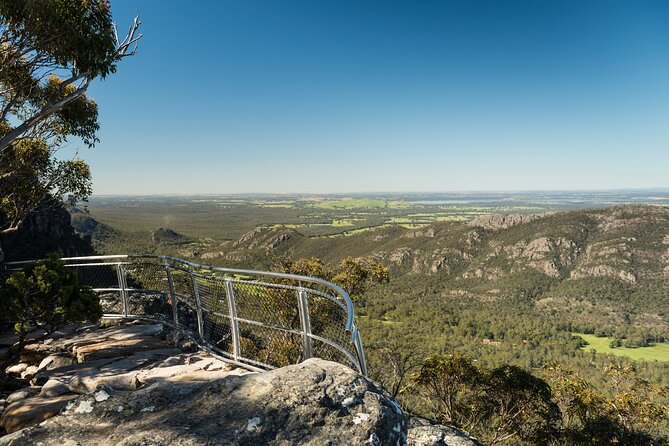
Then comes The Balconies, sometimes nicknamed Jaws of Death. You hike your way to the lookout for sweeping panoramas over Victoria Valley and surrounding ranges, with about 45 minutes allotted.
This is the moment where the moderate fitness requirement matters. The walking here is short, but it’s not necessarily flat. If you’re confident on your feet, you’ll enjoy it. If you’re nursing knee issues or hate uneven terrain, be honest with yourself before committing.
The reward is the wide-open view. You’ll likely feel like the Grampians are finally giving you their full personality—sandstone edges, distance, and that big-range feeling that’s hard to replicate in cities.
Horsham Stop: A Break Before You Push Toward Adelaide
After the big Grampians stops, you take a 45-minute break in Horsham. This gives you time to stretch, use facilities if needed, and grab something if you want extra food beyond the included meals.
It’s also a mental pause. After climbing and looking up at cliffs, changing gears to a town stop helps everyone reset before the final leg.
Rolling Into Adelaide Around 7:30pm
You’ll continue back toward Adelaide, arriving in the city around 7:30pm. The tour includes guided overland travel back to Adelaide city centre, and the late finish is a common part of this kind of overnight schedule.
By the time you hit Adelaide, you’ll probably be tired in a good way: you’ve seen coast landmarks, walked rainforest, hiked to waterfalls and lookouts, and done it with less stress than driving yourself.
Price and Value: Is $340.69 Worth It?
At $340.69 per person, this tour isn’t cheap in the plain sense. But it does include a lot that usually costs extra when you plan on your own: air-conditioned transport, a driver-tour leader, dinner + lunch + breakfast, 1 night hostel accommodation, national park fees, and guided walking time at key places.
You’re also buying convenience. The main value isn’t just the price tag—it’s that you’re not juggling schedules between cities, booking separate stays, or coordinating transport across two major natural regions.
Where you should be careful is lodging comfort. If you’re the kind of traveler who wants hotel-style privacy and quiet, this “value” can feel less valuable. But if you’re fine with simple hostel conditions and want the sights without the logistics, the price starts to feel like a fair deal.
Also note that this tour is booked far in advance on average. That’s a hint it’s popular, so if you know you want it, don’t leave it until the last minute.
Group Size and Coach Comfort: 23 People Is Manageable
The tour runs on an air-conditioned mini-coach with a maximum of 23 travelers. That size matters. It’s small enough that the day doesn’t feel like a cattle lineup, but large enough that you’re still getting the group energy.
You’re with the same group across both days, which also makes the experience smoother. Less chaos at each stop, more shared pacing.
If you’re sensitive to noise at hostels or in shared spaces, keep that in mind. If you’re easygoing and just want to get outside, this format usually feels like the sweet spot.
What to Pack for Coast Wind and Grampians Walking
Based on real weather patterns on this route, plan for the possibility of sharp showers and wind. The Great Ocean Road can go from bright to wet fast, and the waves can be intense enough to soak you if you’re near the edges.
Bring:
- A rain shell (not just an umbrella).
- Shoes that handle wet ground for boardwalks and hikes.
- A light layer for the cooler elevated air in the ranges.
- Any basic meds you rely on, since you’ll be moving and stopping frequently.
Also pack with the hostel night in mind. Even if you’re not told what’s provided, assume hostel-style basics can be simple. If you like comfort, bring your own travel towel or toiletries.
Should You Book This Tour? My Quick Call
I think this tour is a great fit if you want a guided, two-day Melbourne to Adelaide connection that actually includes two top nature regions: Great Ocean Road plus Grampians.
Book it if:
- You’re okay with hostel-style overnight and shared bathroom facilities.
- You can do short hikes and lookout walks with a moderate fitness level.
- You want your transport and timing handled so you can just enjoy the views.
Consider another option if:
- You need hotel-level comfort and privacy.
- Walking on uneven terrain feels like a dealbreaker.
- You hate the idea of getting wet on a windy coastal day.
If you go in with realistic expectations about the hostel night and come prepared for weather, you’ll get a packed but satisfying route with a lot of Victoria highlights in a very efficient format.
FAQ
How long is the Great Ocean Road and Grampians 2 Day Tour?
It runs for about 2 days, with pickup in Melbourne at 7:35am and arrival in Adelaide around 7:30pm on the second day.
What is the price per person?
The price is $340.69 per person.
What meals are included?
Dinner on day one, lunch (during the day one stop), and breakfast on day two are included.
What type of accommodation is provided overnight?
You stay for 1 night in hostel-style shared accommodation in Halls Gap, with share bathroom facilities.
How many people are in the group?
The tour has a maximum of 23 travelers.
What kind of walking is involved?
You need a moderate fitness level for the walks, including guided walking and hikes to places like MacKenzie Falls and The Balconies.
Where does the tour start and end?
It starts at Immigration Museum, 400 Flinders St, Melbourne, and ends in Adelaide city centre (arrival about 7:30pm).