REVIEW · MELBOURNE
Melbourne: Great Ocean Road Adventure with Iconic Stops
Book on GetYourGuide →Operated by AZB TOURIST PTY LTD · Bookable on GetYourGuide
A long drive, then wow views. This 12-hour Great Ocean Road adventure pairs the Split Point Lighthouse with the big-ticket Twelve Apostles cliffs, plus stops that feel like real coastal life in Lorne and Apollo Bay. I love how the day mixes famous icons with calmer breaks like a short walk by the water and a chance to look for koalas. One thing to consider: the main lookouts are time-boxed, so you’ll want efficient photo moves—especially around the Twelve Apostles area.
The trip is built for first-time visitors who want the highlights without planning or renting a car. Pickup and drop-off are set up in central Melbourne, and a bilingual driver-guide keeps things moving with stories and practical guidance. The only real tradeoff is that you’re in a coach most of the day, so it’s not the best choice if you want to linger for hours at each stop.
In This Review
- Key takeaways before you go
- Great Ocean Road in a day: what this trip really delivers
- Price and value: $28 per person is the hook
- Pickup to drop-off: central Melbourne makes it easier
- Stop 1: Split Point Lighthouse and why it matters
- The Memorial Arch at Eastern View: fast photos, real context
- Lorne: sea breeze, quick views, and a short walk
- Anglesea River scenery break: a calmer pit stop
- Apollo Bay lunch: where the day slows down
- Barham Paradise Scenic Reserve: koala spotting in the trees
- Twelve Apostles: big limestone drama, limited time
- Loch Ard Gorge: dramatic cliffs and a quieter mood
- The ride back: Winchelsea refresh and returning to Melbourne
- Who this tour suits best (and who should think twice)
- Small practical tips that make a real difference
- FAQ
- FAQ
- How long is the Melbourne Great Ocean Road adventure?
- Where are the pickup and drop-off locations in Melbourne?
- What are the major stops on the route?
- Is food included in the price?
- What languages are offered on the tour?
- Is this tour wheelchair accessible?
- What’s included in the price besides transportation?
- Are there any restrictions during the tour?
- What is the cancellation policy window?
- Should you book this Great Ocean Road day trip?
Key takeaways before you go
- Split Point Lighthouse plus the Memorial Arch: quick, iconic photo stops with context, not just scenery.
- Lorne and Apollo Bay stops: enough time to reset your legs, then grab lunch by the coast.
- Koala chances near Barham Paradise: eucalyptus trees and a nature-focused pause on the way.
- Twelve Apostles + Loch Ard Gorge: two of the dramatic limestone set pieces, both with solid viewing time.
- Guides like Vance and Tony: based on past departures, you can expect humor, patience, and help with photos.
Great Ocean Road in a day: what this trip really delivers
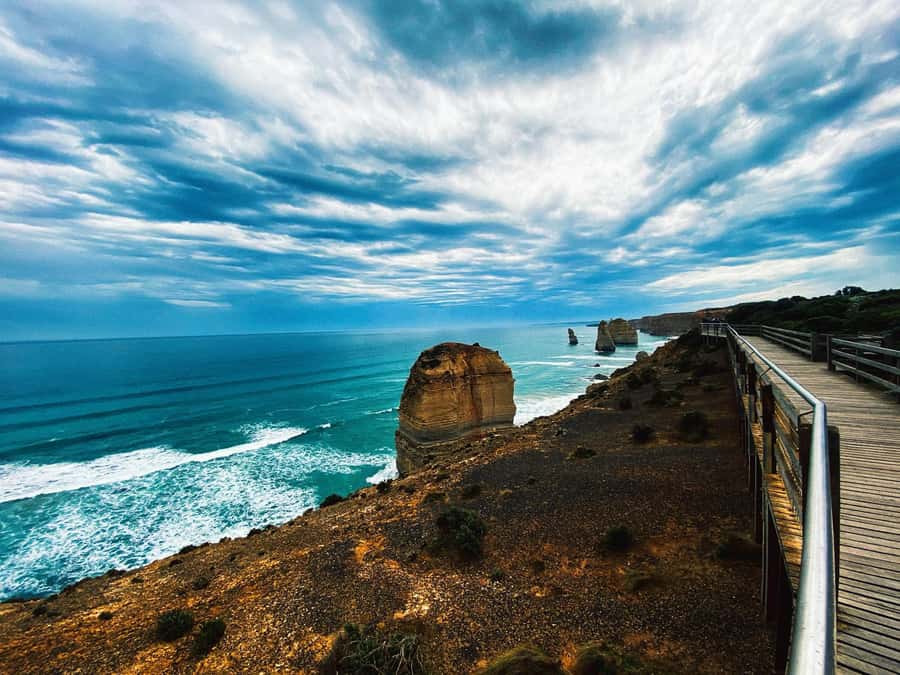
If you’ve ever stared at photos of the Great Ocean Road and thought, Yes, but where do I even start, this is that answer. You get the full route feeling—ocean cliffs, lookout stops, and coastal towns—without the stress of driving on the “do I turn left here?” parts.
Two things I really like about this format. First, the early lighthouse and soldier-themed Memorial Arch give you a sense of why this road is more than just a sightseeing line. Second, the later pairing of the Twelve Apostles and Loch Ard Gorge hits the cliffs at both the big-spectacle and dramatic-chasm levels.
The biggest reality check is time. This day is paced for seeing lots, not for wandering slowly. Even with good viewing windows, you’ll have to choose your path, grab the best photos fast, and move on when the group needs to.
You can also read our reviews of more tours and experiences in Melbourne.


Price and value: $28 per person is the hook
At $28 per person for a 12-hour day, this trip is priced like a budget-friendly way to do the classic stretch of the coast. You’re paying for transportation, parking/tolls/fuel, and a bilingual driver-guide, plus gratuities for the guide are included.
What you should budget separately is food and drinks. Lunch time is built in, but meals aren’t included, so bring a plan: either eat at Apollo Bay (easy) or have snacks ready for the drive. If you skip that, you’ll end up doing the “find food fast” scramble that nobody enjoys when the bus is calling.
Also, you’re not just buying views. You’re buying someone else handling the logistics: pickups, drop-offs, routing around traffic and road conditions, and timing between stops.
Pickup to drop-off: central Melbourne makes it easier
This tour runs with multiple pickup points in Melbourne—220 Spencer St, 42 Russell St, and 270 Queen St—then drops you back at three matching locations. That matters, because it reduces the “how do I get to the tour starting point?” hassle. If you’re staying in the central area, it’s a straightforward start and end.
The vehicle is air-conditioned, and the tour uses a coach sized for the group. That also means you’ll want to think like a coach traveler: be ready for a long seat day, and pack layers. Coastal weather can change even when the forecast is boring.
Stop 1: Split Point Lighthouse and why it matters
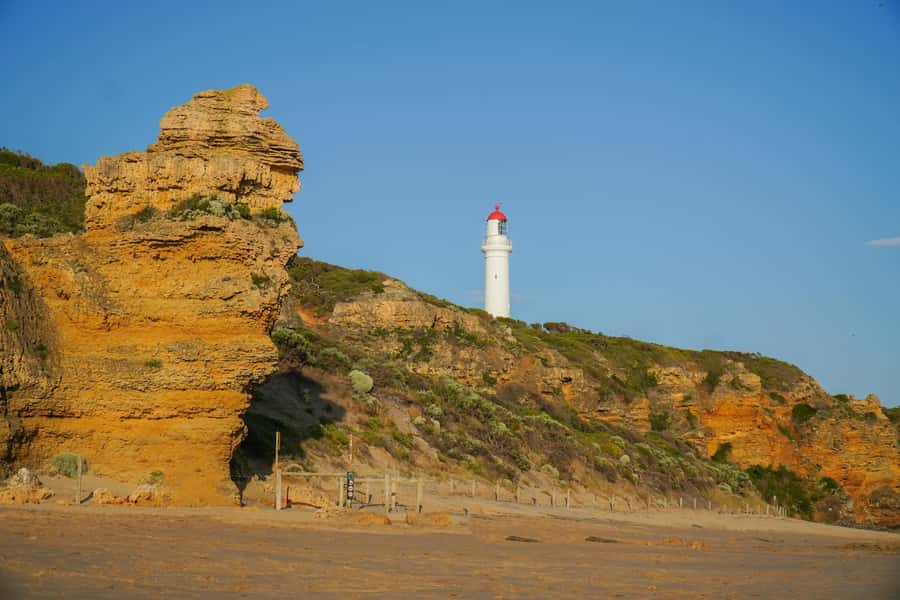
The day begins with a scenic stretch along the Great Ocean Road, then you land at the Split Point Lighthouse area with about 35 minutes to take it in. The lighthouse is known for its striking red-and-white look, and that color scheme makes it easy to photograph even before you find the perfect angle.
More important than the photo is the maritime significance. You’ll get the story behind why this kind of lighthouse mattered—where ships needed warning and guidance along a rugged coastline. It’s one of those stops that feels quick, but it adds meaning to the rest of the drive.
Practical tip: bring a camera strap or at least keep your hands free. Lighthouse viewpoints can mean steps and uneven spots, and you don’t want to be juggling bags while you try to frame the shot.
The Memorial Arch at Eastern View: fast photos, real context
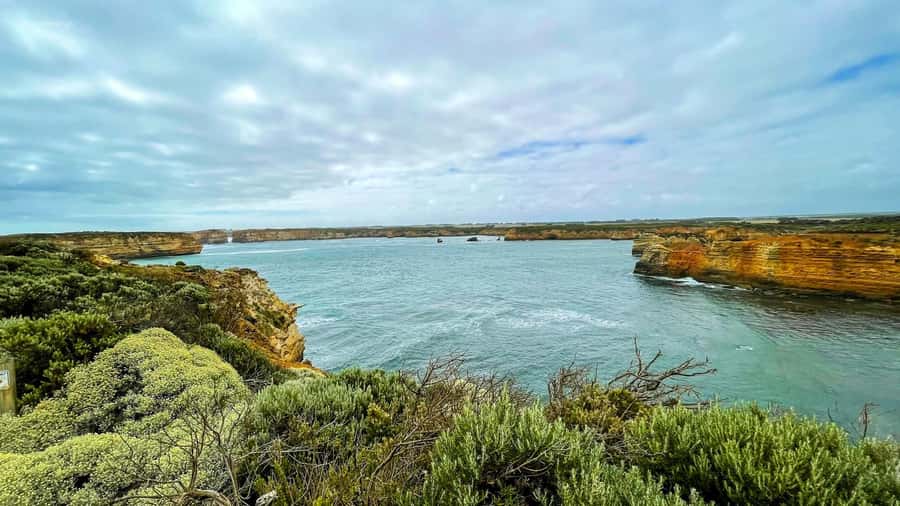
Next comes the Great Ocean Road Memorial Arch at Eastern View for a photo stop (around 20 minutes). This spot works because it’s both iconic and readable. The arch is a tribute to the soldiers who constructed the Great Ocean Road, so your photos don’t feel like random monuments.
This is a good moment to reset: water the plants in your body (aka drink some water), check your camera settings, and line up the next round of cliff views. The route rhythm depends on short pauses like this.
Lorne: sea breeze, quick views, and a short walk
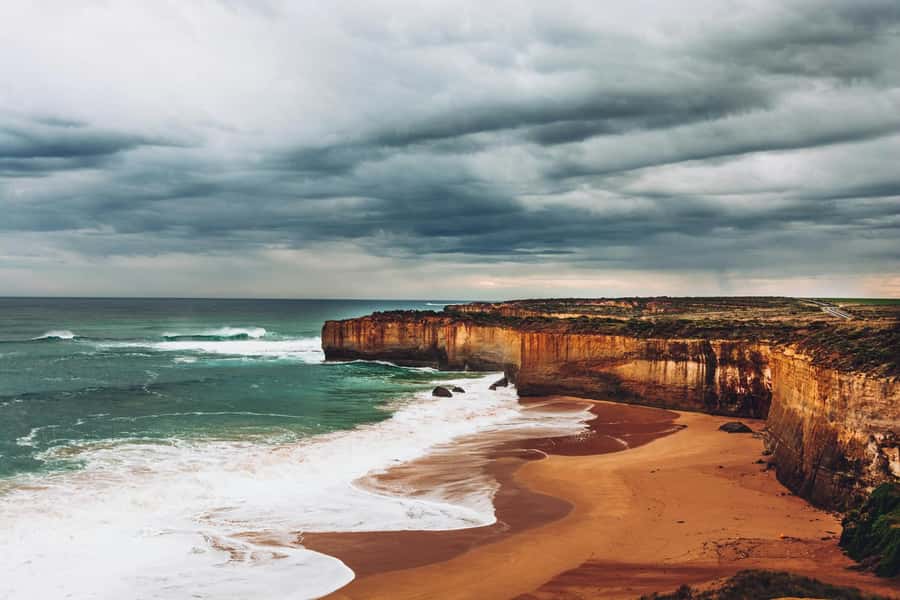
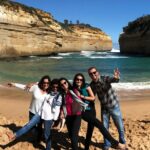
After the memorial stop, you head toward Lorne. You’ll get a couple of separate chunks here: a photo stop (about 20 minutes) plus a walk time (about 30 minutes). That means you’re not just looking from a roadside pull-off—you actually get a chance to move at a comfortable pace.
Lorne is all about that meeting of ocean views and beach-town vibes. Think cliffs, sea breeze, and plenty of chances to photograph along the shoreline. If the day is clear, this is when the photos start looking like postcards.
I like this stop because it gives you a break from “just cliffs, just cliffs, just cliffs.” It’s coastal life in miniature—enough time to stretch your legs and feel like you’re in Australia’s southwest, not just passing through.
Anglesea River scenery break: a calmer pit stop
There’s also a short break around Anglesea for peaceful river scenery. This isn’t a huge attraction time-wise, but it adds variety. When you’ve been staring at ocean cliff views, a river scene feels like a breath of air.
If you’re the type who gets a little traffic-and-coach fatigue, these smaller breaks are what keep the day from feeling like a checklist.
Apollo Bay lunch: where the day slows down
Lunch time is set in Apollo Bay, with about an hour. The town is charming in a practical way: it’s set up for visitors, so you can usually find food without hunting for long.
This is your moment to eat like a human. Since food and drinks aren’t included, plan to choose something that won’t weigh you down before the cliffs. Fish and chips are common for coastal stops, but the real trick is choosing a spot with quick service so you don’t lose time when the bus is ready.
If you’re traveling solo, this is also a friendly place to regroup—check your legs, charge your phone, and get ready for the geology show later.
Barham Paradise Scenic Reserve: koala spotting in the trees
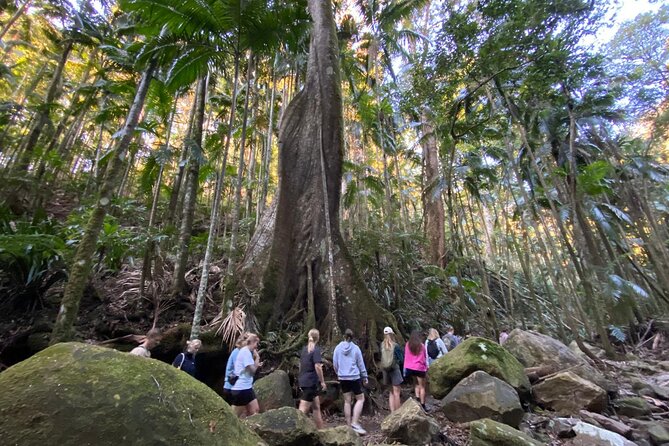
One of the standout “nature break” moments is the walk near Barham Paradise Scenic Reserve. You’re in eucalyptus trees, and it’s the kind of place where you can spot koalas and other native wildlife.
This is not a zoo-style guarantee. You’re looking, scanning, and taking your time watching the branches. That patience pays off because even a short sighting feels special—especially on a day that’s otherwise dominated by famous coastal cliffs.
Practical tip: wear closed-toe shoes for uneven ground, and keep your voice low. If you’re lucky enough to see koalas, you’ll want clear sight lines without startling the area.
Twelve Apostles: big limestone drama, limited time
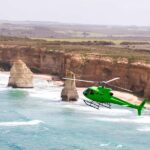
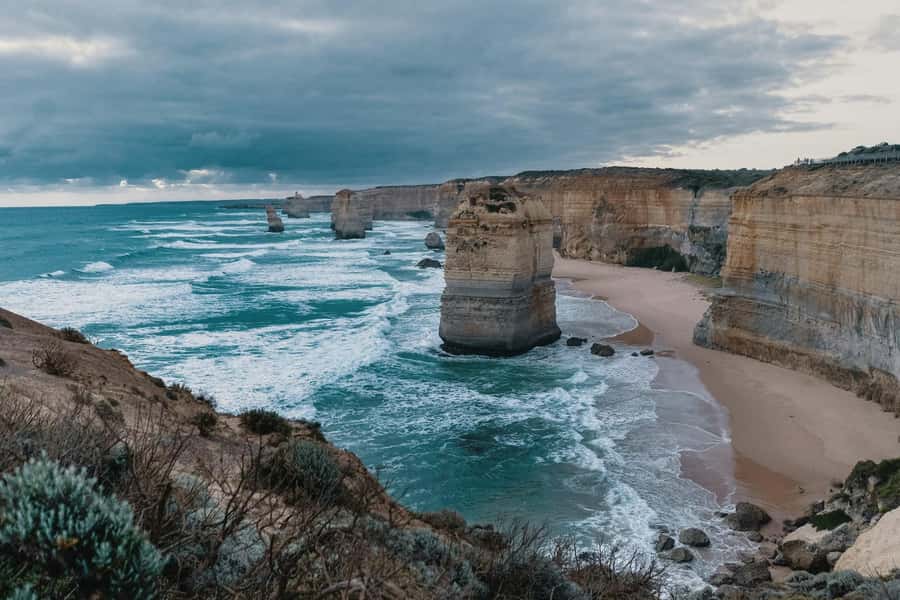
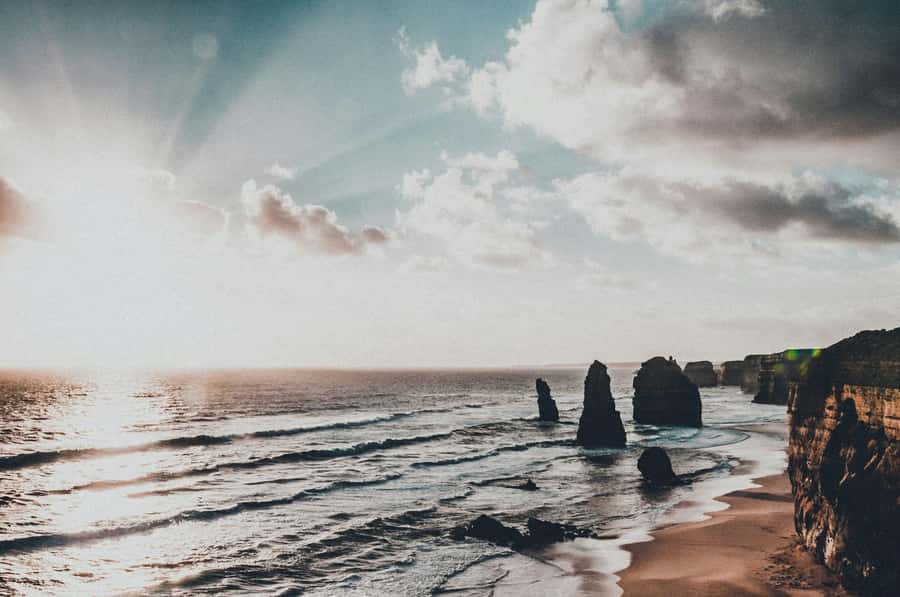
Then you hit the headline act: the Twelve Apostles viewing area for about 45 minutes. These limestone formations rise straight from the ocean, and even if you’ve seen them in photos, the scale hits you when you’re there.
You’ll want to move with purpose here. From one point you’ll get a great view, and from another you’ll see a different angle. If you don’t pick a direction early, you can end up missing the second viewpoint you really wanted. On a paced tour, that’s the tradeoff: you can still enjoy it fully, but you should expect to choose your route.
What I love most about this stop is how it changes as you walk. The cliffs feel different from each angle, and the sea view keeps pulling your attention back every few seconds.
Loch Ard Gorge: dramatic cliffs and a quieter mood
After the Apostles, you go to Loch Ard Gorge for about 30 minutes. If the Twelve Apostles is the big headline photo, Loch Ard Gorge is the sharp follow-up: dramatic cliffs and a more intimate sense of the coastline.
You’ll likely get enough time for a short, satisfying viewing loop—long enough to look around, find a perspective you like, and still return to the bus feeling like you earned the stop.
This is also a good place to take a beat. When you’re done, you’ll have that “okay, now I get why people come back” feeling—without needing to spend the whole day on one coastline section.
The ride back: Winchelsea refresh and returning to Melbourne
On the way back, there’s a quick refresh stop in Winchelsea, then you return to Melbourne. The total coach travel time included in the day is about 3.5 hours, so the last stretch is mostly about staying comfortable and saving energy.
I recommend you treat the return ride like a reset window. Hydrate, snack if you need to, and don’t underestimate wind at coastal lookouts—your face might feel fine at the start, then suddenly you’re ready for warmth on the coach.
Who this tour suits best (and who should think twice)
This tour is a strong match for:
- First-timers doing the Great Ocean Road from Melbourne
- People who prefer guided logistics over driving
- Solo travelers who appreciate a driver-guide willing to help with photos
- Anyone who wants a value day with multiple iconic stops in one shot
Think twice if:
- You want deep, slow exploration at each viewpoint
- You’re looking for wheelchair accessibility (the tour is not suitable for wheelchair users)
- You hate coach travel and long seat time
Small practical tips that make a real difference
Bring layers. Coastal air can be cooler than downtown Melbourne. Pack water and at least one snack, even if you plan to eat in Apollo Bay.
Wear shoes with grip. Lookouts and walking areas can be uneven, especially after wind or wet conditions.
For photos: pick one or two “must get” angles at the Twelve Apostles and commit. You’ll still get variety, and you won’t feel rushed trying to cover every possible shot.
If you’re traveling solo, this format can be extra enjoyable because the driver-guide has a habit of helping people take photos—one reason guides like Vance and Tony have gotten consistent praise for being patient and upbeat.
FAQ
FAQ
How long is the Melbourne Great Ocean Road adventure?
The total duration is 12 hours.
Where are the pickup and drop-off locations in Melbourne?
Pickup and drop-off are available at 220 Spencer St, 42 Russell St, and 270 Queen St.
What are the major stops on the route?
You’ll visit Split Point Lighthouse and the Memorial Arch, stop in Lorne, have lunch time in Apollo Bay, look for koalas near Barham Paradise Scenic Reserve, then see the Twelve Apostles and Loch Ard Gorge, with a refresh stop in Winchelsea on the way back.
Is food included in the price?
Food and drinks are not included. Lunch time is provided at Apollo Bay, but you’ll need to pay for your meal.
What languages are offered on the tour?
The driver-guide offers live guidance in English and Chinese.
Is this tour wheelchair accessible?
No, it is not suitable for wheelchair users.
What’s included in the price besides transportation?
The price includes a bilingual driver-guide, air-conditioned vehicle transport, toll fees, parking, fuel, and gratuities for the guide.
Are there any restrictions during the tour?
Smoking, alcohol, and drugs are not allowed. Alcoholic drinks in the vehicle are also not allowed.
What is the cancellation policy window?
You can cancel up to 24 hours in advance for a full refund.
Should you book this Great Ocean Road day trip?
If you want the Great Ocean Road highlights from Melbourne—Split Point Lighthouse, Memorial Arch, Lorne, Apollo Bay, koalas near Barham Paradise, Twelve Apostles, and Loch Ard Gorge—this is a practical way to do it for $28 with transport and a bilingual guide included.
Book it if you’re happy with a paced day and you want a guided route with enough time to enjoy each stop. Skip it if you dream of slow wandering and long, unhurried hikes at every viewpoint. For most first-time visitors, though, this hits the sweet spot: iconic, scenic, and good value without needing to drive.