REVIEW · MELBOURNE
Melbourne: Tandem Skydive Experience over St. Kilda Beach
Book on GetYourGuide →Operated by Skydive Australia · Bookable on GetYourGuide
Jumping over Melbourne’s coast feels unreal.
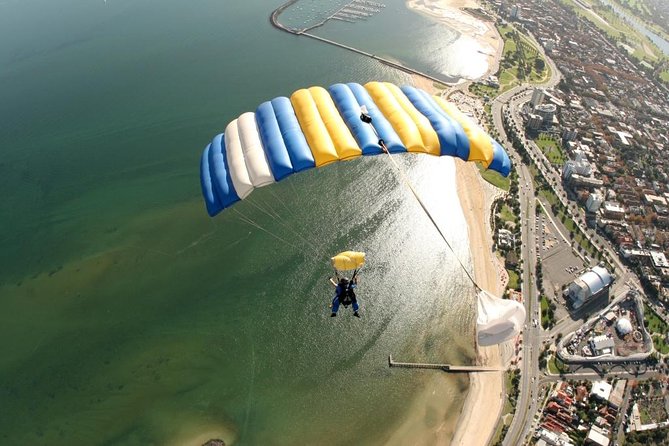
This urban parachute jump puts you above St Kilda and right near the city’s icons like Luna Park, so the scenery is as much the point as the adrenaline. I like that it’s built for real city access: the drop zone is described as the closest sky jump option to Melbourne CBD, meaning you spend less time commuting and more time strapped in, counting clouds, and looking for landmarks.
Two things I really like: first, the beach-front landing over St Kilda, which feels different from landing out in the scrub where your view is limited. Second, the altitude and pacing: you fly up to 15,000 feet, with up to 60 seconds of freefall, then a slower parachute descent over Melbourne, Port Phillip Bay, and the surrounding suburbs. One consideration is weather—it can affect timing, and you may have some waiting time on the day.
Key Highlights You’ll Feel Immediately
- St Kilda beach-front landing right after the jump
- Closest to Melbourne CBD so you lose less time to travel
- Up to 15,000 feet with up to 60 seconds freefall
- Small group cap of 8 for a calmer experience
- Instructor-led camera options available at the dropzone
- Certificate + 3-month APF membership + accident insurance included
In This Review
- Why St Kilda Beach Changes the View Game
- Price and What You Actually Get for $339
- Getting There Without Burning Half Your Day
- Check-in, Briefing, and Meeting Your Tandem Master
- Up to 15,000 Feet Over Melbourne and Port Phillip Bay
- Freefall Timing: What Up to 60 Seconds Feels Like
- Parachute Glide and the St Kilda Beach-front Landing
- Camera Options at the Dropzone: Plan for More Than One Budget
- Timing, Weather, and How to Schedule a First Jump
- Who This Fits Best (and Who Should Skip It)
- The Small-Group Advantage for a Calmer Day
- After the Jump: Certificate, Membership, and the Feel-Good Finish
- Should You Book This Melbourne City Tandem Parachute Jump?
- FAQ
- How long does the Melbourne St Kilda tandem experience take?
- Where do I meet for the experience?
- How high do I fly before the jump?
- How long is freefall?
- What are the age and weight limits?
- Is it suitable for pregnant women or people with heart problems?
- Are instructors available in English?
- Are photos and video included in the price?
- Can I cancel and get a refund?
Why St Kilda Beach Changes the View Game
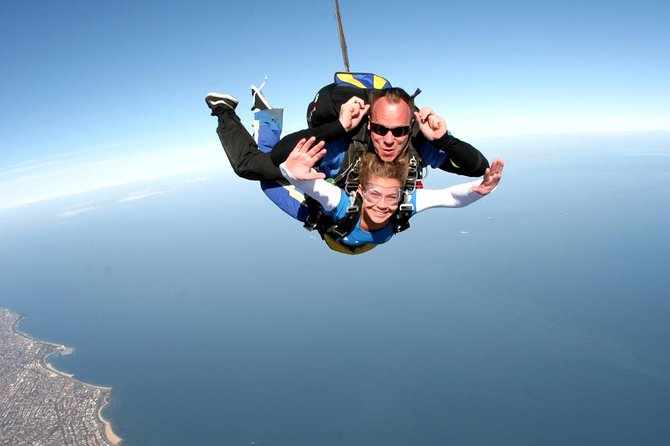
This isn’t a generic jump over countryside. Your jump happens over one of Melbourne’s most recognizable coastlines, with St Kilda as the landing zone. That means your “where am I?” moments come fast: Melbourne’s skyline, Port Phillip Bay, and the patchwork of suburbs show up in the same frame as the ocean.
I also like that the location is tied to major city landmarks. The drop zone is described as steps from Luna Park, which matters if you’re squeezing this into a short trip. It’s the kind of outing where you can pair it with an afternoon or evening plan nearby, rather than turning the whole day into a long drive.
And since the whole experience is done in a tandem setup with an instructor, the focus stays on what you can see and feel. You don’t need to master gear or procedures before you’re in the air. You just need to be ready for the moment the plane door opens.
Price and What You Actually Get for $339
At $339 per person for a 3 to 4 hour block, this looks like a splurge. The key is what’s included, because this package is doing more than just selling a jump.
Here’s what you get included with the price:
- a qualified jumper and professional training with tandem masters
- a scenic flight up to 15,000 feet over Melbourne and St Kilda
- up to 60 seconds freefall
- a commemorative certificate after your jump
- 3 month membership of the Australian Parachute Federation
- compulsory personal accident insurance via the Australian Parachute Federation
Those items matter for value. Membership and insurance are “silent costs” you’d otherwise have to sort out elsewhere. The certificate is also not just a souvenir—getting it means your jump is documented as part of a formal training operation, not a casual one-off.
What’s not included is the photos and video. Those are sold as optional camera packages at the dropzone, so if you want those shots, you’ll likely spend more than $339. Still, the base price covers the core thrill and the safety framework.
You can also read our reviews of more tours and experiences in Melbourne.

Getting There Without Burning Half Your Day
You’ll spend around 3 to 4 hours total. That time isn’t just the moment you leave the plane. It covers check-in, gear prep, and waiting for your group slot, which is common for sky events.
The big practical win is proximity. This jump is positioned as the closest skydive option to Melbourne CBD, so transport time is kept short. The operator also offers optional transfers from M.O Moran Reserve if you’d rather not figure out parking.
Transport quality is also a strong point here, with 85% of reviewers giving a perfect score for transport. That usually translates to clear pickup timing and a smooth flow from meeting point to jump zone—exactly what you want when you’re already nervous.
Small group matters too. The experience is limited to 8 participants, so you’re less likely to feel like you’re in a cattle line during check-in.
Check-in, Briefing, and Meeting Your Tandem Master
Before you’re strapped in, you’ll go through check-in and instruction in English. The experience is guided by an instructor who speaks English, so you can ask questions and get answers without guessing.
This is also where you’ll learn how the tandem setup works: you’re attached to your instructor, and they handle the jump mechanics. Your job is simple but important—follow their instructions, stay calm, and be ready to breathe through the nerves.
The vibe you want here is calm and confidence-building. From jump reports, instructors are known for being friendly and reassuring. Names that came up include Sarah, Kev, Vova, Zack, Etienne, Kevin, and Cleave. If you’re hoping for a more relaxed mental approach—especially if you have a fear of heights—bring that up early. One person mentioned that a guide named Kev made the moment feel much more manageable. Another described Sarah as supportive and smooth, with clear instructions.
If you have medical considerations, bring documentation. One participant shared that they had bilateral knee replacement surgery and showed a medical certificate. Their guide asked about it and explained what to expect. That doesn’t mean everyone with knee issues should jump, but it does show you the right move: tell them what’s going on and have proof in your pocket.
Up to 15,000 Feet Over Melbourne and Port Phillip Bay
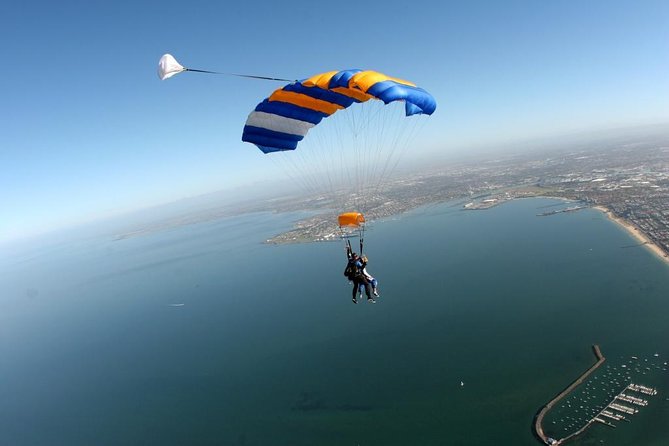
Once you’re in the air, the experience shifts from nerves to observation. You’ll ascend to up to 15,000 feet, which is high enough to turn buildings into patterns and roads into lines.
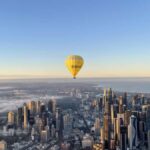
From that height, you’ll get wide views: Melbourne’s skyline, Port Phillip Bay, and surrounding suburbs. The operator frames this as one of the iconic urban viewpoints in Australia, and the location makes sense. You’re not looking at a horizon that’s “out there.” You’re looking at a city you can recognize.
This stage is also when you can enjoy the slow build. You’re not immediately jumping the second the plane gets airborne. There’s time to settle, get steady with breathing, and mentally prepare for freefall.
If heights are your weak spot, use this time. Don’t try to outthink fear. Just watch the view, hold onto the safety cues your instructor gives you, and let the moment happen when it happens. One jumper described feeling fear but also feeling calm because their instructor kept things chill and focused.
Freefall Timing: What Up to 60 Seconds Feels Like
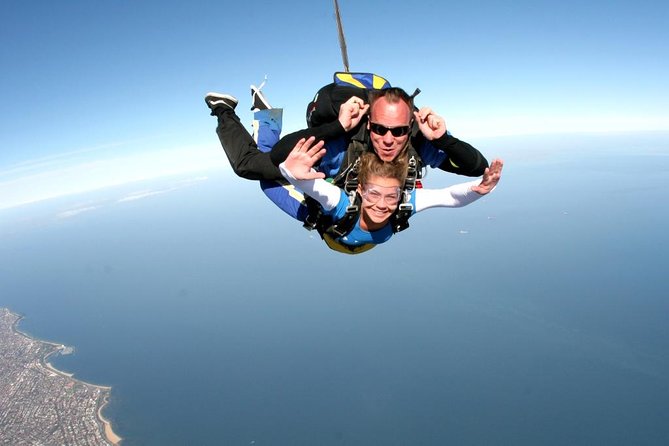
You’re set for up to 60 seconds freefall. That number matters because it’s long enough to be an actual memory, not a quick blur, but it’s not so long that you lose all track of what’s happening.
In tandem, your instructor handles the technical side. You’ll be focused on sensation and the view. The moment you leave the aircraft is the loudest in your head, then the sky “takes over” and you switch to pure experience.
Keep expectations realistic: freefall is intense. Your body reacts before your brain catches up. That’s why training and a calm tandem partner are so important. Multiple jump reports emphasize how considerate and professional the instructors were, especially for first-timers and nervous jumpers.
Parachute Glide and the St Kilda Beach-front Landing
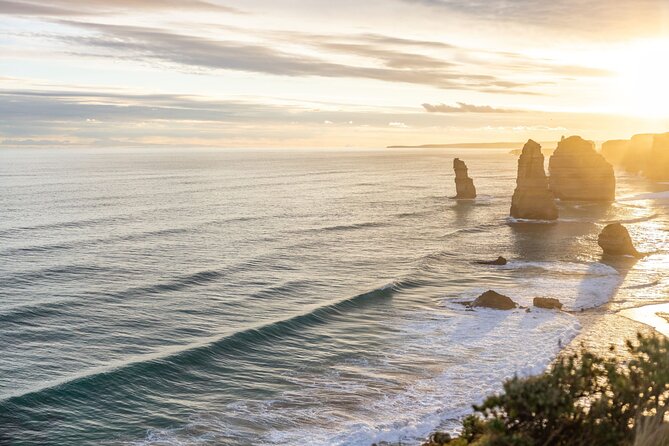
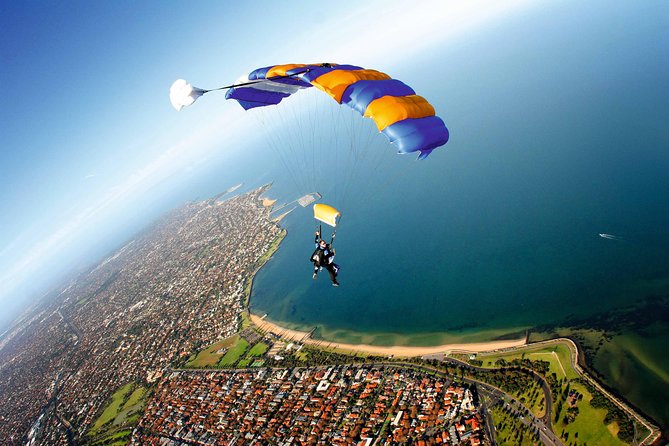
After freefall, your parachute opens and the speed changes. The experience becomes about control and scenery again, with more time to look at where you’re headed.
The landing is a major feature: beach-front landing (St Kilda). Landing where you can see the coastline makes the whole arc feel complete. You’re not just dropping and hoping for the best—you’re coming in for a specific shoreline, with recognizable landmarks around you.
One person specifically mentioned that their landing was soft enough that their knees didn’t take an impact they expected. I can’t promise that outcome for everyone, but it’s a good reminder that landing technique matters and that you should follow your instructor’s cues closely.
Also: landing is the part where you’re still part of the training process. Your instructor will manage the descent and the flare. Your job is to stay attentive and follow their instructions right up to the moment you’re on your feet.
Camera Options at the Dropzone: Plan for More Than One Budget
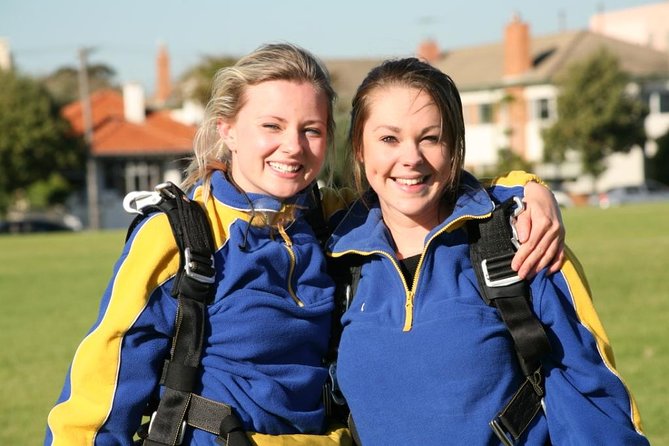
Photos and video are not included. They’re available for purchase directly at the dropzone, which is common for tandem jumps.
Here’s the practical thing to know: video is typically captured from the instructor’s perspective. One participant said all video was taken by the instructor using a hand-mounted GoPro, and they wished they could see themselves falling in the sky.
So, think about what you want to remember:
- If you want the “what the instructor saw” angle, the standard capture can be enough.
- If you want “me falling” visual proof, ask what angle options are available when you arrive.
If you’re bringing family or friends as witnesses, you can also manage expectations early: your instructor’s camera will likely be your main footage unless you buy an additional package that offers different views.
Timing, Weather, and How to Schedule a First Jump
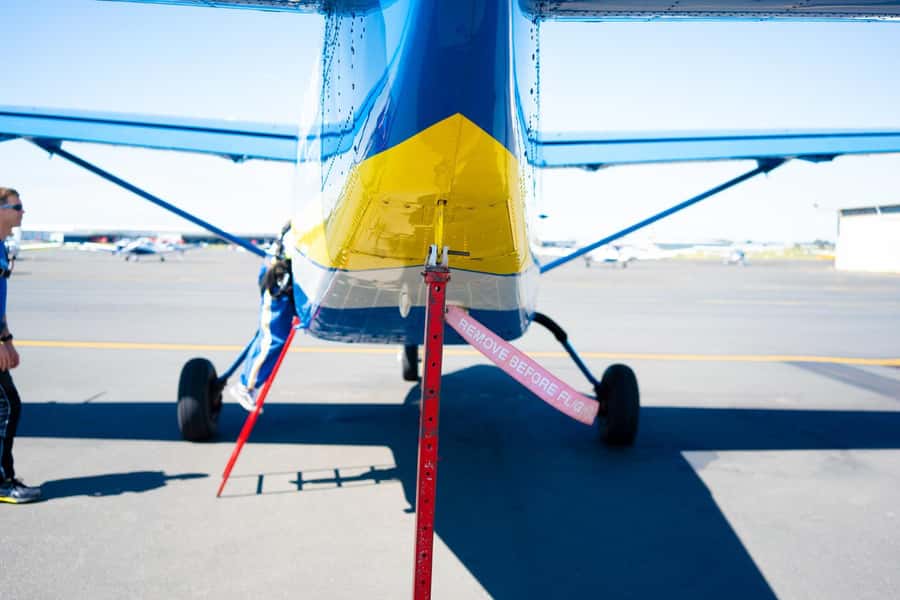
Because this is outdoors and depends on flight conditions, there can be waiting time. One jumper had their first booking cancelled due to bad weather and was able to rebook for the following week, with instructions handled clearly.
What this means for your planning: treat this as a half-day activity with some flexibility baked in. If your itinerary is tight with another must-do reservation right after, consider leaving a buffer.
In the day-of rhythm, expect:
- check-in and gear time
- waiting for your group slot
- flight and then the jump window
The overall pace is why the duration is listed as 3 to 4 hours rather than just “one hour with a jump.” Plan your meal timing too. You’ll want to feel comfortable and not rushed.
Who This Fits Best (and Who Should Skip It)
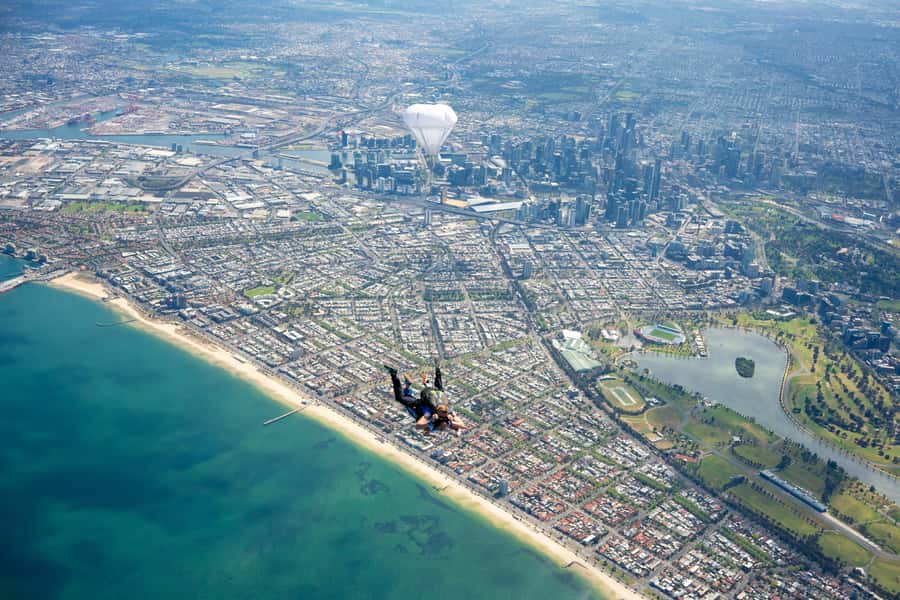
This experience is for adults and thrill-seekers who want big views with minimal complexity. It’s best if you’re okay with adrenaline and you can follow instructions under pressure.
It is not suitable for:
- children under 16
- pregnant women
- people with heart problems
- people over 110 kg (243 lbs)
There’s also a weight surcharge for people who weigh over 94 kg (207 lbs). It’s not just a fee question—it’s also a safety and harness fit concern. If you’re near the upper range, ask about your specific situation in advance.
If you’re a nervous flyer or afraid of heights, you might still be a good candidate if you can communicate that fear. The pattern across jump reports is that instructors can help calm you down, keep things clear, and talk you through the steps. A fear of heights doesn’t automatically disqualify you from the experience; the bigger issue is medical fit and the willingness to follow safety direction.
If you want to tick a bucket-list item, this is one of those classic “you’ll remember where you were in your life” experiences. The urban setting adds extra satisfaction because you’re not just in the sky—you’re above your travel destination.
The Small-Group Advantage for a Calmer Day
Limiting the group to 8 participants is one of those details you don’t notice until it affects your day. With a small group, briefing time feels less rushed and your instructor can manage expectations more directly.
It also helps if you need reassurance. When someone is anxious, being stuck in a large crowd can amplify nervousness. Small groups often make it easier for the tandem masters to keep the energy supportive.
English instruction is another practical plus. When you’re about to do something intense, you don’t want to struggle with translation just to understand the safety steps.
After the Jump: Certificate, Membership, and the Feel-Good Finish
When you land, the experience doesn’t end with just a thumbs-up and walking away. You’ll receive a commemorative skydive certificate, which gives the day a clear finish.
You’re also included in 3 months of Australian Parachute Federation membership, and you have compulsory personal accident insurance provided through that system. That makes this feel more like a real training-led operation rather than a one-off thrill purchase.
If you plan to celebrate afterward, you’ll be in that post-adrenaline mood where food tastes better and city streets look extra interesting. This is a nice activity to pair with a relaxed meal near St Kilda or a casual wander around the Luna Park area.
Should You Book This Melbourne City Tandem Parachute Jump?
Book it if you want a city-and-coast view combo, you’re excited by the idea of a beach-front landing, and you’re willing to treat the day as a half-day adventure with possible waiting.
Skip it if:
- you’re in any of the not suitable categories (pregnancy, heart problems, under-16, or above the weight limit)
- you can’t handle intense physical sensations and fear spikes without being able to follow instructions
- you’re not comfortable with the fact that photo and video cost extra
If you do book, go in with a simple game plan: ask questions during briefing, tell your instructor about any specific fears or medical concerns with documentation, and keep a little breathing room in your schedule. With the small-group setup and the strong focus on supportive tandem masters, this can be a confident way to tick off one of Melbourne’s most memorable bucket-list experiences.
FAQ
How long does the Melbourne St Kilda tandem experience take?
The duration is listed as 3 to 4 hours. Your schedule depends on availability and the day’s timing.
Where do I meet for the experience?
The meeting point may vary depending on the option booked.
How high do I fly before the jump?
You’ll have a scenic flight up to 15,000 feet.
How long is freefall?
You get up to 60 seconds of freefall.
What are the age and weight limits?
It’s not suitable for children under 16. There is a surcharge for people over 94 kg, and it’s not suitable for people over 110 kg.
Is it suitable for pregnant women or people with heart problems?
No. It is not suitable for pregnant women or people with heart problems.
Are instructors available in English?
Yes. The instructor language is English.
Are photos and video included in the price?
No. Photo and video packages are optional and available to purchase at the dropzone.
Can I cancel and get a refund?
Yes. You can cancel up to 24 hours in advance for a full refund.