REVIEW · HOBART
3 day Tasmanian highlights tour – Hobart, Port Arthur and Bruny Island
Book on Viator →Operated by Tassie Tours Tasmania · Bookable on Viator
Three days, three wow-factors in Tasmania. I love the Mount Wellington viewpoint for an instant sense of scale over Hobart, and I love the Bruny Island food-and-wildlife rhythm that goes from lookouts to cheese and oysters. This is a packed but well-structured highlights tour that uses a guide, hotel pickup, and short, memorable stops so you don’t spend your time figuring out logistics.
My one caution: the days run on a schedule, and the van ride can get bumpy on winding roads—so if you’re motion-sensitive, ask about front-seat options early. Also, check your final stop list if you have a must-see that you were expecting, since the exact flow can vary by departure.
In This Review
- Key takeaways before you go
- A tight 3-day loop: Hobart, Bruny Island, and Port Arthur
- Price and value: what $337.10 gets you (and what it doesn’t)
- Getting around: hotel pickup, air-con van, and a small-group feel
- Day 1 in Hobart: Mount Wellington, Salamanca Market, Richmond, and Bonorong
- Hobart highlights: old buildings and quick orientation
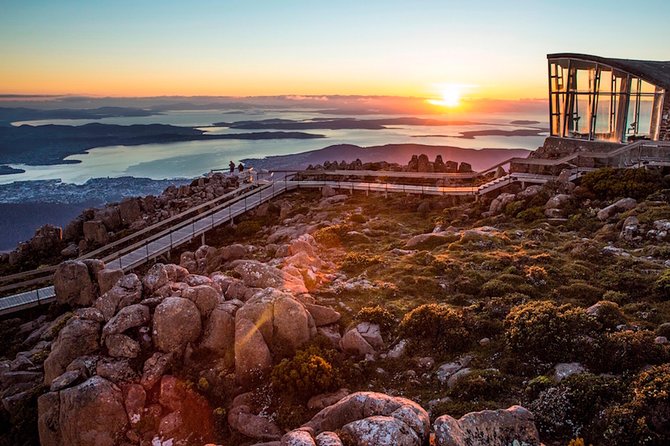
- Mount Wellington (Kunanyi): the big Hobart panorama
- Salamanca Market (Saturday only): culture you can snack through
- Richmond Bridge: convict-era township vibes
- Wicked Cheese Co.: sampling break, not a shopping push
- Bonorong Wildlife Sanctuary: up close with Tasmanian icons
- Day 2 on Bruny Island: Mavista Falls, The Neck, Adventure Bay, and tastings
- Mavista Falls: a short rainforest walk
- Cape Bruny Lighthouse area: optional add-on time
- The Neck lookout: 360-degree views
- Get Shucked Oyster Bar: buy oysters if you want the taste
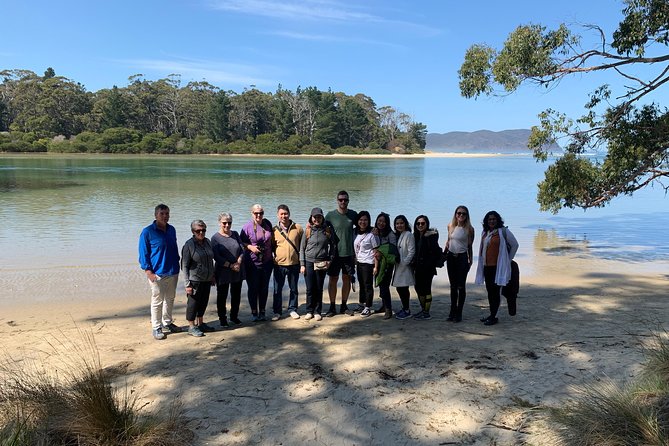
- Adventure Bay: beach time with explorer history energy
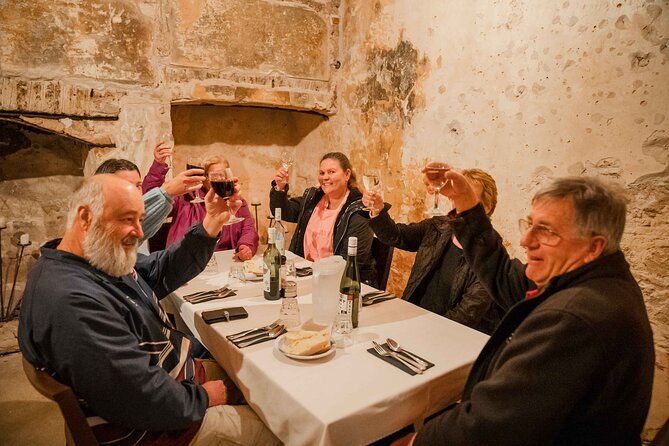
- Bruny Island Cheese Company: tastings you can carry into dinner
- Day 3 to Port Arthur: Eaglehawk Neck, chocolate, lavender, the historic site, then Remarkable Cave
- Eaglehawk Neck: Pirate Bay lookout and the Dog Line
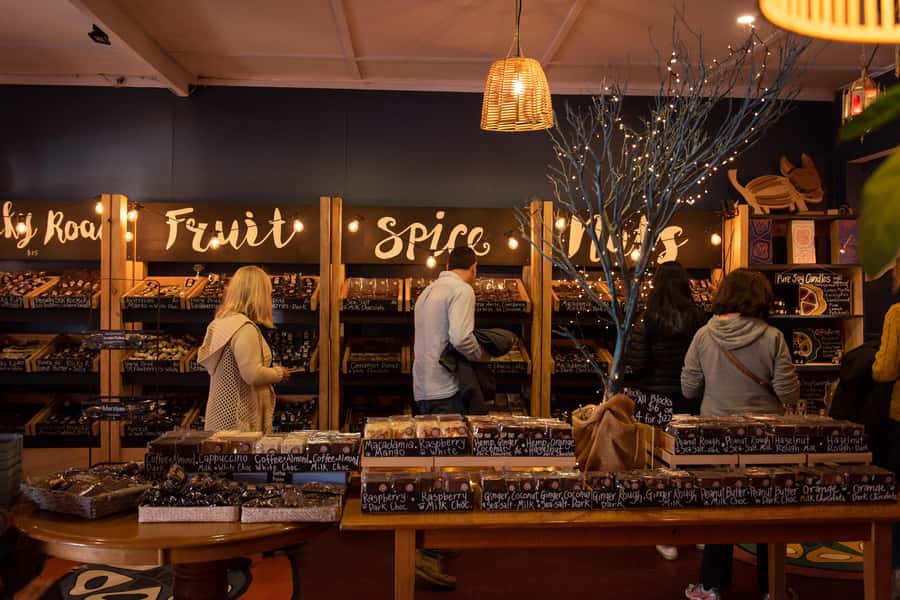
- Tasmanian Chocolate Foundry: sweet stop with zero stress
- Port Arthur Lavender: handmade products and a scenic trail
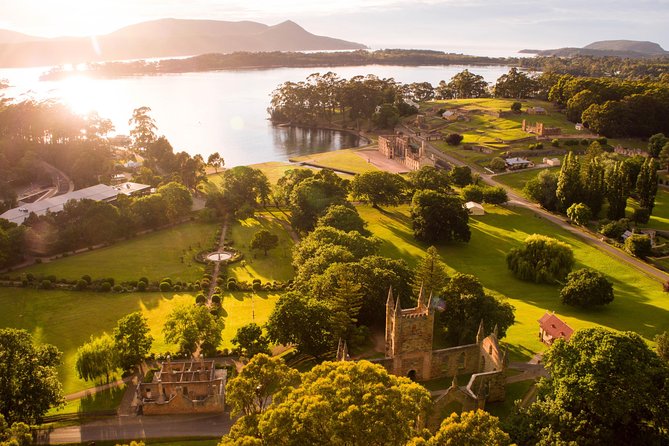
- Port Arthur Historic Site: the big ticket block (long enough to feel real)
- Remarkable Cave: steps down for bay and Penguin Rocks views
- What I liked most: guides, organization, and the stop mix that works
- Where this tour might not fit you
- Who should book this tour (and who should consider alternatives)
- Short practical planning tips (so day 2 and 3 feel easy)
- Should you book 3 day Tasmanian highlights from Hobart?
- FAQ
- Is lunch included on this 3-day tour?
- What time does the tour start?
- Does the tour include hotel pickup in Hobart?
- How big is the group?
- Is Salamanca Market included?
- Do I need a Parks Pass for Bruny Island?
- Are Bonorong Wildlife Sanctuary and Port Arthur tickets included?
- Is Mount Wellington admission included?
- What if the tour can’t run due to weather?
Key takeaways before you go
- Small group (max 20) makes it easier to hear your guide and stay flexible on photo stops.
- Mount Wellington + The Neck deliver big, high-value viewpoints without extra planning.
- Wildlife stops are built in, including Bonorong Wildlife Sanctuary on day 1 and Bruny Island’s natural highlights on day 2.
- Food tastings are timed in rather than thrown at you at the end, from Wicked Cheese to Bruny Island Cheese Company.
- Port Arthur is long enough to matter, with time set aside at the historic site rather than a quick drive-by.
A tight 3-day loop: Hobart, Bruny Island, and Port Arthur
This tour is built for travelers who want a fast introduction to Tasmania without stacking three separate day trips. You get one day anchored in Hobart, one full day on Bruny Island, and one focused day on the Port Arthur area—all from Hobart.
What makes this loop work is the pacing. Each day has a clear theme: city and viewpoints first, then island nature and local tastes, then penal-settlement history plus dramatic coastal scenery.
A few more Hobart tours and experiences worth a look
-150x150.jpg)
-150x150.jpg)
Price and value: what $337.10 gets you (and what it doesn’t)
At $337.10 per person for about three days, the value comes from the mix of included admissions, guided commentary, and transport. You’re not just paying for driving—you’re paying for a guide who connects the dots between what you’re seeing (towns, coastal terrain, wildlife, and conservation-focused sites).
What’s not included is also important: lunch and drinks aren’t included. That’s manageable, but you should plan on grabbing food during free time or at stops where purchases are possible, and keep some cash/card handy for places like oyster and cheese counters.
Getting around: hotel pickup, air-con van, and a small-group feel
The tour includes hotel pickup and drop-off from selected CBD hotels, using an air-conditioned vehicle. Start time is listed as 7:30 am, which means you’ll want to be ready early and packed the night before.
This is set up for comfort: the group limit is 20 travelers, and the tour uses a mobile ticket. The tradeoff is the early start and the fact that you’re riding for stretches between stops, including some winding roads.
Day 1 in Hobart: Mount Wellington, Salamanca Market, Richmond, and Bonorong
Day 1 is about getting your bearings fast. You start with a guided city highlights run from the bus, picking up the colonial and sandstone vibe that makes Hobart feel different from other Australian capitals.
Hobart highlights: old buildings and quick orientation
This stop is designed to set context. Even if you later return to Hobart on your own, you’ll know what you’re looking at and why it matters.


Mount Wellington (Kunanyi): the big Hobart panorama
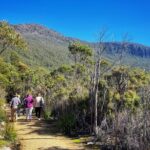
Next is the climb to Mount Wellington, and the payoff is the view over Hobart and surrounds. You get about a half hour on-site, which is short—but it’s enough to take photos, breathe fresh air, and reset your perspective after the city streets.
If you hate rushing, arrive at the viewpoint with your jacket ready. The change in weather and wind is part of the point here.
Salamanca Market (Saturday only): culture you can snack through
Salamanca Market is included only on Saturdays, and it’s framed as Tasmania’s #1 tourist attraction. Expect art, produce, souvenirs, and buskers—this is the stop where you can also pick up a snack if you’re hungry before the next leg.
If your tour doesn’t start on a Saturday, the tour info notes Hobart Highlights still always runs on Saturdays, so your day order can shift.
Richmond Bridge: convict-era township vibes
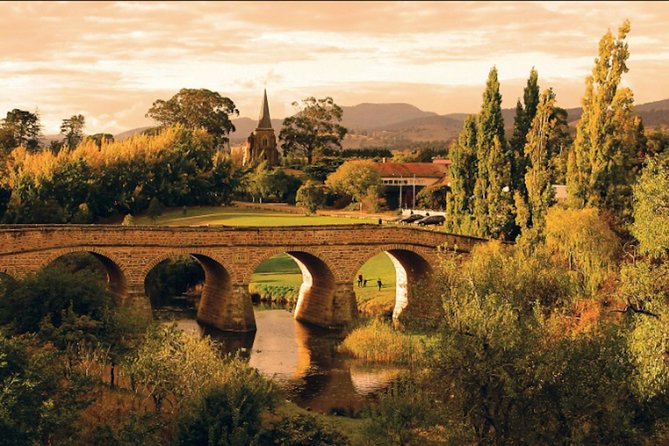
Richmond is a classic Tasmanian detour. You get to walk around the historic convict township feel, including Australia’s oldest bridge and a Catholic church tied to the early era.
This is one of those stops that works even for short attention spans because it’s easy to wander and take photos without needing a long explanation.
Wicked Cheese Co.: sampling break, not a shopping push
You’ll stop at Wicked Cheese for free sampling. It’s a quick taste-and-break stop that keeps the day from feeling like a nonstop drive.
Bonorong Wildlife Sanctuary: up close with Tasmanian icons
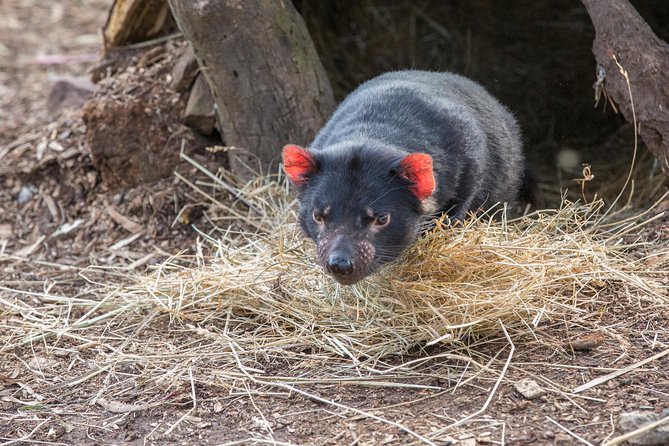
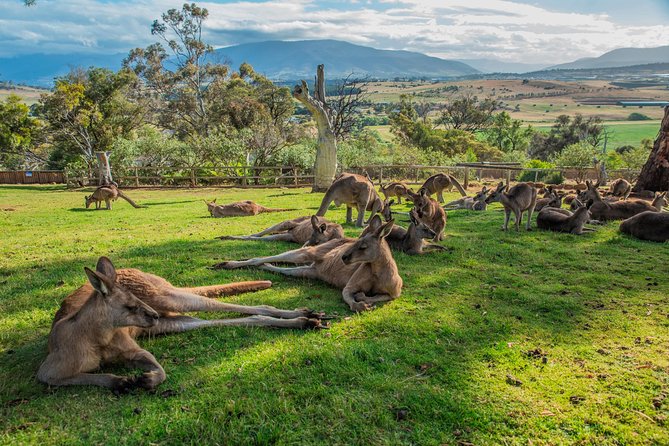
Day 1 ends at Bonorong Wildlife Sanctuary, which is included for entry. This is where you shift from viewpoints to animals, including Tasmanian devils (and more Aussie wildlife) in a rescue-and-care setting.
It’s also one of the most practical stops for first-timers. If Tasmania is on your bucket list for wildlife, this gives you that hit without requiring separate ticket planning.
Day 2 on Bruny Island: Mavista Falls, The Neck, Adventure Bay, and tastings
Day 2 is the island day, and it’s structured around short walks and scenic pull-offs. You’ll have multiple “stop and look” moments, plus a couple of chances to buy or taste local products.
Mavista Falls: a short rainforest walk
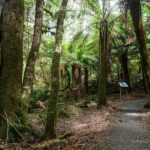
You start with Mavista Falls, including a 20-minute return walk in a temperate rainforest. The focus here is the air and the feel of the place—clean, cooler, and shaded compared with the coast.
This is a good stop if you want one real walk in the day without turning it into a hiking mission.
Cape Bruny Lighthouse area: optional add-on time
There’s a Cape Bruny Lighthouse Tours stop described as 30 minutes, and it’s listed as not included. Translation: you get time in the area either way, but if you want the lighthouse tour portion, plan on paying separately.
If you’re okay with a photo from the outside, you can treat this as a scenery and lookout breather rather than a full-ticket activity.
The Neck lookout: 360-degree views
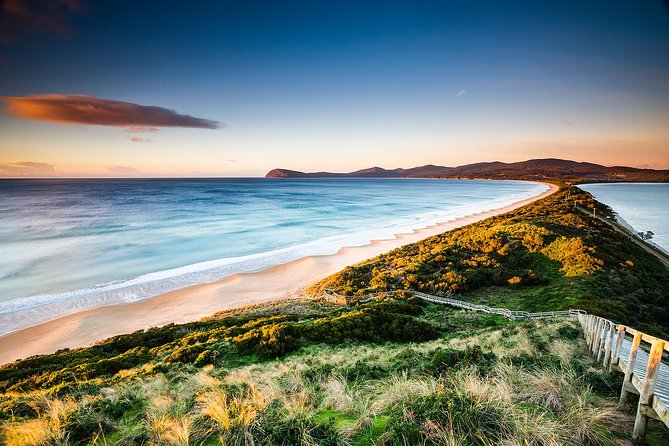
Then comes The Neck, the iconic Bruny lookout with 360-degree views of the surrounding sea and islands. This is the payoff stop for the day’s “getting there” effort.
Give yourself a minute before you take photos. The wind and light can change quickly, especially out on the exposed headlands.
Get Shucked Oyster Bar: buy oysters if you want the taste
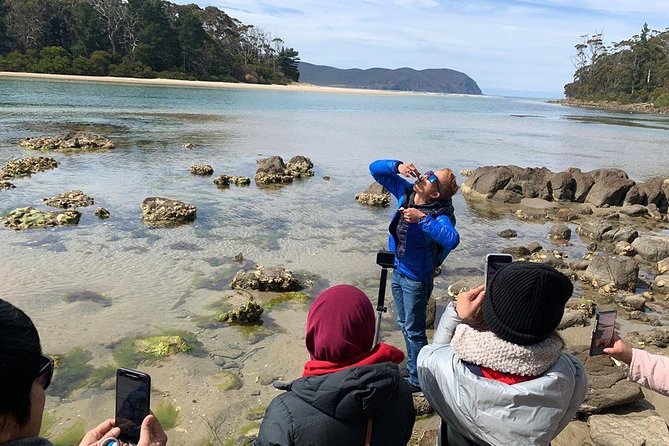
On the way back toward the ferry, you’ll stop at Get Shucked Oyster Bar. The tour info presents this as a spot to purchase what Bruny is known for—oysters.
You’re not required to buy, but if you want a taste of island cuisine, this is the moment to do it.
Adventure Bay: beach time with explorer history energy
Next is Adventure Bay, described as the largest little seaside town on the island. You get time to enjoy the beach area and take in the coastal setting where famous explorers landed.
This stop is less about a single attraction and more about enjoying a pocket of calm. Use it to refuel before your next product stops.
Bruny Island Cheese Company: tastings you can carry into dinner
You’ll finish with a stop at Bruny Island Cheese Company for cheese tastings and purchases. Again, this isn’t just “eat something.” It’s also a practical way to bring a souvenir flavor back to your stay in Hobart.
If you’re pairing it with your own dinner plan, consider buying something you can refrigerate.
Day 3 to Port Arthur: Eaglehawk Neck, chocolate, lavender, the historic site, then Remarkable Cave
Day 3 is a mix of coastal scenery and structured history time. It starts with a couple of quick, photo-friendly stops on the way down, then shifts into a long Port Arthur block, followed by a dramatic cave viewpoint.
Eaglehawk Neck: Pirate Bay lookout and the Dog Line
On route to Port Arthur, you’ll stop at Eaglehawk Neck’s Pirate Bay lookout and the Dog Line monument. This is short—mostly a scenery + photo break—but it sets the tone for what you’ll see at Port Arthur.
Tasmanian Chocolate Foundry: sweet stop with zero stress
You’ll also visit the Tasmanian Chocolate Foundry, a quick stop that’s ideal if you want a snack without hunting. It’s short and easy to handle even if you’re not a big shopper.
Port Arthur Lavender: handmade products and a scenic trail
Port Arthur also gets a gentler side with Port Arthur Lavender. You’ll have about 30 minutes to stroll the lavender trail and look at handmade products.
This is a smart rhythm break after earlier history and before the main Port Arthur site time.
Port Arthur Historic Site: the big ticket block (long enough to feel real)
Port Arthur Historic Site is listed as 4 hours with an included guided walking tour and additional viewing time described in the stop notes. The entrance fee is listed as not included in the day-3 stop description, but the tour inclusions list says Port Arthur entrance fee is included—so treat this as something you should verify in your confirmation.
Either way, expect the Port Arthur portion to be the centerpiece of the day. It’s where you’ll spend the most time in a place that’s meant to be understood, not just photographed.
Practical tip: this is a long block. Wear shoes you can walk in, and bring layers for changing weather around the site.
Remarkable Cave: steps down for bay and Penguin Rocks views
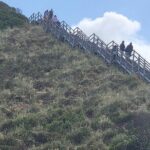
The day ends at Remarkable Cave. You’ll get a lookout view first (with mention of Maingon Bay, Penguin Rocks, and the bay), then time to descend 115 steps for cave viewing.
If stairs are a no-go, you can still enjoy the bay views from the top. If you’re okay with them, it’s one of the more memorable finish points because it adds a sense of motion and dramatic scenery.
What I liked most: guides, organization, and the stop mix that works
The tour’s biggest strength is how the day themes stay clear. You’re not bouncing between unrelated places—Hobart feels like Hobart, Bruny feels like Bruny, and Port Arthur feels like the Port Arthur area.
And the guide factor is real. In the reviews, guide names come up often: Mark and Rob are mentioned with praise for being helpful and engaging, and Anni is singled out for a great Bruny Island guide style, while David gets strong marks for Port Arthur.
One review also highlights that if you have motion sickness, asking about seating can pay off. That’s the sort of small detail that can make the whole trip smoother.
Where this tour might not fit you
This is not a slow-travel, pick-what-you-want kind of trip. You’re on a schedule with multiple stops, so if you want long unstructured time in one place (especially Hobart), you may feel the pinch.
Also, some departures can feel rougher on the body than you expect. One review criticized the van ride on winding roads as bumpy, so if you’re sensitive to motion, plan for it.
Finally, one criticism points to a gap between the stops listed online and what happened in that particular run. You can avoid frustration by reviewing your confirmation closely and having reasonable flexibility about timing.
Who should book this tour (and who should consider alternatives)
This tour is a strong match for:
- First-time Tasmania visitors who want the essentials in three days
- People who like guided interpretation rather than self-planning
- Travelers who enjoy a mix of wildlife + viewpoints + short food tastings
You might rethink it if:
- You want a big chunk of free time in Hobart
- You dislike early starts and long drives between stops
- You need a fully accessible day plan with minimal walking or stairs
Short practical planning tips (so day 2 and 3 feel easy)
- Bring layers: Mount Wellington and the coast can feel different from Hobart city weather.
- Pack snacks or plan lunch spots: lunch and drinks are not included.
- For Bruny Island, a Parks Pass is required, and the tour info recommends buying online in advance or via phone during the day.
- If you care about exactly which attractions get done, re-check your confirmation email so expectations match reality.
Should you book 3 day Tasmanian highlights from Hobart?
If you want an efficient Tasmania sampler with real character, I think this is a solid book. The combination of Mount Wellington, island viewpoints on Bruny, and the Port Arthur centerpiece gives you breadth without forcing you to plan every ticket and route.
I would book it especially if you like small-group tours and you’re happy with a structured day. If you’re prone to motion sickness or you crave lots of free time in one city, you’ll need to manage expectations and plan for the pace.
FAQ
Is lunch included on this 3-day tour?
No. The tour info lists lunch and drinks as not included, so you’ll want to plan for meals during breaks or at stops where purchases are possible.
What time does the tour start?
The start time is listed as 7:30 am, and the tour ends back at the meeting point.
Does the tour include hotel pickup in Hobart?
Yes. It includes hotel pickup and drop-off from selected CBD hotels.
How big is the group?
The tour has a maximum of 20 travelers.
Is Salamanca Market included?
Salamanca Market is included only on Saturdays. The tour notes Hobart Highlights is always on Saturdays to include the market.
Do I need a Parks Pass for Bruny Island?
Yes, the tour info says a Parks Pass is required while on the Bruny Island tour, and it recommends purchasing it in advance online or via phone during the day.
Are Bonorong Wildlife Sanctuary and Port Arthur tickets included?
Bonorong Wildlife Sanctuary entry fee is listed as included. For Port Arthur, the included list says the entrance fee is included, but the Port Arthur stop notes say admission is not included—so check your booking confirmation for what’s covered.
Is Mount Wellington admission included?
Yes. The Mount Wellington stop notes list admission as included.
What if the tour can’t run due to weather?
The cancellation info says the experience requires good weather, and if it’s canceled due to poor weather, you’ll be offered a different date or a full refund.