REVIEW · ADELAIDE
d’Arenberg Cube / McLaren Vale Regional Tour
Book on Viator →Operated by Ambler Touring Pty Ltd · Bookable on Viator
Art and wine collide in South Australia. d’Arenberg Cube turns a winery visit into something more visual than usual, and the whole day keeps moving through McLaren Vale’s food-and-drink stops. What I like most is how the tour mixes scenery with tastings, so you’re not just sitting in a cellar with a clipboard.
I also really liked the small group feel and the way the guide (Roger in at least one recent experience) talks with energy about Adelaide Hills and wine culture while you’re driving between places. One thing to consider: the itinerary is packed with multiple tasting stops, so if you’re not into alcohol at all (or you want long, slow time in just one cellar door), this may feel a bit rushed.
In This Review
- Key highlights worth planning for
- McLaren Vale in one day: sea-air mornings to cellar doors
- Price and what $143 really buys you (and why it’s fair)
- Getting rolling from Adelaide: 8:30am start and private transport
- Morning coffee stops: Dawn Patrol and a quick McLaren Vale reset
- Oliver’s Taranga Vineyards: a relaxed hour at a favorite cellar door
- d’Arenberg Cube Winery: art, architecture, and wine in one shot
- Wirra Wirra Cellar Door and lunch at Harry’s Deli: the meal you actually plan for
- Never Never Distilling Co.: gin and tonic flight with bold juniper flavor
- Samson Tall Wines: history, art, and time to unwind
- Guide style and pacing: why a six-person group feels different
- Who should book this McLaren Vale tour (and who should skip it)
- Should you book the d’Arenberg Cube / McLaren Vale Regional Tour?
- FAQ
- What time does the tour start?
- How long is the d’Arenberg Cube / McLaren Vale Regional Tour?
- What group size should I expect?
- Is pickup included?
- Is lunch included?
- What tastings are included?
Key highlights worth planning for
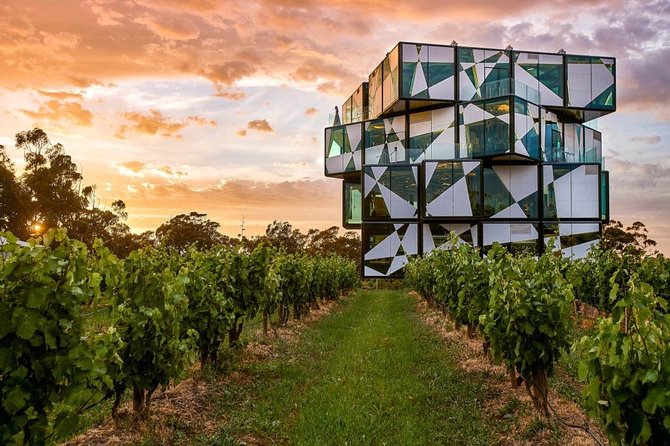
- d’Arenberg Cube as the design-and-wine centerpiece: expect a winery experience where architecture is part of the fun
- Morning coffee in vineyard country: Dawn Patrol and a McLaren Vale coffee stop get your day started
- Oliver’s Taranga tasting time: a full hour at a cellar door that’s built for relaxing
- Wirra Wirra lunch with wine booking: food and wine happen together, not as an afterthought
- Gin + beer included: Never Never gin flight plus a Goodieson Brewery beer paddle round out the day
- Max 6 people on board: more conversation, easier pacing, less waiting around
McLaren Vale in one day: sea-air mornings to cellar doors
This is the kind of Adelaide-area day trip that makes sense if you want variety without planning a full itinerary yourself. McLaren Vale is close enough for a day tour, but it still feels like a real destination: vineyards, coastal influence, and more than enough places where people come to taste and linger.
The tour is built around short, purposeful stops. You get morning coffee, then a run of cellar doors, and the last third leans into gin and beer. The whole point is to give you a wide slice of what the region does well—without the stress of driving and booking everything separately.
You can also read our reviews of more tours and experiences in Adelaide.

Price and what $143 really buys you (and why it’s fair)
At $143 for about 6 to 8 hours, you’re paying for a guided route, transportation, and a stack of included tastings. If you were to do this on your own, you’d likely spend money on two big things: getting between multiple venues and paying for tasting fees across several stops.
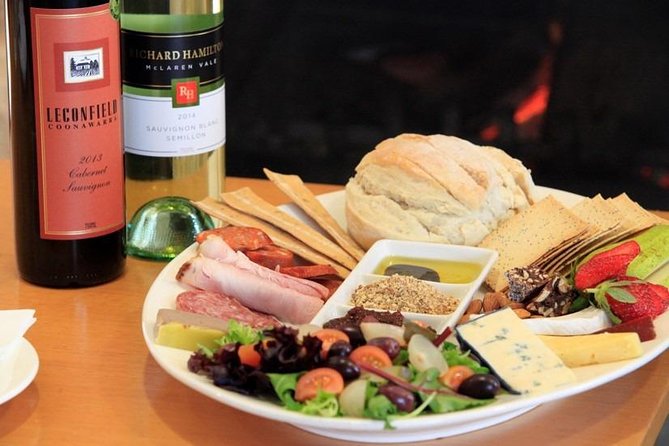
Here’s the value logic I like: the included items cover tastings at Oliver’s Taranga, the d’Arenberg Cube Winery, Wirra Wirra, and Never Never Distilling Co., plus a beer tasting paddle at Goodieson Brewery. Coffee is also covered for the morning. Add in the fact that the vehicle has WiFi on board, and you’ve got a full day that doesn’t require constant decisions.
The one caution is matching your expectations. This is not a slow-tour where you choose one winery and stay for hours. It’s a structured tasting day, which is great for people who like variety—and less great if you want quiet, long hangs in one place.
Getting rolling from Adelaide: 8:30am start and private transport
The day starts at 8:30am, which helps you fit everything in without turning the tour into a late-night wine crawl. You’ll travel by private transportation, and the max group size is 6 travelers—small enough that you actually get time with the guide between stops.
Pickup is offered, and the meeting point is described as near public transportation. If you’re the type who likes to show up early and calm, that works well here, because the first coffee stops move quickly once the group is on the move.
One small comfort I’d call out: WiFi on board is included. It’s not why you book the tour, but it makes the drive more pleasant, especially if you want to map lunch options for later or just check in with friends before you start tasting.
Morning coffee stops: Dawn Patrol and a quick McLaren Vale reset
The itinerary kicks off with a McLaren Vale coffee stop for about 30 minutes, with the ticket listed as free. It’s a straightforward start that lets you settle in, use the restroom, and get a caffeine baseline before the day’s tastings.
Then you move to Dawn Patrol Coffee for another 30 minutes. This roastery/cellar-door style stop is set in vineyard surroundings and focuses on a rotating selection of ethically sourced coffee. For me, this works because it’s not just a quick caffeine hit. It sets a tone for the rest of the day: thoughtful, local, and tied to the region’s food-and-drink culture.
If you’re sensitive to early caffeine or you’re planning to keep alcohol to a minimum later, this timing is helpful. You’ve got coffee in the morning when it’s most needed, and then you can pace the rest.
Oliver’s Taranga Vineyards: a relaxed hour at a favorite cellar door
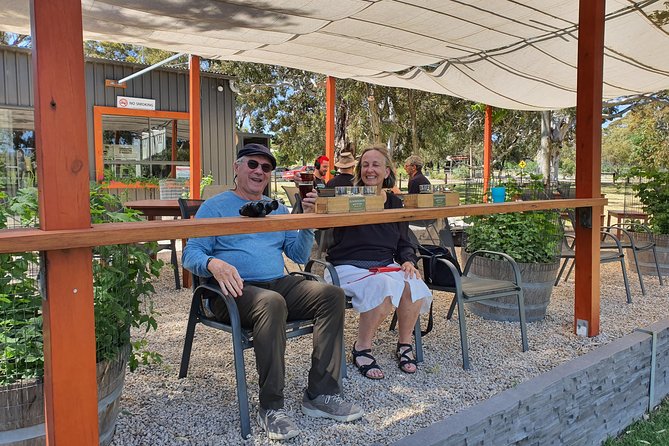
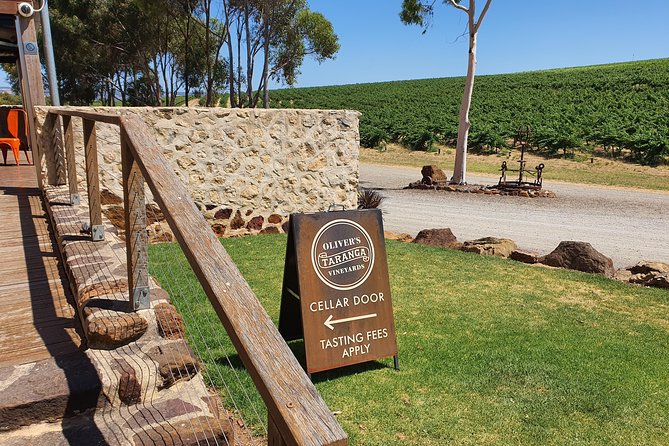
After coffee, you’ll spend about one hour at Oliver’s Taranga Vineyards Cellar Door and Winery. The tasting experience is described as a Tastes of Taranga offering that’s designed to be fun, not overly formal. The vibe here is meant to be easy: take in the scenery, sit with your tasting, and enjoy the hour without being rushed out the door.
This stop is also strategically placed. You’ll have coffee, then a wine/food-focused tasting, then later you’ll hit the bigger headliners like d’Arenberg and Wirra Wirra. In other words: Oliver’s Taranga feels like the day’s warm-up act—still meaningful, but not the final boss.
Potential drawback: if you’re the kind of person who likes to sprint from venue to venue, you might wish this hour were a half hour longer. But if you like tasting at a human pace, this timing is a real plus.
d’Arenberg Cube Winery: art, architecture, and wine in one shot
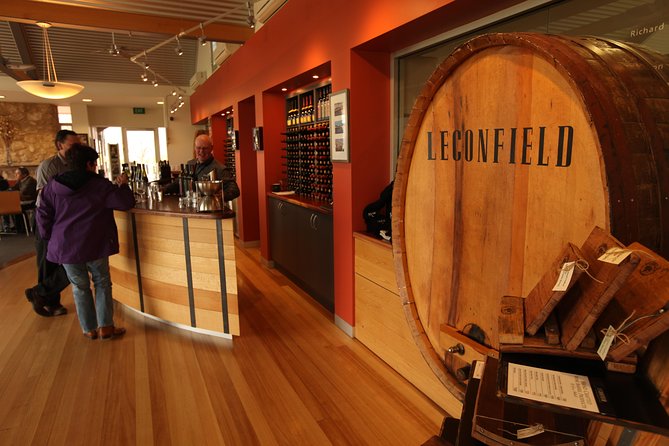
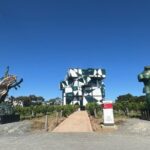
The d’Arenberg Cube Winery stop is the emotional center of the day. The Osborn family has been growing grapes and making wine since 1912, and the experience today is tied to the winery’s distinctive architecture and art approach.
What makes this stop worth your attention is how it changes the mental image of a cellar door. Instead of only thinking about what’s in the glass, you’re also looking at the building and the overall design choices that make the Cube famous. It’s the kind of place where photos make sense—but you’ll get more from it if you slow down and notice the setting.
Your booking includes venue entry and tasting at the Cube in the listed inclusions. That said, the itinerary notes don’t always match line-by-line for ticket details. So I’d treat this as: you should expect the Cube experience and tasting as part of your tour, but double-check your confirmation if you want absolute clarity on any specific add-ons.
If you want a single “signature” stop in the day, this is it.
Wirra Wirra Cellar Door and lunch at Harry’s Deli: the meal you actually plan for
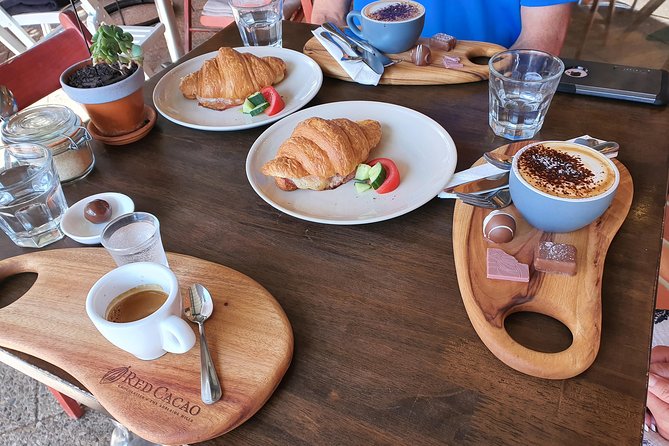
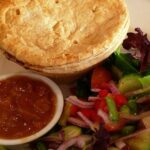
Next up is Wirra Wirra Vineyards, with a 2-hour window that includes wine tasting and lunch. This is one of the most practical parts of the itinerary, because the tour includes a lunch booking at Wirra Wirra – Harry’s Deli.
One thing I like about this setup is that lunch isn’t left to chance. You’re not hunting for a place to eat while everyone’s hungry and the tasting schedule is ticking. You show up, taste, and then lunch fits into the flow.
Wirra Wirra’s cellar door is described as set among vineyards with views to the Willunga escarpment. Even if you’re not the type who stares at views for long, that matters for mood. It makes the lunch break feel less like a pit stop and more like part of the destination.
A note on drinks: lunch with wine is part of the upgrade/included structure, while lunch and drinks outside that plan are listed as your own cost. In plain terms: you’ll have wine with lunch if that’s the version you booked, and you’ll have the option to go beyond it if you choose—but extra purchases aren’t included.
Never Never Distilling Co.: gin and tonic flight with bold juniper flavor
After lunch, you switch gears from wines to spirits at Never Never Distilling Co.. The stop runs about one hour, and you’ll do a gin tasting built around bold juniper flavor.
The distillery produces gin with awards noted as highly awarded, and the focus of your session is the range of products and how they’re built around concentrated juniper. The name of the tasting is described as a gin and tonic tasting flight, so you can expect a guided format rather than just a free-for-all pour.
Why this is a strong tour choice: it breaks up the alcohol experience. Wine can start to blend together after a couple of tastings, but gin tasting tends to refresh your palate—especially with tonic involved.
Practical consideration: if gin isn’t your thing, you can still use this stop for the story and the tasting process. But if you dislike juniper-driven profiles, you might not enjoy the flavor direction as much as someone who likes classic gin notes.
Samson Tall Wines: history, art, and time to unwind
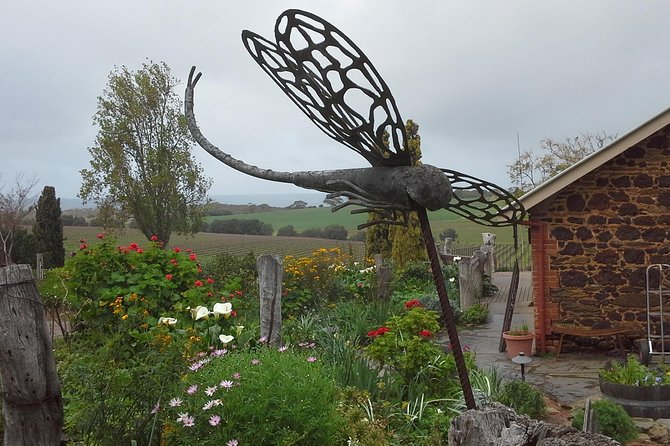
Your final wine stop is about one hour at Samson Tall Wines. This isn’t framed as just another tasting room. The experience is described as a layered journey through history, heritage grape varieties, local art, and vineyard-and-lawns spaces meant for unwinding.
That combination matters. After a full day of tasting, the best finale is one that feels like you can exhale. Samson Tall is positioned as more than a quick pour—there’s an emphasis on heritage and on the visual environment, with art integrated into the setting.
If you like your tastings with a sense of place (and you don’t mind a bit of back-and-forth conversation about grapes and the local story), this last stop lands well. If you’re totally done with alcohol by then, you can still enjoy the art and grounds while you sip more lightly, but the stop is still centered on tasting.
Guide style and pacing: why a six-person group feels different
The small-group size is not a marketing line—it’s part of why this works. With a maximum of 6, you don’t get lost in the shuffle. Questions make it into the conversation, and you’re more likely to get helpful pointers like what to buy if something you tasted is calling your name.
One review detail that stuck with me from people who’ve done this: Roger comes through as extremely passionate about wine and Adelaide Hills, and that attitude shows in how the day moves. The driving stops feel like they have context, not just logistics.
The pacing is also guided. The stops are long enough for actual tasting and food time, but not so long you lose the thread of the day. If you like structure, you’ll appreciate it. If you hate being on a schedule, you might wish for more slack time.
Who should book this McLaren Vale tour (and who should skip it)
This tour is a great fit if you want:
- Multiple wine tastings plus gin and beer without planning or driving
- A day that shows off d’Arenberg Cube as the centerpiece
- Lunch with wine that’s handled for you
- A small group where you can ask questions and not feel rushed
You might skip it if:
- You want one winery only and lots of quiet time
- You don’t drink alcohol and won’t enjoy spirits and wine tastings
- You prefer a slower pace over a packed itinerary
Should you book the d’Arenberg Cube / McLaren Vale Regional Tour?
If you’re excited by the idea of pairing architecture and wine at the Cube, then adding coffee, cellar doors, and a gin/beer finish, this is a strong booking. The price feels reasonable because so much of the tasting day is already covered: wine tastings, gin tasting, a beer paddle, coffee, private transport, and a lunch booking with wine.
I’d book it especially if you like variety and you want your day to feel guided, not assembled from online research. If you want a single, slow winery day, or you’re strictly alcohol-free, then you’ll get more out of a different style of tour.
One last practical tip: wear comfortable shoes and keep a light layer. The day is outdoors around vineyards, and the tasting stops involve walking between venues.
FAQ
What time does the tour start?
The tour start time is 8:30am.
How long is the d’Arenberg Cube / McLaren Vale Regional Tour?
It runs about 6 to 8 hours.
What group size should I expect?
This tour has a maximum of 6 travelers.
Is pickup included?
Pickup is offered, and the tour uses private transportation.
Is lunch included?
The tour offers an upgrade to include a delicious lunch with wine, and your day includes a lunch booking at Wirra Wirra – Harry’s Deli. Lunch and drinks outside that plan are listed as your own cost.
What tastings are included?
Included tastings are Olivers Taranga wine tasting, d’Arenberg Cube Winery entry and tasting, Wirra Wirra tasting, Never Never gin tasting, and a Goodieson Brewery beer tasting paddle, plus coffee stops in the morning. WiFi is also available on board.