REVIEW · ADELAIDE
3-Day Adelaide to Melbourne Tour Including the Great Ocean Road
Book on Viator →Operated by Australian Natural Treasures Touring · Bookable on Viator
Three days, two coasts, one smooth ride. I like the way this small-group Adelaide to Melbourne trip stitches together the Adelaide Hills, Naracoorte Caves, and the Great Ocean Road without you burning your whole holiday behind the wheel.
I especially enjoy that the drive is paired with real interpretation: live commentary onboard, plus a guide who keeps an eye on timing and wildlife chances. I also like the practical value of what’s included: two hotel nights, two breakfasts, and two dinners, along with national park fees and wine tasting.
One consideration: the itinerary is full, and lunch isn’t included, so you’ll want to plan around that (and bring snacks for long scenic stretches).
In This Review
- Key points before you go
- A small-group Adelaide to Melbourne that feels like a plan, not a scramble
- Day 1: Adelaide Hills views, Hahndorf’s German streets, and Naracoorte Caves
- Mt Lofty Summit: first big views over Adelaide
- Hahndorf: old-school German flavor in a small town
- Naracoorte Caves National Park: a guided cave tour with real fossils
- Coonawarra: wine tasting in Limestone Coast country
- Day 2: volcano craters, Port Fairy charm, and the Great Ocean Road’s famous icons
- Blue Lake / Warwar: a crater lake that changes color
- Port Fairy: a liveable coastal town with an easy wander
- Tower Hill Wildlife Reserve: volcanic crater with wildlife potential
- Bay of Islands to London Bridge: start strong with the iconic views
- Loch Ard Gorge: the shipwreck story and the cliffside setting
- Twelve Apostles: morning-light style viewpoints (and a crowd check)
- Day 3: Mait’s Rest rainforest walk, koalas at Kennett River, and Geelong waterfront to Melbourne
- Mait’s Rest: a guided 1 km walk through a cool temperate rainforest gully
- Back to the road: scenic Great Ocean Road into Kennett River for wild koalas
- Geelong: a short waterfront walk before Melbourne
- Price and what you’re really buying for $1,506.21
- What stood out most in the experience (the stuff that makes it feel worth it)
- Guide attention and extra effort
- Wildlife spotting feels less random
- Stress-free driving that still gives you time outside the van
- Who should book this tour, and who might not love it
- Should you book the Adelaide to Melbourne Great Ocean Road tour?
- FAQ
- What time does the tour start in Adelaide?
- How many days and nights is the trip?
- What’s included in the tour price?
- What isn’t included?
- Is pickup and drop-off provided?
- How large is the group?
- Is a vegetarian option available?
- Does the tour operate in all weather?
- Can I cancel for a full refund?
Key points before you go
- Max group size 8 (often smaller), so you’re not stuck in a bus-shaped crowd
- Hotel pickup and drop-off means you start without the headache of navigating meeting points
- Two nights of accommodation plus dinners and breakfasts cuts the budgeting and decision-making
- Naracoorte Caves guided tour includes local interpretation in a World Heritage site
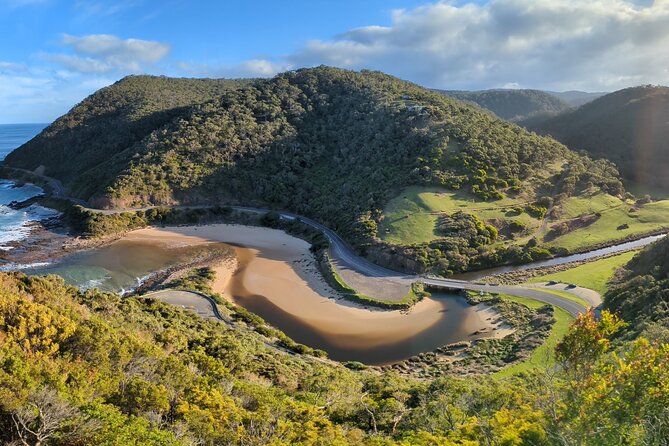
- Great Ocean Road time is built in, with multiple famous stops and a long scenic leg toward Melbourne
A small-group Adelaide to Melbourne that feels like a plan, not a scramble
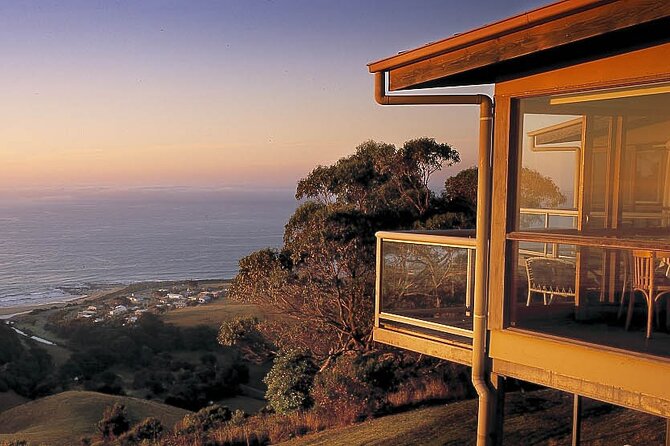
This is a guided, door-to-door style journey that takes you from South Australia into Victoria, with stops chosen to make sense in sequence. You get an air-conditioned minivan, live commentary, and hotel pickup and drop-off, so you spend more energy looking out the window and less energy figuring out parking.
The group size is capped at 8 travelers, and set departures usually run between 2 and 8 adults. That matters. When the van is small, your guide can adjust pacing a bit, pause for wildlife, and keep photo stops from turning into chaos.
Also, the tour starts early at 8:30 am from Adelaide, and it ends in the Melbourne CBD. You’ll be on the go for three days, but the pace is meant to feel relaxed, with time carved out for walking and viewpoints instead of a nonstop sprint.
A few more Adelaide tours and experiences worth a look

Day 1: Adelaide Hills views, Hahndorf’s German streets, and Naracoorte Caves
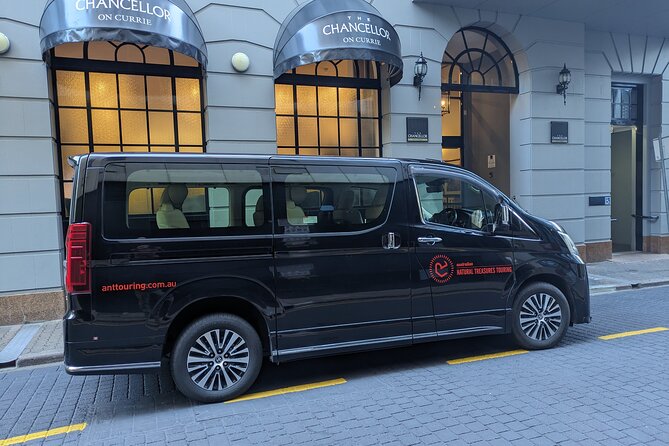
Day 1 is where you get your bearings and taste a slice of South Australia before the ocean drama starts.
Mt Lofty Summit: first big views over Adelaide
You begin at Mount Lofty Summit, the highest point in the Adelaide Hills. It’s a short stop (about 15 minutes), but it’s one of those quick moments that helps you understand the region’s scale. On a clear day, the views give you context for what you’ll see later—hills, valleys, and farmland patterns that don’t show up as well from road level.
This stop is free, and it sets the tone: quick, scenic, and efficient.
Hahndorf: old-school German flavor in a small town
Next is Hahndorf, described as Australia’s oldest surviving German settlement. You get about 30 minutes in the town center, which is just enough time to wander the main street and grab something if you want. The vibe here is practical and local—bakeries, pubs, cafes, and smallgoods shops that still carry that German influence.
Drawback? With only half an hour, you won’t get a slow, deep “linger all afternoon” experience. Think of it as a taste, not a full day in town.
Naracoorte Caves National Park: a guided cave tour with real fossils
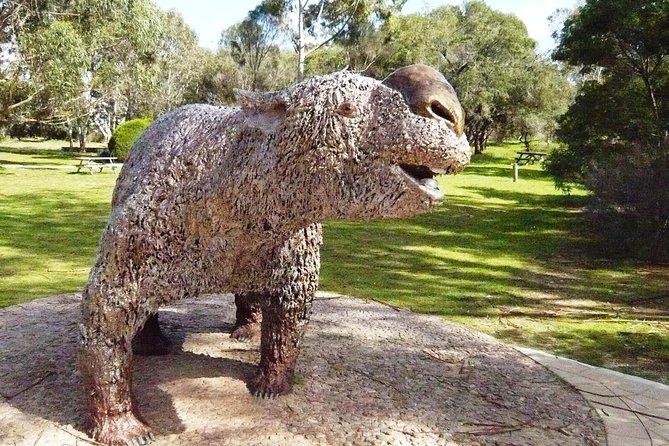
Then comes one of the highlights: Naracoorte Caves National Park. You’ll get a cave tour with a local guide for about 1 hour 30 minutes, and the caves are World Heritage Listed thanks in part to fossil findings. The focus is on limestone formations like stalagmites and stalactites, but the guided part matters because it turns a dark cave into a story you can actually follow.
If you’re the type who loves nature that doesn’t need perfect weather, this stop is a win. Caves work in light drizzle and wind too.
Coonawarra: wine tasting in Limestone Coast country
To close Day 1, you head to Coonawarra, one of South Australia’s key red-wine regions in the Limestone Coast zone. The stop is about 45 minutes and includes wine tasting (included in the price). The big idea here isn’t to turn you into a sommelier—it’s to experience a place known for quality reds and learn the local style in a short, friendly window.
Lunch isn’t included, so if you’re sensitive to long gaps between meals, plan ahead with a snack before you settle in for the afternoon tasting.
Day 2: volcano craters, Port Fairy charm, and the Great Ocean Road’s famous icons
Day 2 is where the itinerary switches from inland and town stops to dramatic coastal geology. It also starts with volcano country—so yes, this day really spans a lot.
Blue Lake / Warwar: a crater lake that changes color
Your first stop is Blue Lake / Warwar, tied to one of the youngest volcanoes in Australia. You’ll have about 15 minutes here, and the crater lake is known for changing colors twice a year. Even if you don’t catch the exact hue you imagined, it’s still a striking example of how volcanic activity can shape scenery in a very visual way.
This is also a good “stretch your legs” stop—short, photogenic, and easy.
Port Fairy: a liveable coastal town with an easy wander
After that, you visit Port Fairy for around 30 minutes. It’s the kind of town where the main street and waterfront sit close together, so you can get the feel quickly. You’re not committing to a long hike or a heavy meal schedule; you’re getting a reset before the Great Ocean Road portion starts.
Tower Hill Wildlife Reserve: volcanic crater with wildlife potential
Next up is Tower Hill, a wildlife reserve in a volcanic crater. You drive down into the crater area and get about 30 minutes there. This stop is built for a different kind of lookout: instead of sea cliffs, it’s open land, vegetation, and the chance of seeing animals in their native setting.
From the reviews, wildlife watching is a big part of why people love this tour—especially when your guide times stops well. You can’t control nature, but you can control whether you have a guide watching for opportunities.
Bay of Islands to London Bridge: start strong with the iconic views
After lunch (not included), you shift into the Great Ocean Road proper. The tour starts with a series of scenic viewpoints, including the Bay of Islands, Bay of Martyrs, and the London Bridge area. You’ll spend about 45 minutes for this segment, with time aimed at the kind of photo angles that make these spots famous.
One reason this route works on a guided tour: you’re not figuring out pull-offs and parking while your day is already sliding away.
Loch Ard Gorge: the shipwreck story and the cliffside setting
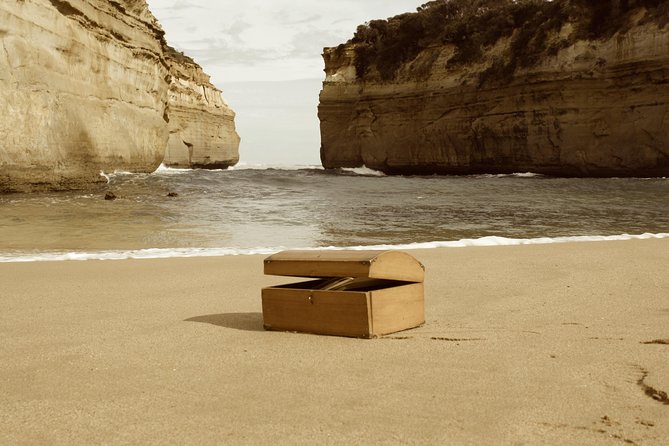
Then you head to Loch Ard Gorge, about 40 minutes. This is a stop with a clear narrative: it’s tied to a famous 19th-century shipwreck, and you’ll hear the story as part of the experience. Even if you’re not the biggest “history buff,” it’s worth it because the setting helps you picture what happened—calm voyage, tragic wreck, and the survivors.
This is also the part of the day where your legs may start asking for a break. The tour keeps it manageable, but come ready to stand, look, and walk a bit.
Twelve Apostles: morning-light style viewpoints (and a crowd check)
You finish the main Great Ocean Road icons at the Twelve Apostles for about 40 minutes. The itinerary notes that you arrive as the stacks are lit by morning sun, and it’s framed as a bonus with photo timing and less crowd pressure compared to some longer-tour patterns.
If you’ve ever experienced the chaos of a viewpoint bus line, you’ll appreciate a route that aims for better timing.
Day 3: Mait’s Rest rainforest walk, koalas at Kennett River, and Geelong waterfront to Melbourne
Day 3 keeps the nature theme going, but swaps out the rock cliffs for rainforest and animal spotting.
Mait’s Rest: a guided 1 km walk through a cool temperate rainforest gully
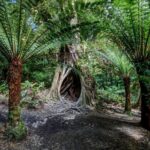
You start at Mait’s Rest with a guided walk of about 1 km through a cool temperate rainforest gully. The highlight here is the kind of plant life you won’t see at home—world’s tallest flowering plants (as described for this stop), plus prehistoric trees and ferns. You’ll also see features like Yabbie Chimneys.
This is a smart stop if you want variety. After two days of coastal and volcanic scenery, the rainforest gives you something different to look at and a different soundscape too—more shade, more moisture, more small details.
Back to the road: scenic Great Ocean Road into Kennett River for wild koalas
Next, you do a long scenic drive segment—about 6 hours along the Great Ocean Road—then you head toward Kennett River for koala viewing. The tour framing is that you’ll look for koalas in their native setting, plus you’ll visit scenic spots along the way.
This is one of those days where patience pays. Don’t treat wildlife like a guarantee; treat it like a chance you’re given by having the right route and a guide who knows where to look.
Geelong: a short waterfront walk before Melbourne
On the way into Melbourne, you stop in Geelong for around 20 minutes. You can walk along the redesigned waterfront, then the tour turns onward to Melbourne. It’s enough time to stretch and get one last dose of water views without dragging you away from your final destination.
Then you arrive in the Melbourne CBD, ending the journey after three packed days.
Price and what you’re really buying for $1,506.21

At $1,506.21 per person, this tour costs more than basic self-drive options. But you’re not just paying for a car and a list of stops.
You’re paying for:
- Transportation in an air-conditioned minivan with hotel pickup and drop-off
- A maximum of 8 travelers, which is a real quality-of-life upgrade
- Two nights of accommodation
- Breakfast x2 and dinner x2
- National park fees, wine tasting, and guided cave time
- Live commentary across long road stretches
When you add up how much time and stress self-driving can consume—planning meals, dealing with parking, paying for attraction entries, and fitting everything into a realistic driving schedule—the price starts to look less like a splurge and more like a bundle.
It’s also worth noting the reviews praise the overnight stays as top notch in the areas where the tour stops. That’s exactly the kind of value you feel on Day 2 and Day 3, when you’re done with moving but still want a comfortable place to reset.
What stood out most in the experience (the stuff that makes it feel worth it)
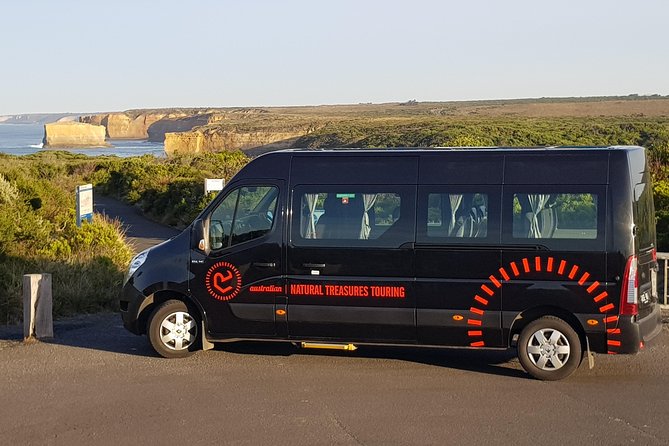
The most praised parts are not just the scenery. It’s how the day is managed.
Guide attention and extra effort
The tour’s guides go by names like Eddie and Pierre. People specifically highlight how they go the extra mile—showing you designated sights, tracking wildlife, and helping everyone get where they need to be on time. That kind of guidance matters most during the long Great Ocean Road day, where a small timing slip can make a viewpoint feel overcrowded or rushed.
Wildlife spotting feels less random
From the reviews, wildlife sightings like koalas, kangaroos, and emus show up as a memorable element. No guide can promise animals. But when the group has a plan and a person scanning for opportunities, the odds improve—and you can enjoy the hunt instead of feeling like you’re driving in circles.
Stress-free driving that still gives you time outside the van
People love the idea of enjoying the Great Ocean Road without the stress of driving it. You still get multiple stops and photo viewpoints, but you’re not taking on the full workload of navigation and time management.
Who should book this tour, and who might not love it
This fits best if you:
- want a guided small group rather than solo road-tripping
- love varied nature stops: caves, crater lakes, rainforest walk, and coast icons
- prefer having meals and accommodation handled for the two nights in between
- like your schedule structured, but not frantic
You might want to look for another option if you:
- hate long scenic road segments (Day 3 includes a long 6-hour Great Ocean Road drive section)
- want total control over meal choices, since lunch is not included
- plan to spend lots of time in a single town, because Hahndorf and Port Fairy are shorter stopovers
Should you book the Adelaide to Melbourne Great Ocean Road tour?
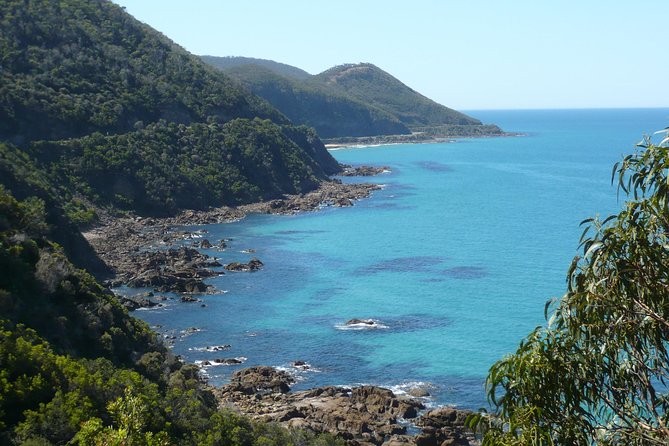
Yes—if you want the Great Ocean Road and the South Australian highlights without turning your trip into a logistics project. The mix is strong: Naracoorte Caves adds a non-coastal wow factor, Hahndorf gives culture, Coonawarra keeps it flavor-focused, and Day 2 and Day 3 deliver the signature coast-and-wildlife experience.
If you’re price-sensitive, do the math for the included items. Once you factor in two nights of lodging, two dinners, two breakfasts, national park fees, wine tasting, and pickup/drop-off, the cost becomes easier to justify.
My practical advice: pack a snack strategy for days when lunch isn’t included, and dress for all-weather conditions. This is the kind of tour where the schedule is built to keep moving, but your comfort will determine how much you enjoy the walking and rainforest gully part.
FAQ
What time does the tour start in Adelaide?
The tour starts at 8:30 am in Adelaide.
How many days and nights is the trip?
It’s about 3 days, including 2 nights of accommodation.
What’s included in the tour price?
Included items are 2 nights accommodation, national park fees, wine tasting, live commentary, hotel pickup and drop-off, transport by air-conditioned minivan, 2 breakfasts, and 2 dinners.
What isn’t included?
Lunch and alcoholic drinks (available to purchase) are not included.
Is pickup and drop-off provided?
Yes, the tour includes hotel pickup and drop-off.
How large is the group?
For set departures, group sizes run between 2 (adults) and 8 guests, and the tour has a maximum of 8 travelers.
Is a vegetarian option available?
Yes. A vegetarian option is available if you advise at the time of booking.
Does the tour operate in all weather?
It operates in all weather conditions, so you should dress appropriately.
Can I cancel for a full refund?
You can cancel up to 6 days in advance for a full refund (must cancel at least 6 full days before the start time).