REVIEW · SYDNEY
Jervis Bay Highlights Tour – Small Group Experience Scenic Coast
Book on Viator →Operated by 77Tours · Bookable on Viator
One full day of coast magic.
This Jervis Bay Highlights Tour pairs classic South Coast icons with professional photo and video keepsakes, so you get more than scenery—you get something to share afterward.
I love that the group is capped at 11 people, which keeps the vibe relaxed instead of chaotic at lookouts and beach stops. One possible drawback: it’s a long day with an early 7:00 am departure, and lunch is on your own dime.
In This Review
- Key highlights at a glance
- A long day, well-paced: what the route really feels like
- Getting to the start point near Sydney Central
- Sea Cliff Bridge: the short walk that turns into epic photos
- Bald Hill Lookout: ocean views plus a chance at whales and dolphins
- Driving the coast: Sea Cliff Bridge to Kiama Blowhole
- Kiama Blowhole: wave power you can feel
- Gerringong lunch break: plan to eat, not just fuel
- Hyams Beach: white sand, turquoise water, and time to walk
- Kangaroo spotting at the open area in NSW
- Cave Beach in Booderee National Park: a quiet end with wildlife potential
- The best part you might not expect: photo and video support
- Price and value: is $175.72 worth it?
- Who this tour is best for
- Weather and comfort: the one big variable
- Should you book the Jervis Bay Highlights Tour?
- FAQ
- How long is the Jervis Bay Highlights Tour?
- What’s included in the price?
- What places do we visit during the day?
- Is lunch provided?
- How big is the group?
- What if I don’t see whales, dolphins, or kangaroos?
- What should I know about weather?
Key highlights at a glance
- Small group feel (max 11) makes photo stops smoother and questions easier.
- Pro photos and videos included so you don’t have to worry about capturing the moment.
- Sea Cliff Bridge viewpoint is a short walk to high drama over the coast.
- Kiama Blowhole delivers a loud, impressive wave show without effort.
- Hyams Beach white sand plus time for a scenic walk and a swim if conditions are right.
- Booderee National Park wildlife moments add a peaceful end to the day.
A long day, well-paced: what the route really feels like
This is built as a highlights loop along the NSW South Coast, starting early and running long. You’ll be on the road for stretches, then you’ll get focused stops where you can actually look, walk, and photograph without feeling like you’re just getting dropped and dashed.
What makes it work for me is the mix: big-view lookouts, a stop that’s pure spectacle (the blowhole), and beaches where you can slow down. The tour also has a photo-first rhythm. Instead of everyone scrambling, you get help timing your moments so you’re not fighting for angles.
You’ll return to Sydney Central in the evening, so plan for a full-day schedule rather than a quick excursion. If you like to get up and get moving—this tour fits your style.
You can also read our reviews of more tours and experiences in Sydney.
Getting to the start point near Sydney Central
The meeting point is at Central Station Kiss and Ride Bay at Railway Colonnade Dr, Haymarket NSW 2000. Since the tour starts at 7:00 am, you’ll want to arrive early enough to settle in, grab water, and be ready to roll.
A small but useful detail: you’ll use a mobile ticket. That tends to make mornings less stressful, especially when you’re arriving before most of the city has fully woken up.
Sea Cliff Bridge: the short walk that turns into epic photos
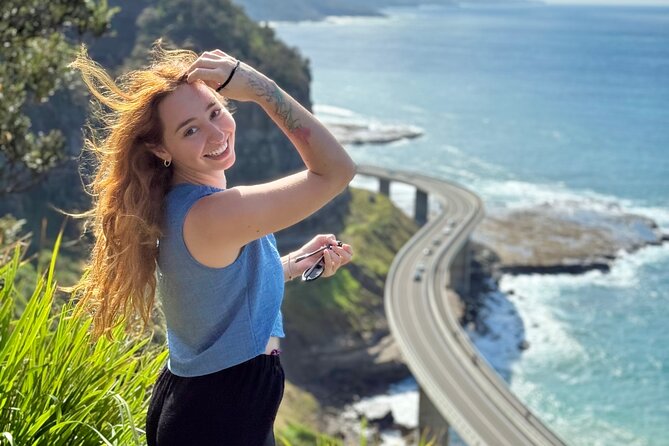
Sea Cliff Bridge is one of those spots where even a quick stop feels cinematic. You’ll see it from a viewpoint above the bridge after a short walk (about 10–15 minutes), and the point is simple: dramatic coastal cliffs, strong “wow” factor, and a perfect place to get photos that look like they took effort.
There’s also a practical upside. This stop gives you time to reposition and reframe—so if you’re picky about shots (or just trying to avoid blurry tourist photos), you’ll appreciate the breathing room.
I also like that the stop isn’t all about staring. You’re encouraged to walk and explore the viewpoint area, so you’re not stuck in one spot waiting for the group to move on.
Bald Hill Lookout: ocean views plus a chance at whales and dolphins
Next comes Bald Hill Lookout, a classic coast vantage point where the ocean spreads out in every direction. The tour gives you a set chunk of time here (around 30 minutes), which is just enough to take photos, scan the horizon, and settle into the view.
The real reason this stop is worth it: you might spot whales or dolphins. The tour doesn’t promise sightings, but it flags the possibility—so you’ll know to keep your eyes up, not just your camera pointed down.
If you’re traveling with kids or anyone who needs to “feel the reward,” this is a great payoff moment. The view does the work instantly, even if wildlife doesn’t show up.
Driving the coast: Sea Cliff Bridge to Kiama Blowhole
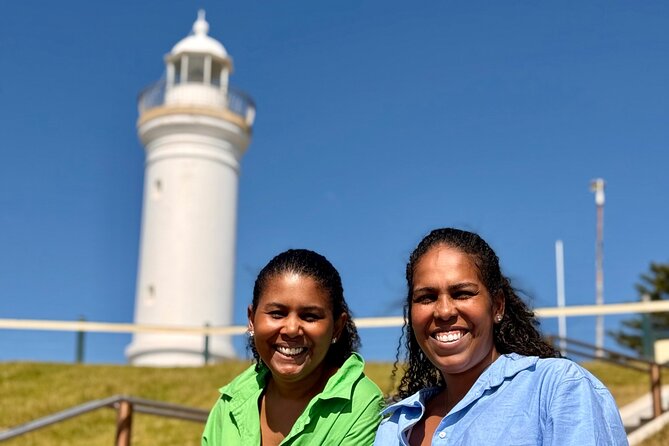
Between stops, you’ll drive along the South Coast route and work your way toward Kiama. If you’re the type who loves seeing how places connect—this stretch gives you that.
The tour’s structure matters here. You’re not stuck watching the scenery through a window for the whole day. You have multiple moments where you step out, stretch, and actually experience the coast on your feet.
- Blue Mountains Small-Group Tour from Sydney with Scenic World,Sydney Zoo & Ferry
★ 5.0 · 3,709 reviews
Kiama Blowhole: wave power you can feel
Kiama Blowhole is one of the most satisfying stops on the schedule because it’s active. This isn’t a quiet lookout where you wait for nature to decide to cooperate. It’s known for powerful waves that shoot water high into the air.
You get about 50 minutes here. That’s the right amount of time to watch a few cycles, grab photos, and also move around for better angles without the feeling that you’re racing the clock.
A small practical note: when blowholes are in action, the area can get misty. Wear shoes you’re comfortable with and keep your camera protected. If you’re doing this on a bright day, you’ll still want to be mindful—spray can sneak up fast.
Gerringong lunch break: plan to eat, not just fuel
Gerringong is your lunch stop (about an hour), and it’s the kind of place that makes lunch feel like part of the outing instead of a reset button. The tour sets you down with an ocean view lunch time break, but lunch itself is on your own expense.
Because you’re on a guided day trip, this is one of the few moments where you’re deciding for yourself what to eat. I like that it gives you flexibility while still keeping the tour on track.
If you’re traveling with a group and you want fewer decisions, this is where you can ask the guide what nearby options are easy and quick. The best lunches are usually the ones you don’t have to think hard about.
Hyams Beach: white sand, turquoise water, and time to walk
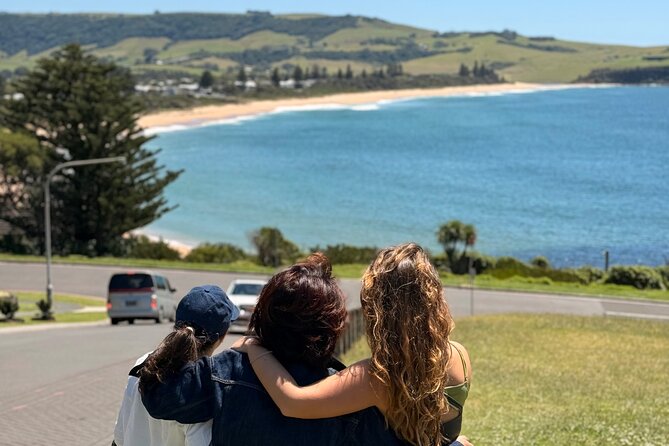
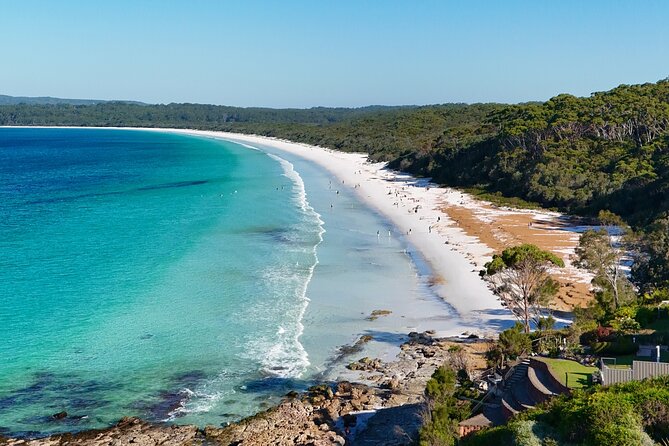
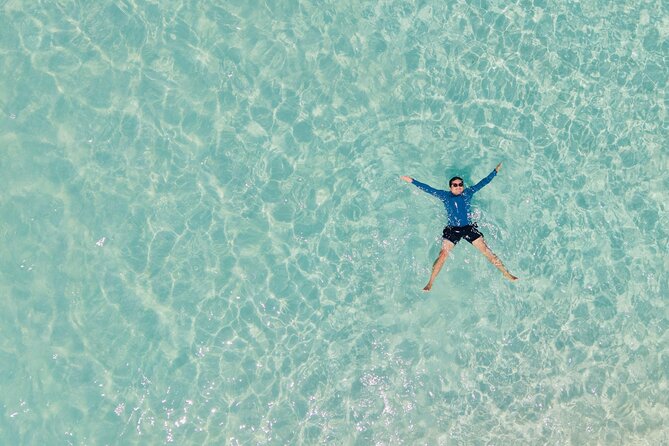
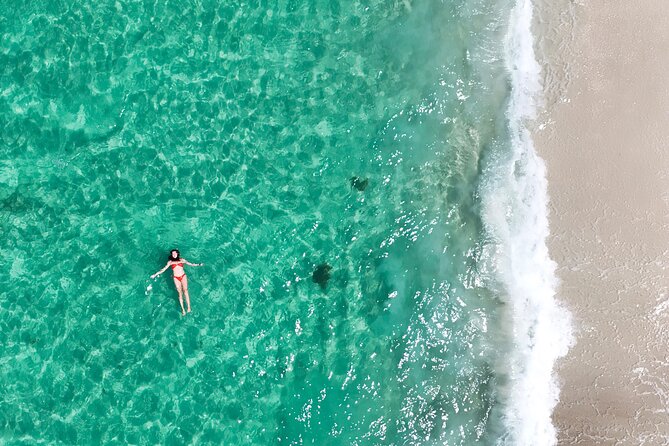
Hyams Beach is famous for incredibly white sand and clear water. Even if you’ve seen photos before, the contrast hits in person. This stop gives you around 50 minutes, enough time to do what you want: relax, take photos, and—if it’s comfortable—get a swim in.
One of my favorite parts of this stop is the option to walk the White Sands Walk. It’s not required, but it adds variety beyond “stand, pose, snap, leave.” You get a chance to stretch your legs and move through the beach area at a slower pace.
If you’re a photographer, Hyams is a gift. The sand color helps your pictures pop, and the water tone makes for clean, bright backgrounds. Just be ready for sun—bring sunscreen and something to shade yourself between shots.
Kangaroo spotting at the open area in NSW
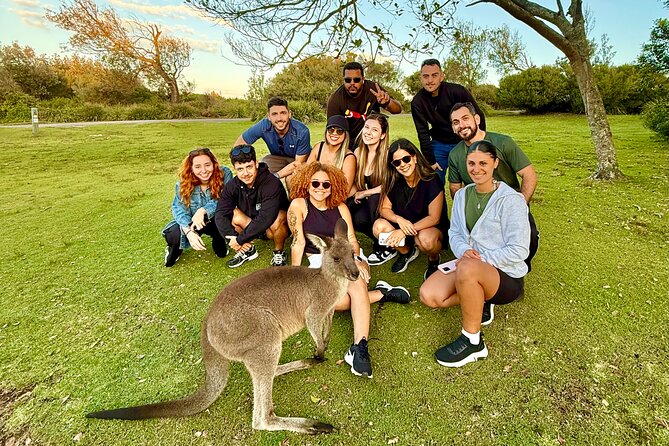
Mid-to-late in the day, you’ll visit an open natural area where kangaroos live freely in their environment. The tour gives about 50 minutes here, which is a good window. You’re not just passing through; you have time to watch movement and wait for animals to come closer.
This is also one of the more calming stops. After the spectacle of the blowhole and the bright beach vibe, this feels like a breather. You can slow down, take landscape-style photos if you like, and just enjoy the natural behavior you’re seeing.
Of course, kangaroos aren’t pets. Keep your distance and let them do their thing. Your goal is respectful viewing, not chasing a moment.
Cave Beach in Booderee National Park: a quiet end with wildlife potential
The day finishes at Cave Beach inside Booderee National Park. This is where the tour slows down emotionally. Instead of more “must-see” energy, you get a peaceful coastal scene with a good chance to see wild kangaroos.
The timing is great because it’s often the moment when everyone’s energy stabilizes—after a full day of stops, you finally get a setting that feels easy to enjoy. You can take photos, breathe a bit, and just settle into the coast.
This stop also works well if you’re traveling with people who don’t want nonstop walking. Even with a small group, Cave Beach gives you space to enjoy the scenery at your pace.
The best part you might not expect: photo and video support
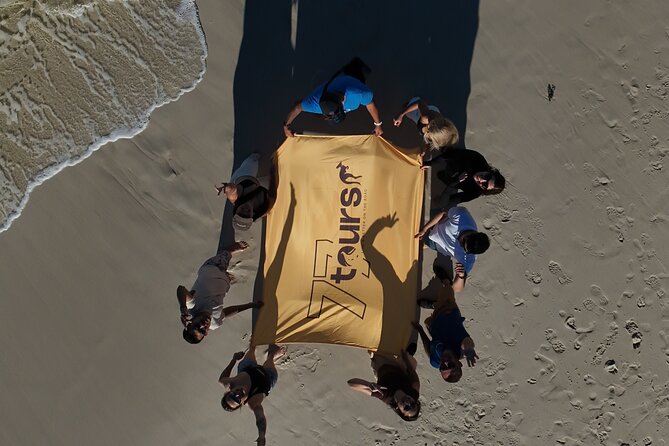
A big differentiator here is the included professional photo and video coverage. That’s not a small perk. It changes how you experience the day because you can relax instead of micromanaging every shot.
In the feedback, I saw strong appreciation for how guides help with practical comfort and timing—things like support with photo moments and even reminders about when and where breaks are easier. One review credited the guide’s care during a bush walk, including help for photos and bathroom breaks, plus restaurant suggestions for lunch.
Lucas is named in multiple comments as a standout guide: engaging, communicative, and focused on making sure everyone feels at ease. That matters because coastal days can be windy, bright, and fast-moving with lots to see. Having someone who helps you get your bearings reduces the stress and lets you enjoy the day.
Small group size helps this too. With up to 11 travelers, it’s easier for the guide to check in and keep the flow smooth.
Price and value: is $175.72 worth it?
At about $175.72 per person, you’re paying for more than a bus ride. You’re buying a full-day route, transportation, timed stops at major coastal highlights, and—most importantly—professional photos and videos that you don’t have to plan and shoot yourself.
The value really comes from the combination:
- You get to multiple iconic places in one day without needing a car or stitching together separate tickets.
- The stops are structured so you get walking time and view time, not just a quick roadside glance.
- The photo/video component offsets the cost of doing these same stops independently with rentals, parking, and your own shot attempts.
The one cost factor you should account for is lunch in Gerringong, since that expense is yours. If you budget for a meal, the overall day feels more straightforward.
Who this tour is best for
This fits best if you want a guided, low-planning day with lots of scenery—and you like having photos handled for you. It’s also ideal for families or mixed-age groups because the pacing includes clear stop times and the guide focuses on comfort and ease.
You’ll likely enjoy it if:
- You’re visiting Sydney for a short time and want a high-return day trip.
- You want a manageable group size rather than a crowded coach.
- You care about photos but don’t want to spend the day fussing with settings.
It may feel less ideal if you dislike early mornings or prefer super-flexible schedules where you can stay as long as you want at one place. This tour is timed by design.
Weather and comfort: the one big variable
This experience requires good weather. Coastal routes change quickly when conditions turn rough, and you’ll want sunshine and visibility for lookouts and beach stops.
Also, this is a day where you’ll walk a bit at viewpoints and likely spend time outdoors in the sun and salt air. If you pack like a pro—hat, sunscreen, water, and shoes you can trust—you’ll get more out of every stop.
Should you book the Jervis Bay Highlights Tour?
I’d book it if you want a guided South Coast highlights day that balances big views, fun natural spectacle, and relaxing beach time—with a strong photo/video payoff. The small group limit and guide attention (including support for photo timing and comfort) are the kind of details that make the day feel easier.
I’d think twice if you’re sensitive to early starts or you want full freedom to wander without any timetable. It’s a structured 10–12 hour outing, and you’ll feel the pace.
If your goal is to see the key coastal highlights from Sydney without the hassle of driving, parking, and planning, this tour is a solid way to get it done.
FAQ
How long is the Jervis Bay Highlights Tour?
The tour runs about 10 to 12 hours, starting at 7:00 am and returning to Central Station in the evening.
What’s included in the price?
The price includes the guided full-day tour and professional photos and videos. Lunch at Gerringong is an additional cost since it’s at your expense.
What places do we visit during the day?
You’ll stop at Sea Cliff Bridge (viewpoint), Bald Hill Lookout, Kiama Blowhole, Gerringong for lunch, Hyams Beach, an open area where kangaroos live freely, and Cave Beach in Booderee National Park.
Is lunch provided?
Lunch is not included. You’ll have about an hour in Gerringong for lunch with an ocean view, and you pay for what you choose.
How big is the group?
The tour has a maximum of 11 travelers, so it’s a small-group experience.
What if I don’t see whales, dolphins, or kangaroos?
The tour notes chances for wildlife sightings at places like Bald Hill Lookout and the Booderee National Park area, plus kangaroos in an open natural area. Sightings aren’t guaranteed, but the stops are still worth it for the scenery.
What should I know about weather?
The tour requires good weather. If poor weather cancels the experience, you’ll be offered a different date or a full refund.
More Tours in Sydney
- Blue Mountains Small-Group Tour from Sydney with Scenic World,Sydney Zoo & Ferry
★ 5.0 · 3,709 reviews
More Tour Reviews in Sydney
- Blue Mountains Small-Group Tour from Sydney with Scenic World,Sydney Zoo & Ferry
★ 5.0 · 3,709 reviews