REVIEW · HOBART
Richmond and Wine Tour
Book on Viator →Operated by Boutique Wine Tours Tasmania · Bookable on Viator
Tasmania’s wine and colonial streets in one day. This small-group Richmond and wine tour pairs multiple cellar doors with time to wander one of Tasmania’s best-preserved colonial towns. I like that it’s built for people who want the fun parts (tastings, photos, lunch) without the hassle of driving and picking wineries on the fly.
Two things I especially like: the round-trip transport from Hobart, and the easy pace that still leaves room for sightseeing. You’ll also meet friendly hosts at the wineries, including Darren and Jackie at Puddleduck Wines, plus your driver Peter, who sets the tone for a relaxed day.
One consideration: you’re going to be tasting all day. Even with the food and cheese stops, plan to take it slow and bring comfy shoes for Richmond’s walking time.
In This Review
- Key highlights
- How Richmond and these wineries fit together
- Getting to the tour: Hobart meeting point and timing
- The first stop: Puddleduck Wines and a proper welcome
- The Pooley Wines stop: Belmont Lodge and cellar-door tastings
- Coal Valley Vineyard: short tastings and big views
- Richmond Bridge: your iconic photo stop
- Richmond town time: colonial streets, boutiques, and the Gaol story
- The Wicked Cheese Co. stop: where the tasting balances out
- What the pacing feels like in real life
- Transport and comfort: what you should expect
- Price and value: is $157.08 worth it?
- Who this tour suits best (and who might want something else)
- Should you book the Richmond and Wine Tour?
- FAQ
- How long is the Richmond and Wine Tour?
- What time does the tour start in Hobart?
- Where do I meet the group?
- What is the tour price per person?
- How many travelers are on this small-group tour?
- Is round-trip transport included from Hobart?
- What wineries and stops are included?
- Are wine tastings and admission included?
- Is Richmond Bridge included in the visit time?
- What is the cancellation policy?
Key highlights
- Maximum 13 travelers keeps the vibe social without feeling chaotic
- Round-trip transport from Hobart means you can enjoy tastings worry-free
- Wicked Cheese Co. tastings included gives you a salty counterpoint to the wine
- Richmond Bridge and colonial streets add real sightseeing value, not just drinking
- Multiple cellar doors with set tasting times helps you avoid decision fatigue
How Richmond and these wineries fit together
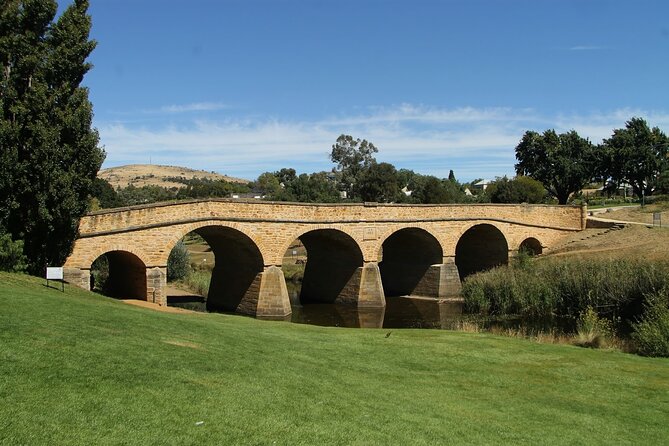
Richmond is the kind of Tasmanian town you can fall into quickly. Colonial buildings, classic bridge views, and little shops make it feel like a day trip that actually has a story. This tour smartly links that town time with wine tasting nearby, so your day doesn’t split into two separate agendas.
You also get the best of both worlds: planned winery stops where you can taste without rushing, plus free time in Richmond where you can take photos and browse boutiques at your own tempo. The itinerary is built around short hops between stops, which keeps things feeling smooth instead of bouncing around for hours in transit.
You can also read our reviews of more wine tours in Hobart


Getting to the tour: Hobart meeting point and timing
The tour starts at 9:30 am at the Tasmanian Travel & Information Centre, 20 Davey St, Hobart. You’ll return to the same meeting point at the end of the day. Expect a full day out, at about 7 hours 30 minutes.
This matters more than you might think. A 9:30 start is early enough to get to the first cellar door with time to settle in, but late enough that you don’t feel like you’ve sacrificed your whole morning. And because the end point is back where you began, you avoid the extra stress of transfers or rerouting yourself.
Your group is kept small, with a maximum of 13 travelers. That size helps with comfort on the bus and also makes conversations easier—especially if you’re traveling solo and want an easy way to meet people.
The first stop: Puddleduck Wines and a proper welcome
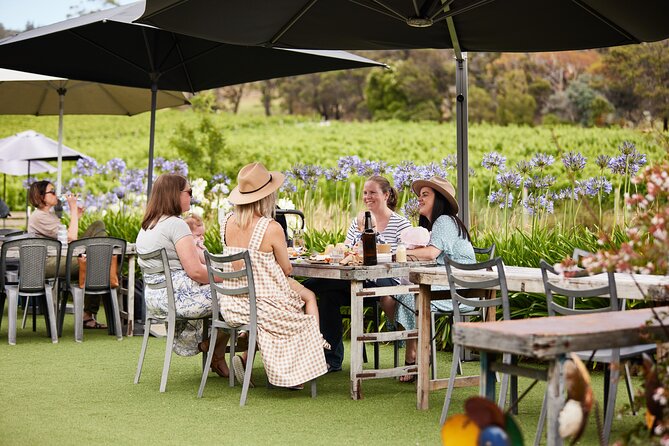
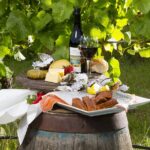
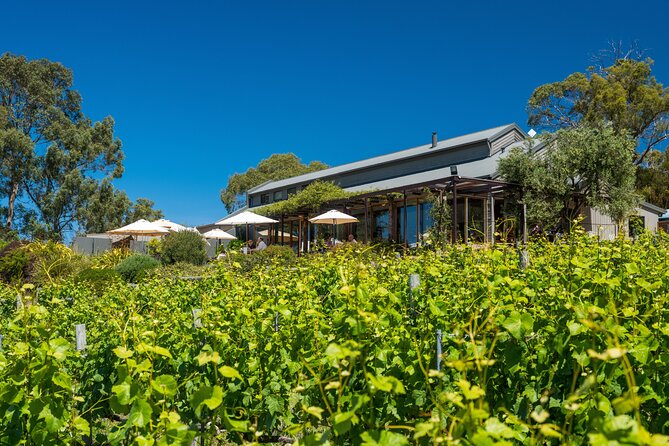
Stop 1 is Puddleduck Wines, where you’ll meet Darren and Jackie. This is the kind of start that makes the day feel warm and personal rather than mechanical. You get about 1 hour here, and it’s not just pours. There’s a lunch platter included, plus you’ll be sampling their acclaimed wines.
Why this is a good start: eating early helps you enjoy the tastings later. Several guests also point out that the day gets lively, so having food at the start is practical, not just a nice bonus. If you’re even slightly sensitive to alcohol, this first stop gives you a foundation.
Potential drawback: because this is your longest winery stop, it can set your pace. If you want to savor every wine calmly, pace yourself during the hour so you don’t feel rushed as the rest of the schedule rolls on.
The Pooley Wines stop: Belmont Lodge and cellar-door tastings
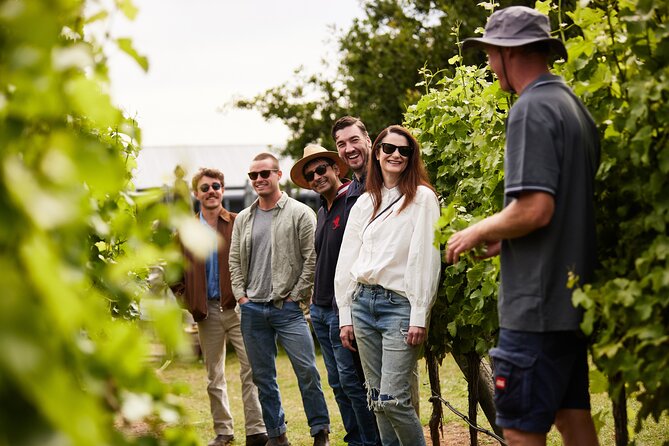
Stop 2 is Pooley Wines, held at heritage-listed Belmont Lodge. You’re there for about 30 minutes, which means this is a tasting-focused stop—less hanging around, more structured “try what they offer” time.
What I like about this part is the setting. A heritage-listed lodge turns a quick tasting into something you can actually remember. And with cellar-door tastings included, you’re not guessing what to order or where to start.
Some guests also describe an expanded tasting flow in this area—things like additional nearby cellar-door options (including Nocton and One Man and His Dog) plus pizza during the day. Even if the exact mix varies by day, the core idea stays the same: you get a concentrated block of wine tasting without needing to plan ahead.
Coal Valley Vineyard: short tastings and big views
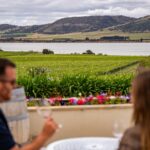
Stop 3 is Coal Valley Vineyard for around 30 minutes. Here, the vibe shifts toward a cozy cellar door feel, with stunning vistas that make it easier to slow down for a photo and a breath between tastings.
The time is short, so you’ll want to keep your priorities clear: taste first, then take photos. This is also a good stop for anyone who wants scenery without turning the day into a long bus-and-wait routine.
One thing to watch: if you tend to “linger” in tasting rooms, this half-hour can feel quick. Still, it’s the kind of time slot that keeps the whole itinerary on track and prevents the day from dragging.



Richmond Bridge: your iconic photo stop
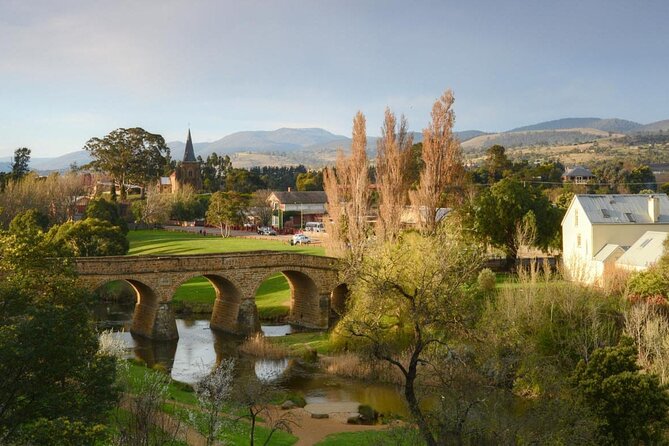
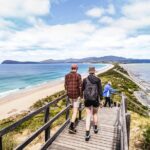
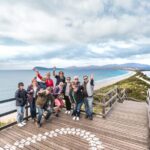
Stop 4 is Richmond Bridge, and it’s only about 10 minutes. But don’t ignore it. This is the oldest bridge still in use in Australia, so you’ll get a real-world, photo-friendly Tasmania moment without needing to spend your whole day there.
Even 10 minutes is enough to step out, look up close, and grab a couple good shots. It also works as a mental reset: after wine tastings, you get fresh air and a clean visual target.
Practical note: with such a short time here, bring your phone battery habits. If you’re taking lots of photos, be mindful of screen time and storage.
Richmond town time: colonial streets, boutiques, and the Gaol story
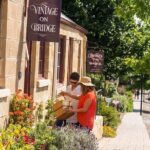
Stop 5 is Richmond, with about 1 hour of free time. This is your sightseeing payoff. Richmond is known for some of Australia’s oldest colonial buildings, including the Richmond Bridge and the Gaol, which predates Port Arthur.
What you can do in an hour:
- stroll the main streets and absorb the colonial architecture
- pop into boutiques (it’s the kind of town where shopping is part of the charm)
- grab an ice cream or stop in a pub for a drink if you want a break from tasting-room mode
You’ll feel the difference between “seeing Richmond from a bus window” and actually walking it. The town is compact enough to enjoy, but still varied enough that you won’t feel bored if you like photos and wandering.
The Wicked Cheese Co. stop: where the tasting balances out
Stop 6 is The Wicked Cheese Co., with about 10 minutes and cheese tastings included. This is an easy win for the day because cheese doesn’t compete with wine—it changes the flavor conversation.
The cheese here is described as award-winning and boutique, and it’s crafted near Richmond. If you’re the type who enjoys pairing salty, creamy bites with wine, this is where you’ll feel the payoff. Guests strongly suggest getting the cheese platter, because it gives you enough variety to make the tastings interesting.
Why this matters for your comfort: even if you’ve kept a light hand on the pours, cheese helps you stay energized. It also gives your palate a reset before the day winds down.
What the pacing feels like in real life
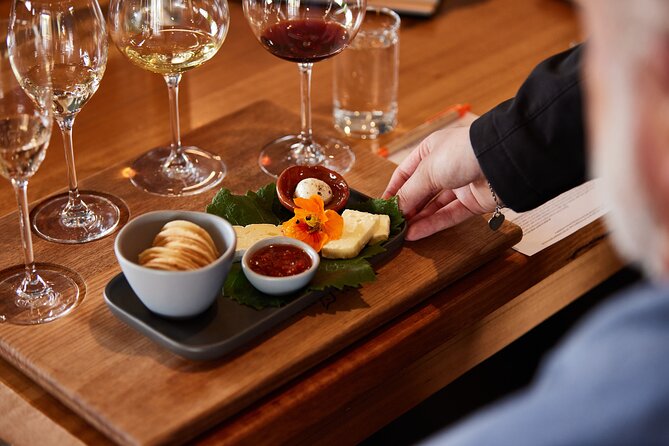
A day like this moves quickly on purpose. You’re out roughly 7.5 hours, with tasting windows ranging from 10 minutes to 1 hour. The tour uses that structure to do three things:
1) keep you from spending most of the day in transit
2) give you enough time at each venue to taste, not just show up
3) still leave room to enjoy Richmond
It’s also why guests often describe the day as a lot of fun. One person even counted around 25 tasting moments across the day. That doesn’t mean you’ll be in a tasting room for the entire time. It means the schedule is packed with samples.
My advice: eat when the food is offered, drink water when you can, and take a slower approach in the first winery stop. If you go heavy early, you’ll likely feel it by the time you’re trying to enjoy town walking and photos.
Transport and comfort: what you should expect
Round-trip transport is included, and the tour operates as a small group with an upper limit of 13 travelers. That usually translates to easier loading, less waiting, and a more “day out with people” feel.
The vehicle is also described as comfortable (and air-conditioned). If it’s a warm day in Tasmania, that kind of comfort matters. You’ll be moving between stops, so you don’t want a rough ride on top of tastings.
The tour uses a mobile ticket, and service animals are allowed. The start point is also near public transportation, which is helpful if you’re not staying far from the CBD.
Price and value: is $157.08 worth it?
At $157.08 per person, this tour isn’t the cheapest way to do Richmond and wine. But it’s also not priced like a “sit on the couch” tour where most of the value is in transportation only.
Here’s what you get for the cost:
- Round-trip transport from Hobart, including return to the meeting point
- Multiple winery tastings across several cellar doors
- A lunch platter at the first winery stop
- Cheese tastings included at Wicked Cheese Co.
- Richmond Bridge viewing and town time in Richmond
For many visitors, the biggest value is the time and decision control. Instead of mapping out which wineries are open, organizing tastings, and trying to coordinate transport, the tour handles the whole order of operations. You get a structured plan, which is exactly what you want when you’re on limited vacation time.
If you already love self-guided driving and you’ve planned your tasting schedule carefully, you might do it cheaper on your own. But if you want the hassle removed—and you’d rather spend effort on photos and enjoying the day—this price often feels fair.
Who this tour suits best (and who might want something else)
This fits best if you:
- want to combine wine tasting and colonial sightseeing in one day
- like the social feel of a small-group tour, without being packed in
- prefer guided timing so you don’t have to plan every winery detail
- enjoy pairing wine with food, especially cheese
You might want to choose something different if:
- you dislike alcohol sampling and would rather only do light tastings
- you want long, unhurried winery time at one place (this is scheduled to cover multiple stops)
- you prefer a fully flexible day where you can choose every stop yourself
Should you book the Richmond and Wine Tour?
If your goal is a well-paced day that blends Tasmanian wine, Richmond’s colonial sights, and included food, this is an easy yes. The short hops, the set tasting windows, and the added cheese stop make the day feel more complete than many “wine-only” tours.
Book it if you like structure but still want personal time in Richmond. The hour in town is enough to feel like you saw the place, not just passed through.
Skip it only if you truly want a low-alcohol, slow travel day. Otherwise, this tour is built for fun, photos, tastings, and a town walk you’ll remember.
FAQ
How long is the Richmond and Wine Tour?
The tour lasts about 7 hours 30 minutes.
What time does the tour start in Hobart?
It starts at 9:30 am.
Where do I meet the group?
You meet at the Tasmanian Travel & Information Centre, 20 Davey St, Hobart TAS 7000.
What is the tour price per person?
The price is $157.08 per person.
How many travelers are on this small-group tour?
The tour has a maximum of 13 travelers.
Is round-trip transport included from Hobart?
Yes. Round-trip transport is included, and the tour ends back at the meeting point.
What wineries and stops are included?
The itinerary includes Puddleduck Wines, Pooley Wines, Coal Valley Vineyard, Richmond Bridge, Richmond town time, and The Wicked Cheese Co.
Are wine tastings and admission included?
Admission ticket access is included for the winery tasting stops listed in the itinerary, and cheese tastings are included at The Wicked Cheese Co.
Is Richmond Bridge included in the visit time?
Yes, you get about 10 minutes at Richmond Bridge for viewing and photos.
What is the cancellation policy?
You can cancel for free up to 24 hours in advance for a full refund. If you cancel less than 24 hours before the start time, the amount paid isn’t refunded.