REVIEW · HOBART
Signature Wine Tour – Hobart & SE Tasmania
Book on Viator →Operated by Bespoke Tours Hobart · Bookable on Viator
Seven hours, four vineyards, and a plan.
This Hobart tour follows the Derwent & Coal River Valley wine route with tastings, scenic stops, and a relaxed pace, plus round-trip transport so you can focus on the drinking and the views. You’ll visit family-owned and boutique cellar doors, with the day’s order adjusted for weather and availability (so it stays comfortable and realistic).
What I like most is the small group size, capped at 6 travelers, which keeps the whole day feeling personal instead of crowded. I also love that the tastings are built in across the day—water, air-conditioned transport, and all wine tastings are included—so you’re not doing math mid-flight while everyone else is already at the bar.
One consideration: lunch isn’t included in the price, and the exact venue order can shift depending on conditions. If you’re the type who hates change, plan a little mental flexibility for substitutions.
In This Review
- Key highlights worth picking this tour for
- Price and what you get for $157.79 per person
- Small-group comfort, pickup, and the rhythm of the day
- Derwent Estate start: family vineyard welcome and a smooth kickoff
- Pooley Wines: the second tasting wave and the hands-on learning vibe
- Lunch at Wattlebanks Cafe & Providore, then Richmond Bridge
- Wicked Cheese Co.: the stop that makes your tastings make sense
- Frogmore Creek cellar door and restaurant: the tasting-with-a-view phase
- Puddleduck Wines vineyard stroll: finishing with variety and character
- The guide makes the day: Ross’s local stories and preference checks
- Wine-tour etiquette that helps you enjoy every stop
- Weather, substitutions, and how to plan without stressing
- Should you book this Signature Wine Tour?
- FAQ
- How long is the Signature Wine Tour?
- How many wineries and tastings are included?
- Is pickup available, and what transportation is used?
- What about lunch and extra costs?
- Is there a limit on group size?
- Can I bring a service animal?
Key highlights worth picking this tour for
- Max 6 people: easy conversation with your guide and the winery staff
- All wine tastings included across 4 cellar doors
- Round-trip pickup in an air-conditioned vehicle with bottled water
- Richmond Bridge stop plus a lunch break built into the route
- Cheese tasting at The Wicked Cheese Co. for a sweet-savory pairing break
- Guide Ross brings local context, often weaving wine, history, and practical recommendations into the drive
Price and what you get for $157.79 per person
At $157.79 per person for about 7 hours, this tour sits in the value zone for a curated Hobart wine day. The big reason is that the price doesn’t just cover driving or a single tasting. You’re getting wine tastings included at four different vineyards, plus a cheese tasting and a dedicated lunch stop.
Let’s translate that into how it feels for you. If you tried to build this yourself, you’d likely spend time and money lining up multiple cellar door visits, juggling who’s driving, and booking transport that matches your schedule. Here, someone handles the route, the timing, and the reservations at the cellar doors, so you can keep your head clear and your glass full.
The trade-off is that lunch costs extra. The tour includes the lunch stop itself, but the meal isn’t priced into your ticket. Still, that can be a plus: you can choose what fits your tastes instead of being boxed into one pre-set menu.
You can also read our reviews of more wine tours in Hobart

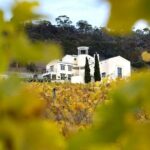

Small-group comfort, pickup, and the rhythm of the day
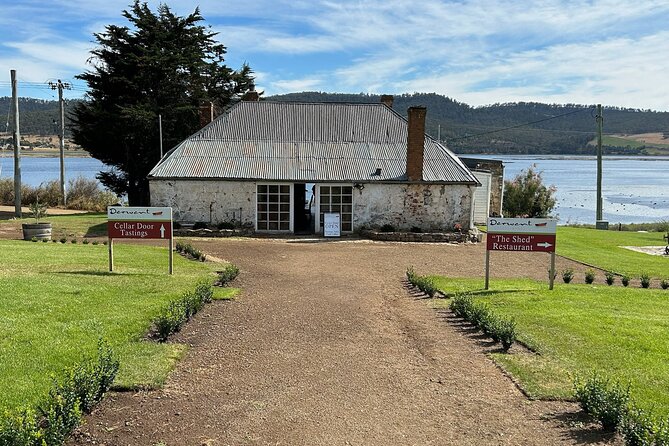
This is the kind of wine tour that doesn’t feel like a conveyor belt. With a maximum of 6 travelers, you’re more likely to get genuine back-and-forth—both with your guide and with the staff at each tasting room.
You start at 9:30am, and the day is paced to include time for tastings and breaks without turning the whole thing into a speed run. You’ll be in an air-conditioned vehicle, and bottled water is included, which sounds like a small detail until you’re sitting in a sun-warmed car with a full tasting schedule. It also helps that service animals are allowed, and the tour is near public transportation if that’s how you’re getting around Hobart.
One more practical point: the tour order can change based on weather, availability, and other determining factors, and a venue may be substituted with a similar one. That’s common in wine regions where bookings and conditions shift. What matters for you is that you still get the core format—multiple tastings, a lunch break, Richmond, and those four vineyard visits.
Derwent Estate start: family vineyard welcome and a smooth kickoff
The day begins with a drive to Derwent Estate, described as a local family-owned vineyard. This first stop matters because it sets the tone. Instead of jumping straight into a random tasting room, you start with an introduction to the region’s wines and the grapes that do well there.
This is also a useful “primer” stop. Early on, your guide can frame what you’re tasting and why certain varieties show up again and again in the area. The itinerary lists about 1 hour here, and the admission ticket is included, so you’re not rushing through a quick peek—you’re getting a proper start.
A gentle heads-up: because it’s the first venue, you’ll likely taste multiple wines. If you’re keeping your pace conservative, tell the guide early. The best tours work when the guide knows your preference and can steer the day without making you feel awkward about it.
Pooley Wines: the second tasting wave and the hands-on learning vibe
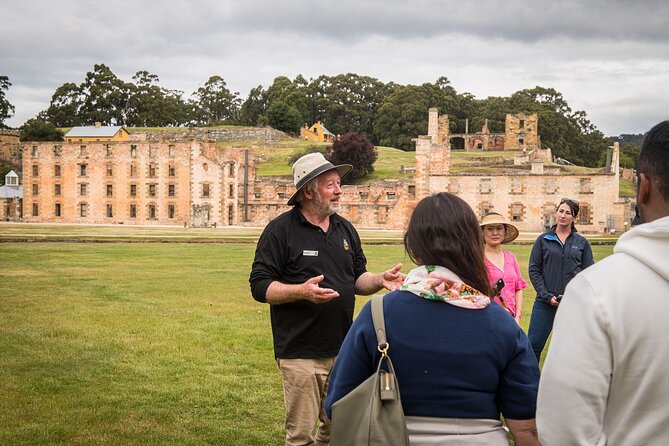
After Derwent Estate, you move on to Pooley Wines for a 50-minute stop with tastings included. Pooley is one of those places where the tasting experience can feel both approachable and informative, and this stop is where you typically build your palate memory—what you liked first, what you want more of, and what you want to compare later.
The rest of the day is built around “handpicked” vineyards, with the tour emphasizing small, unique producers across the Derwent and Coal River Valley. Translation: you’re not just doing big, brand-name stops. You’re more likely to meet the people behind the bottle and learn what makes each property’s approach different.
In practice, this stop is also about variety. If you like to compare whites to other styles, or you want to see how different growers interpret similar grapes, this middle stage is where the tour starts to feel especially satisfying.
Lunch at Wattlebanks Cafe & Providore, then Richmond Bridge
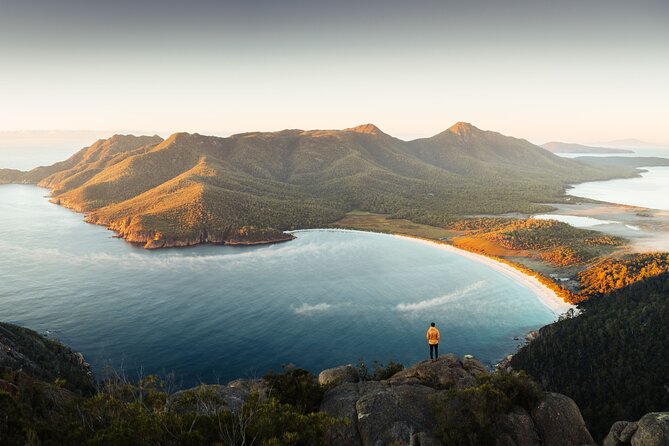
Lunch lands at Wattlebanks Cafe & Providore for about 1 hour, but you pay lunch costs separately. I like the way this is handled: you get a dedicated pause in the schedule at a specific place, but you’re not forced into a one-size-fits-all menu.
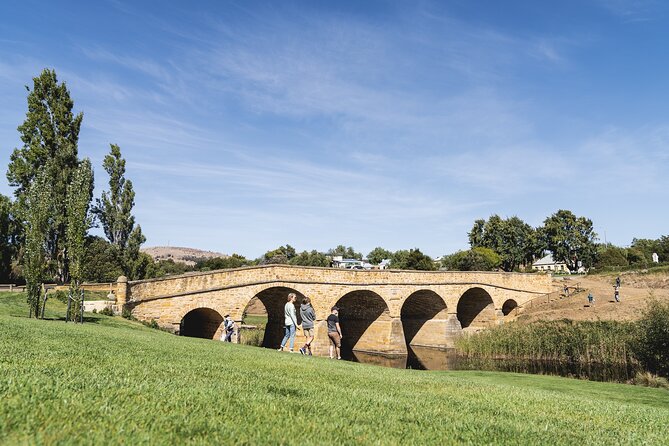
The timing here is smart too. After lunch, you head to Richmond Bridge, one of Australia’s most historic bridge sites, with about 30 minutes at the stop. Richmond itself is known for its character, and the bridge visit gives you a breather from wine-room intensity. It’s also one of those stops where photos don’t feel like an interruption—you actually want to look around.
A small piece of practical advice: if you’re planning to buy any wine or goodies later, keep your hands free and your schedule calm at lunch. This is the point where you reset and refuel before the next tastings.

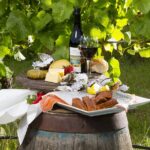
Wicked Cheese Co.: the stop that makes your tastings make sense
Next is The Wicked Cheese Co. for a 20-minute cheese tasting with tastings included. This is a short stop, but it’s one of the most useful ones if you like food with your wine. Cheese does two things for you: it balances acidity and it helps you notice subtle flavors in the glass that you might miss when you’re drinking neat.
It’s also a great mental reset. Wine tastings can blur together when you’ve had too many similar pours back to back. A cheese break creates contrast, and contrast makes your preferences clearer.
If you’re not a big cheese person, don’t worry. The tasting format is quick, and your guide should be able to point you toward pairings that fit what you’ve liked so far.
Frogmore Creek cellar door and restaurant: the tasting-with-a-view phase
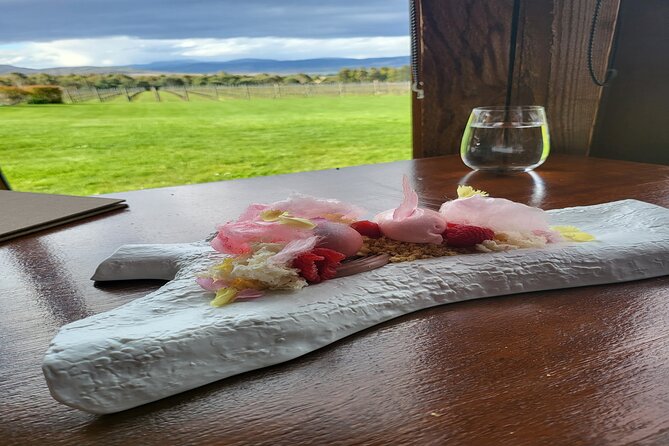
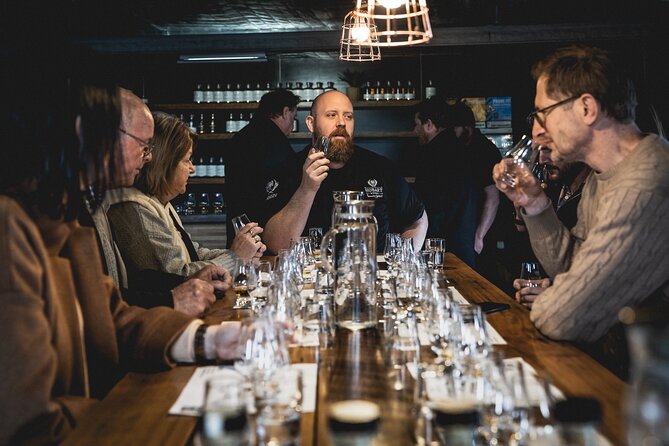
Then you head to Frogmore Creek Cellar Door & Restaurant, with about 45 minutes on the schedule and admission ticket included. Like the first stop, this is a core cellar door moment, not just a photo stop.
This is where the day can shift from “tasting tour” to “wine-and-environment experience.” You’ll likely get a feel for the property setting and the way the team presents their wines—how they explain style, fruit character, and what pairs well with their food offerings.
One note: the day’s exact vineyard order can vary, and Frogmore Creek may appear earlier or later depending on conditions. That’s normal for small-group routing. The key is that you still get meaningful time at each included cellar door, with tastings built in.
Puddleduck Wines vineyard stroll: finishing with variety and character
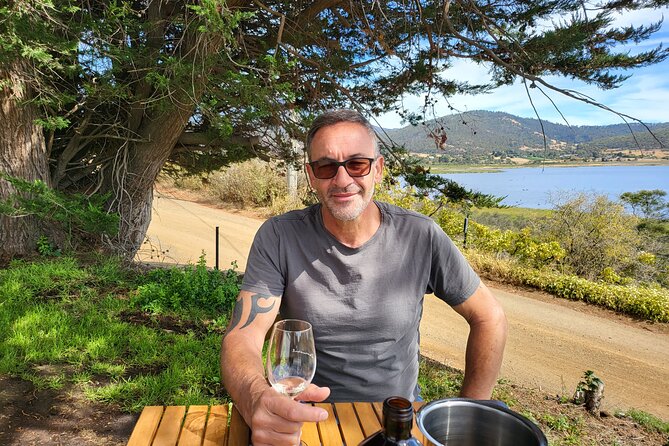
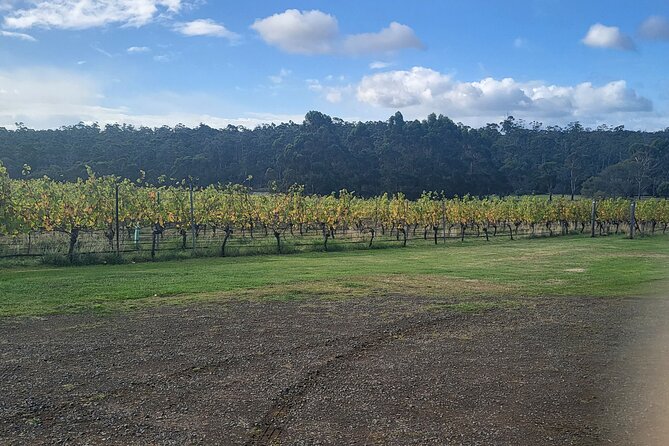
Your final vineyard stop is Puddleduck Wines for about 45 minutes, with admission included. The format here sounds like a proper tasting paired with a stroll through the vineyard setting, plus time to learn about local grape varieties and the area’s historical background.
This ending matters. By the time you reach the last cellar door, you’re usually more confident about what you want to buy or revisit. If you loved a certain style earlier, you can use the last stop to confirm it.
It’s also a nice way to finish emotionally. A gentle walk and an informative tasting can close the loop nicely, especially after the bridge and cheese break that add variety to the day.
The guide makes the day: Ross’s local stories and preference checks
A standout theme in the tour experience is the guide’s role in shaping the day. Many groups describe Ross as friendly and sharply local—someone who connects the dots between wines, the region, and practical recommendations once you’re back in town.
The most helpful part is what that means for you. A good guide doesn’t just recite facts. They ask about your preferences and then shape the tastings around that. In several accounts, the guide made it possible to try more wines at certain venues depending on what people wanted.
That’s exactly the kind of flexibility you should look for in a wine tour. You’re paying for the experience, not just the schedule.
Wine-tour etiquette that helps you enjoy every stop
If you want the smoothest day possible, use a few simple tactics:
- Tell the guide your taste direction early (whites vs reds, dry vs off-dry, lighter vs richer). The day is short, and tastings add up quickly.
- Go slow at the first cellar door. Early tastings shape how you interpret later ones.
- Use the cheese stop as a reset, especially if you start to feel taste fatigue.
- Ask what to try again if you fall in love with a style. With small-group pacing, you’re more likely to get guidance than on big tours.
One more practical tip: consider setting expectations about bottle shopping. The tour includes tastings, but you’ll still need to manage how you carry anything you buy back through Hobart.
Weather, substitutions, and how to plan without stressing
This tour explicitly depends on good weather. If conditions are poor, you’ll be offered a different date or a full refund. That’s the kind of policy that reduces risk, because wine regions are best enjoyed when you can move between stops comfortably.
Also, venues may be substituted with similar ones, and the order can change. For you, the right mindset is: focus on the tour’s structure—4 cellar doors, Richmond, lunch stop, and cheese tasting—rather than expecting an exact venue order every time.
Should you book this Signature Wine Tour?
You should book if you want a small-group Hobart wine day that hits the main tasting beats without turning the day into a marathon. It’s especially worth it if you like boutique cellar doors, appreciate food pairings like cheese, and want someone else to handle timing and transport.
You might skip it if you’re determined to control every detail of the itinerary or if you need a guaranteed exact venue sequence regardless of weather or availability. The day can flex, and lunch costs extra.
If you like an experienced local guide, comfortable pacing, and an easy way to sample wines across the Derwent & Coal River Valley, this tour is a strong bet. With a 4.8 rating from 26 reviews and a 96% recommendation rate, it’s clearly doing something right.
FAQ
How long is the Signature Wine Tour?
The tour runs for about 7 hours (approx.).
How many wineries and tastings are included?
You’ll visit 4 different vineyards, and the tour includes all wine tastings.
Is pickup available, and what transportation is used?
Pickup is offered, and you travel in an air-conditioned vehicle. Bottled water is included.
What about lunch and extra costs?
There is a lunch stop included, but lunch costs are not included in the tour price.
Is there a limit on group size?
Yes. The tour has a maximum of 6 travelers.
Can I bring a service animal?
Service animals are allowed on this tour.