REVIEW · BUNDABERG
Bundaberg; Bundaberg Rum Distillery Tour and Tasting
Book on GetYourGuide →Operated by Bundaberg Distilling Company · Bookable on GetYourGuide
Rum runs on sugar, tanks, and time.
I like that this is a working distillery tour, not a staged show, and you get the backstory in the museum before you walk through the production areas. The standout for me is the mix of visuals (molasses well, fermentation tanks, barrel aging) plus a real tasting bar finish.
Two things I really appreciate: the guides bring energy and clarity, and the experience ends with two drinks that are actually worth paying attention to. In the same way you’ll hear different humor styles from guides like Shaz, Skye, and Bobbi, you’ll also notice how clean and well set up the whole visitor area feels.
One possible drawback to plan for: the tour is outdoors and the site has strict rules about electronics and photos, so you’ll need to leave your phone and camera in a locker and expect limited picture-taking.
In This Review
- Key Points You Should Know Before You Go
- First Stop: The Museum Sets the Mood Before the Tour
- Molasses Well and Fermentation Tanks: The Sugar-to-Process Moment
- Double Distillation: Where the Guide Does the Heavy Lifting
- The Barrel House: Aging for Minimum Two Years
- Bundaberg Rum Tasting Bar: One Rum and One Liqueur
- Tour Rules That Matter: Phones, Batteries, Photos, and Weather
- Price and Time: Does $21 Feel Worth It?
- Where You Meet: The Big Bottle and a Smooth Start
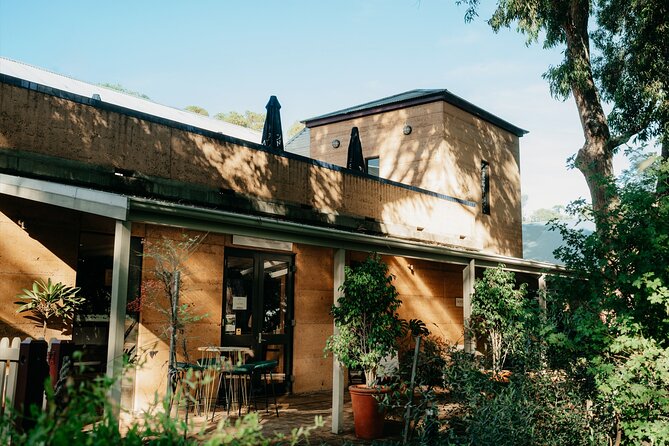
- Bear Garden Break: Food and Drinks Before or After
- Guided Tour vs Self-Guided Museum Walk: Which One Fits You?
- Who This Experience Suits Best
- Should You Book This Bundaberg Rum Distillery Tour?
- FAQ
- How long is the Bundaberg Rum Distillery guided tour?
- How much is the tour?
- What do I do first when I arrive?
- What is included in the guided experience?
- What exactly do I taste?
- Where is the meeting point?
- Is the tour indoors or outdoors?
- Are phones and cameras allowed on the tour?
- Are photos and videos allowed?
- Is there a self-guided option instead of the guided tour?
Key Points You Should Know Before You Go
- One hour of guided time, plus 30 minutes recommended to settle in and enjoy the museum
- Molasses well and fermentation tanks give you a quick path from sugar mill to rum base
- Double distillation is explained in plain terms, then paired with a stop in the Barrel House
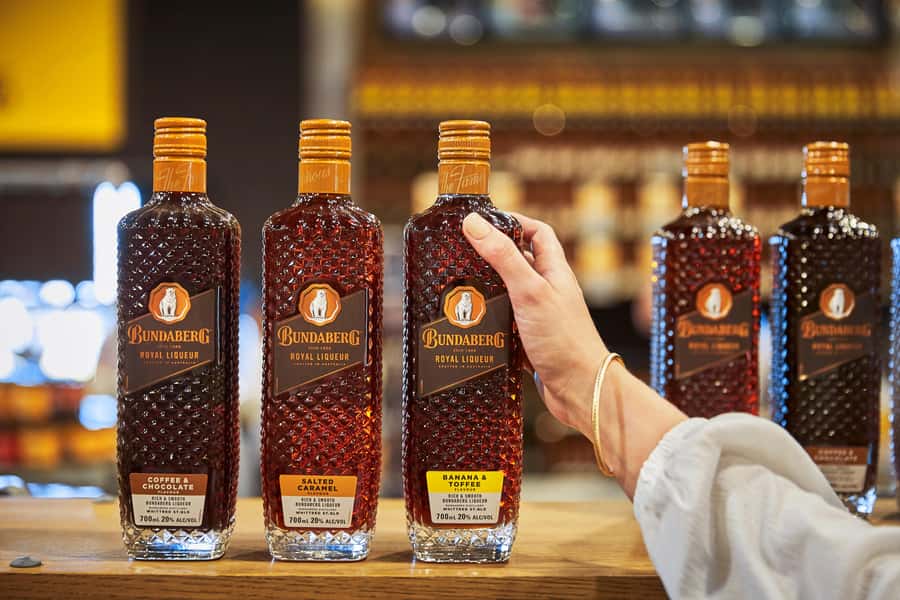
- Tasting bar ends the tour with one rum and one liqueur from the Bundaberg range
- Strict visitor rules: no phones/cameras with batteries on the tour, and limited photo options
First Stop: The Museum Sets the Mood Before the Tour
The best trick here is timing. You’re asked to arrive about 30 minutes early so you can enjoy the museum first, then roll straight into the guided route without feeling rushed.
The museum portion is built to help you connect what you’ll see outside with how Bundaberg Rum became a local institution. You’ll get the history of Bundaberg Rum, then the story keeps moving as your guide points out the practical steps behind the flavor.
If you’re the kind of person who likes to know what the words mean before someone starts talking process, this start helps. It also makes the whole thing feel more like you’re visiting a real factory with context, not just passing through rooms.
You can also read our reviews of more food & drink experiences in Bundaberg
Molasses Well and Fermentation Tanks: The Sugar-to-Process Moment
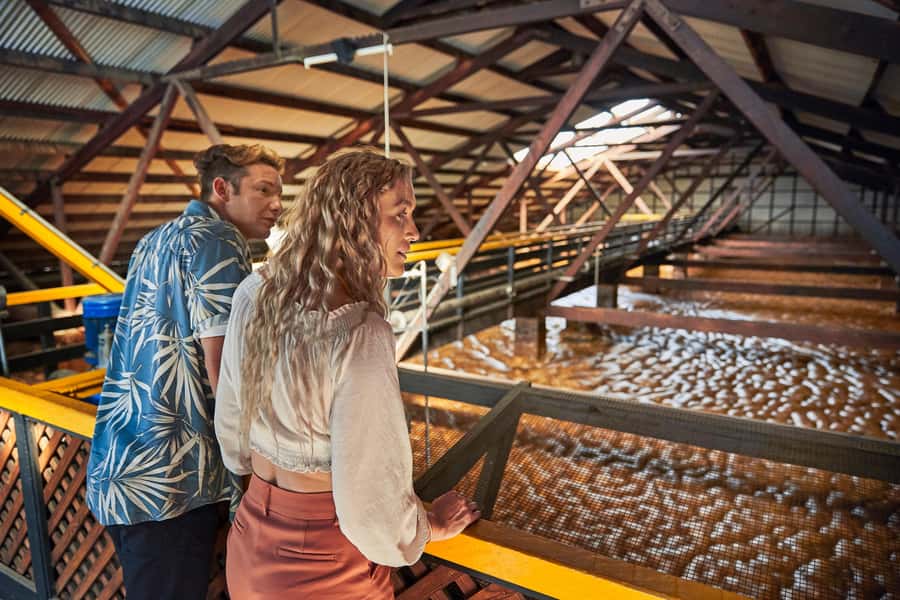
Once you’re with your guide, you start with the molasses well. This is where you see the scale of the raw material—up to 5 million liters—and it instantly makes the rum story feel concrete.
From there, you get a sneak peek into fermentation tanks. Even if you don’t hang around chemistry books, the guide framing matters. You’re learning how the ingredients get transformed before the spirit ever reaches the distillation stage.
Why this part is worth your time: it helps you understand that rum isn’t just about aging. The process begins with huge volumes, real equipment, and a sequence of steps that explain why different products can taste consistent year to year.
Double Distillation: Where the Guide Does the Heavy Lifting
After the early production steps, the tour shifts to the double distillation idea. This is the point that can sound vague if you hear it once and move on.
Here, the guide explains the process so it clicks. You’ll see how distillation helps concentrate and shape the spirit, and you’ll get the logic behind doing it twice rather than once.
This is also where the tour’s guided feel pays off. Without a guide, you might walk past the equipment and miss what it’s for. With the guide, you get the short version of how the technique impacts the final character.
The Barrel House: Aging for Minimum Two Years
Next comes the Barrel House. This is where the tour slows down just enough for you to absorb the point of maturation.
A key detail you get here: the rum is aged and matured for a minimum of two years before it makes its way into a bottle. That matters, because it explains why Bundaberg Rum tastes like it does even when the early steps are the same.
If you’re trying to taste smarter, this stop helps. Aging isn’t a vague idea—it’s a defined stage, and the tour gives you a reason to pay attention to what you’ll sample later.
Bundaberg Rum Tasting Bar: One Rum and One Liqueur
The finishing move is the tasting bar. At the end of the guided tour, you can sample two drinks: one rum and one liqueur from the Bundaberg Rum range.
This structure is practical. Instead of throwing five small pours at you, they give you just enough variety to compare styles and understand the range.
I also like how this turns the tour into something you can take into your next decision—like what to buy as a souvenir. When you’ve seen molasses, distillation, and aging, the tasting stops being random. You start noticing sweetness, warmth, and how the liqueur category plays differently than straight rum.



Tour Rules That Matter: Phones, Batteries, Photos, and Weather
This is a working site with flammable areas, so the rules aren’t just fussiness. They affect what you bring and how you experience the tour.
Here’s what you need to know up front:
- No smoking on the tour, and smoking indoors is prohibited
- No flash photography and no video recording
- No cellphones or electronic devices on the tour with you, including items with batteries like cameras and your car keys
- Plan on free lockers for the stuff you can’t carry through the route
The phone rule catches people because it’s not a case-by-case choice. The site doesn’t allow battery-powered items on the tour, due to risk of ignition. If you need a medically necessary device like a hearing aid, insulin pump, or motorised mobility device, the team can make special arrangements—just tell your guide.
Also remember: the tour takes place outdoors. That’s a plus when the weather is pleasant, and a minus if it’s cold or rainy. Bring a light layer if you’re visiting in shoulder seasons.
Price and Time: Does $21 Feel Worth It?
At $21 per person for a 1-hour guided tour, the value depends on what you want out of the experience.
If you like factories but also want context, this price is strong. You’re getting a live guide, multiple stops tied to the production chain, and two tastings at the end—plus time in the museum before the tour begins.
If your top priority is pure tasting, you might feel the time is short. But the tour length fits the format: it’s designed to educate quickly, walk you through the process steps, then let you taste at the end without stretching the day out.
Also, consider that you’re paying for access to a working operation. That’s different from a museum-only experience.
Where You Meet: The Big Bottle and a Smooth Start
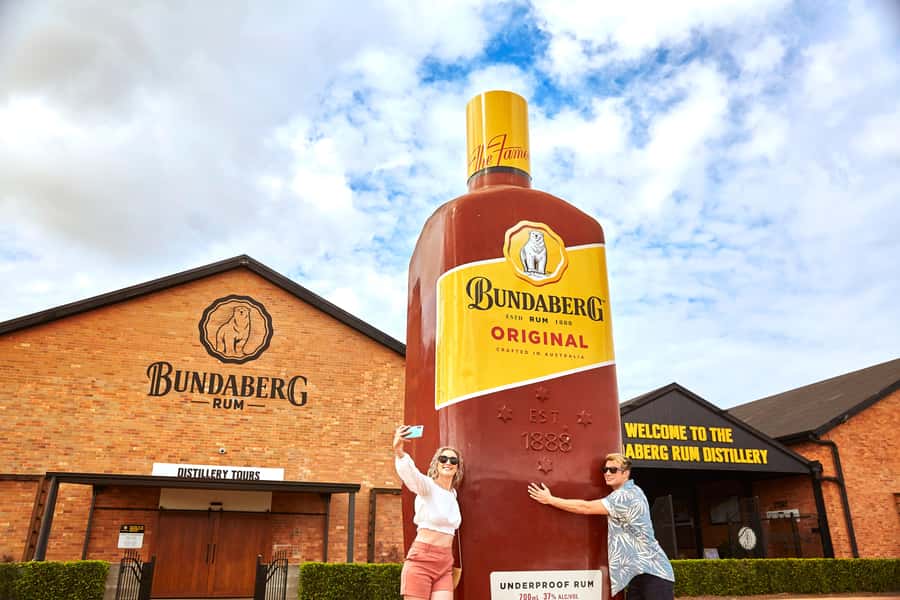
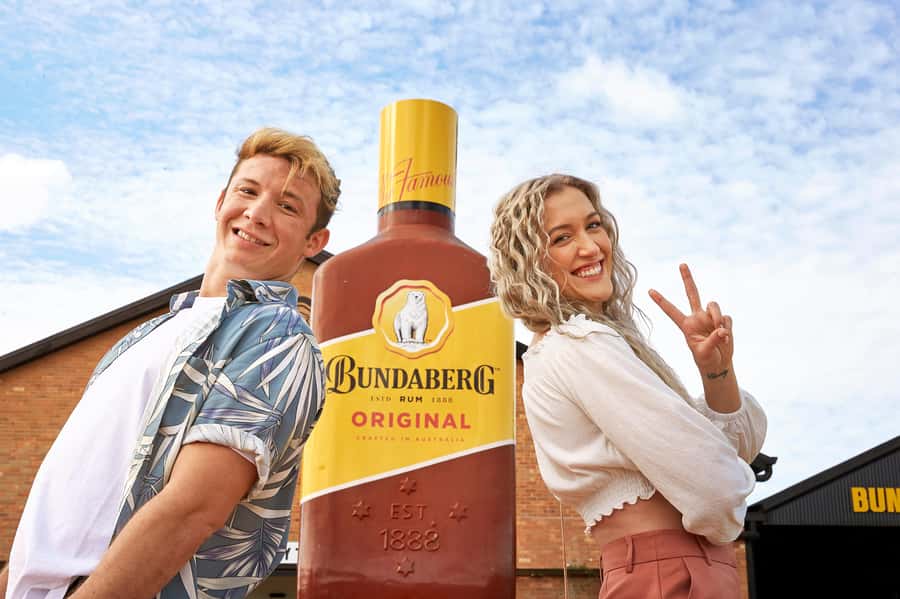
Your meeting point is easy to spot: look for the Big Bottle.
Arrive early because the museum is part of the best flow. The site expects you to come about 30 minutes before your tour starts so you can enjoy the museum without stress, then transition into the guided portion.
Little prep tip: if you’re bringing anything that might look like electronics—keys with a fob, a camera you planned to use later—assume you’ll need lockers. It’s better to plan for that at the start than get stuck at the check-in stage.
Bear Garden Break: Food and Drinks Before or After
If you want to make a half-day out of your Bundaberg stop, you’ve got options on site.
You’re welcome in the Bear Garden Alfresco Dining area, where you can purchase snacks and hot and cold beverages. The standout item to look for is the signature Bundy Banger Hotdogs, plus additional snack options depending on what’s available.
This is handy because it gives you a place to refuel right before or after the tour, especially if you’re pairing it with other local activities in Bundaberg.
Guided Tour vs Self-Guided Museum Walk: Which One Fits You?
There’s an alternative option if you want more flexibility. You can purchase a self-guided museum walk that shows the history and the rum-making process.
That self-guided option costs $20 per adult, doesn’t need to be pre-booked, and includes two free rum or liqueur tastings (one of each). It also does not access the actual distillery.
So here’s the trade-off:
- Choose the guided tour if you want the production stops and expert explanation.
- Choose the self-guided walk if you want to go at your own pace and you’re mainly after the museum story plus tastings.
Who This Experience Suits Best
This tour works especially well for:
- People who want a clear, step-by-step understanding of how rum goes from molasses to aged spirit
- Anyone who enjoys guides with personality and a knack for making process feel simple (Shaz, Skye, and Bobbi are the kind of guide energy you can look forward to)
- Families and groups who want a structured visit without needing a whole day
It’s also a good fit if you’re choosing one rum-related activity in Bundaberg. You get the story, the working-process stops, and the tasting in one tidy package.
If you’re the type who hates rules about phones and pictures, you’ll want to mentally prep for that. The tour experience shifts when you’re not constantly snapping photos.
Should You Book This Bundaberg Rum Distillery Tour?
Book it if you want the best mix of history + production process + tastings in about an hour, with a real guide to keep the equipment and steps understandable. At $21, the tastings plus guided explanation make it feel like solid value for a first-time visit.
Skip or consider the self-guided museum walk if you’d rather control the pace, don’t care about seeing the actual distillery areas, or you’re planning around weather. Either way, you’ll leave knowing more than when you arrived—and with one rum and one liqueur to taste your way through.
FAQ
How long is the Bundaberg Rum Distillery guided tour?
The guided tour takes about 1 hour.
How much is the tour?
The price is $21 per person.
What do I do first when I arrive?
You start with the museum experience, and it helps to arrive about 30 minutes before your tour departs.
What is included in the guided experience?
You get the self-guided museum, a 1-hour guided distillery tour, and two rum tastings.
What exactly do I taste?
You receive one rum and one liqueur at the Tasting Bar at the conclusion of the tour.
Where is the meeting point?
Meet at the Big Bottle.
Is the tour indoors or outdoors?
The tour is outdoors.
Are phones and cameras allowed on the tour?
No. Electronic devices and cellphones are not allowed on the tour with you, including items with batteries. The site provides free lockers.
Are photos and videos allowed?
Flash photography is not allowed, and video recording is not allowed.
Is there a self-guided option instead of the guided tour?
Yes. A self-guided museum walk can be purchased on arrival for $20 per adult. It includes two free rum or liqueur tastings (one of each) but does not access the actual distillery.