REVIEW · MCLAREN VALE
McLaren Vale South Hop-On Hop-Off Winery Tour
Book on Viator →Operated by Trail Hopper · Bookable on Viator
A bus, a plan, and then freedom. This McLaren Vale South hop-on hop-off wine tour turns a long day of tastings into something you can actually manage. You get air-conditioned transport across the McLaren Vale region and the option to choose where and when you hop off, then back on.
I especially like the flexible pacing. You can spend more time at the cellar doors that catch your eye and skip the ones that don’t, without feeling rushed. The tour also includes bottled water, which sounds basic until you’re a few stops in and your enthusiasm is lagging.
One thing to consider: cellar door tasting fees and lunch aren’t included. If you want to do several paid tastings, you’ll need to budget for it on the day.
In This Review
- Key Highlights You’ll Care About
- McLaren Vale South in Your Own Time: How the Hop-On Hop-Off Works
- Price and Value: What $71.72 Covers (and What It Doesn’t)
- Starting Point Choices: Adelaide City or Join In-Region
- The Day Begins in McLaren Vale: What You Can Actually Do
- Building a Tasting Game Plan That Doesn’t Exhaust You
- Why the Guide Matters: Nathan’s Recommendation Approach
- What the 7 Hours Feels Like in Real Life
- Who This Tour Suits Best (and Who Might Skip It)
- Practical Tips to Get More Out of Every Hop
- Should You Book This McLaren Vale South Hop-On Hop-Off Tour?
- FAQ
- How long is the McLaren Vale South hop-on hop-off winery tour?
- How much does the tour cost?
- What’s included in the ticket price?
- Are lunch, alcohol, or tasting fees included?
- Where does the tour start?
- Is free cancellation available?
Key Highlights You’ll Care About
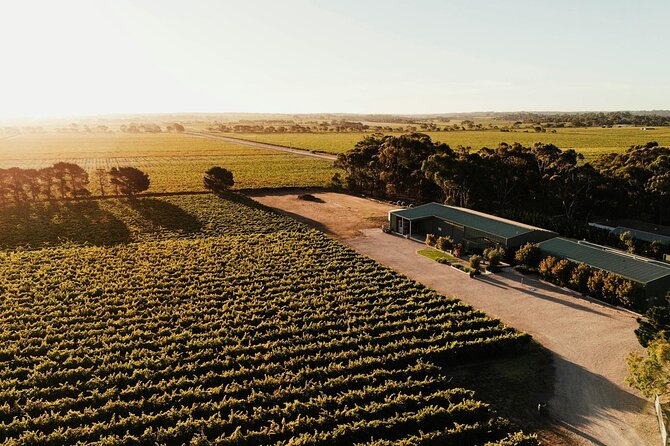
- Real flexibility, not a fixed tasting schedule: hop off and stay as long as you want within the tour window.
- McLaren Vale is close enough for a full day: about 40 minutes south of Adelaide, so it’s easy to build into your trip.
- Comfort counts: an air-conditioned vehicle helps on warm days.
- You control your spending: transport is included, but food and wine costs extra.
- Good human recommendations: the guide Nathan is specifically praised for helpful, practical suggestions that shape your day.
McLaren Vale South in Your Own Time: How the Hop-On Hop-Off Works
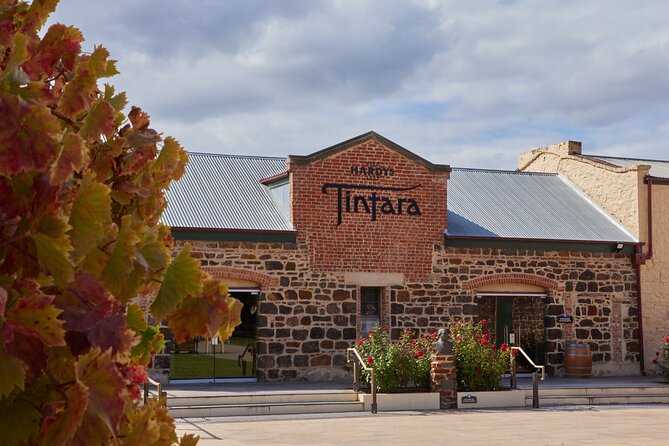
The whole appeal here is simple: you’re not locked into one winery or one timeline. With a hop-on hop-off format, you can build your day around your mood. Want a quick stop, a longer chat, or a second visit to the same area? You can.
The tour runs for about 7 hours, which is long enough to feel like you explored the region, but short enough that you’re not trapped into spending the whole day in transit. That timing matters because wine days go off the rails fast when you over-plan. Here, the bus gives you a backbone, and your choices do the rest.
You’ll also use a mobile ticket, which keeps things straightforward when you’re bouncing between stops. In a wine region, the last thing you want is extra hassle with printed vouchers while you’re trying to get oriented.
You can also read our reviews of more wine tours in McLaren Vale



Price and Value: What $71.72 Covers (and What It Doesn’t)
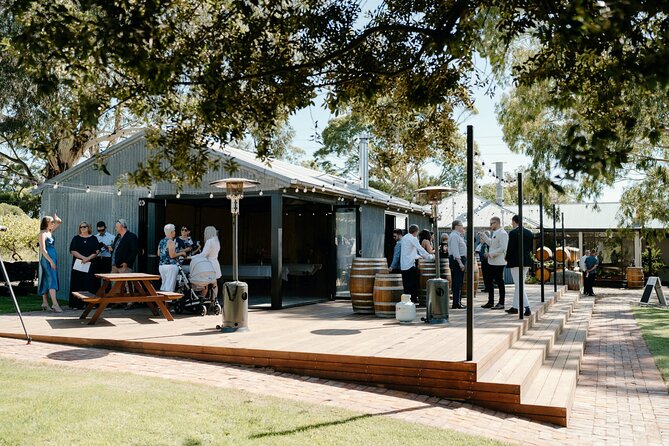
At $71.72 per person, this isn’t a budget-only option, but it also isn’t paying for a catered, all-inclusive wine fantasy. The value is in what’s included: transport between wineries and venues across the McLaren Vale region, plus the basics that stop the day from becoming a sweaty scramble.
Here’s what you’re paying for in practice:
- Hop-on hop-off bus service so you can cover multiple venues without a car
- Bottled water to keep you comfortable between tastings
- GST included in the price
- Air-conditioned vehicle, which is a real perk on warm Australian days
Here’s what you’ll pay separately:
- Lunch
- Alcoholic beverages
- Cellar door tasting fees
- Anything else you buy on-site
So the value depends on your style. If you’re the type who likes a few tastings, some wandering, and a relaxed lunch, you’ll likely feel good about the price. If you plan to do many paid tastings and eat at full-service venues, your total day cost will rise quickly. The tour sets you up for mobility and comfort, but it doesn’t try to control your wallet.
Starting Point Choices: Adelaide City or Join In-Region
One of the helpful details is that the experience supports two ways to start. You can depart from Adelaide City, or you can join in-region. That flexibility makes it easier to plug this tour into whatever plan you already have in Adelaide.
McLaren Vale is about 40 minutes south of Adelaide, so it’s a practical day-trip distance. It also means you can do this without building in a whole extra travel day. If you’ve got limited time, that matters.
Because the tour is described as near public transportation, you’re not forced into a complicated logistics puzzle if your Adelaide plans don’t include renting a car. The key idea is that the bus handles the long hops between venues, so you’re free to focus on wine, walking, and chatting.
The Day Begins in McLaren Vale: What You Can Actually Do
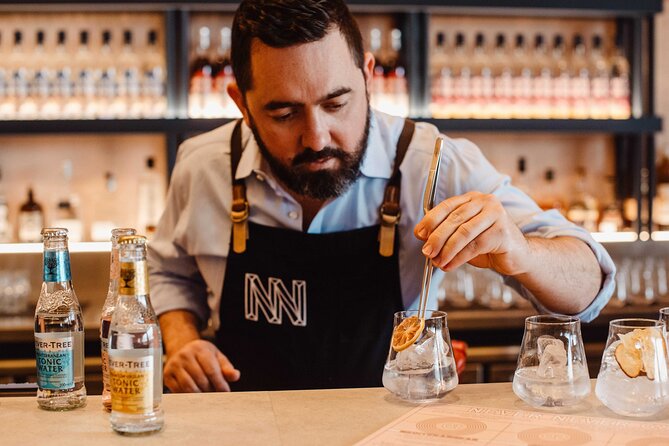
The first stop is McLaren Vale. From there, the hop-on hop-off concept does the heavy lifting. You’re not restricted to a single area; you can move around within the McLaren Vale region and choose where the day takes you.
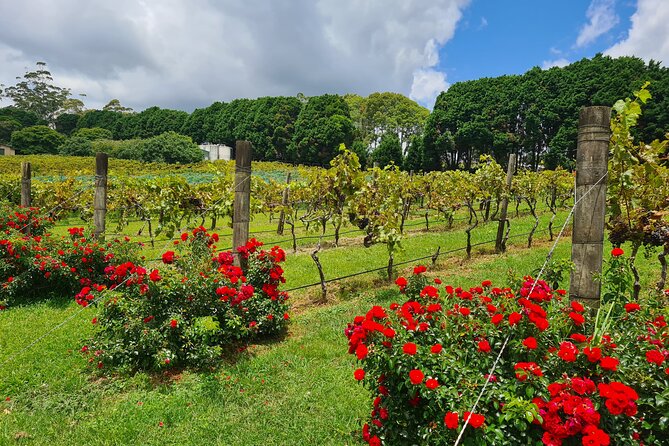
What makes McLaren Vale a good playground for this kind of self-paced route is the mix of old and new. The region has historic cellar doors alongside modern winemaking, which typically means you’ll find places with different vibes. You might prefer the cozy, heritage feel at one venue and the cleaner, newer style at the next. The structure of the tour lets you match stops to what you enjoy that hour.
You can also plan around how the day feels as you go. Early in the trip, I’d lean toward easier walking, orientation, and a first round of tastings. Later, you can slow down, pick fewer venues, and spend more time where the staff are engaging and the wines hit your taste.
One more practical note: since tasting fees aren’t included, treat the first hop as your chance to check menus and pricing quickly. Decide early whether you want to go all-in on tastings or keep it to fewer paid pours and more atmosphere.
Building a Tasting Game Plan That Doesn’t Exhaust You
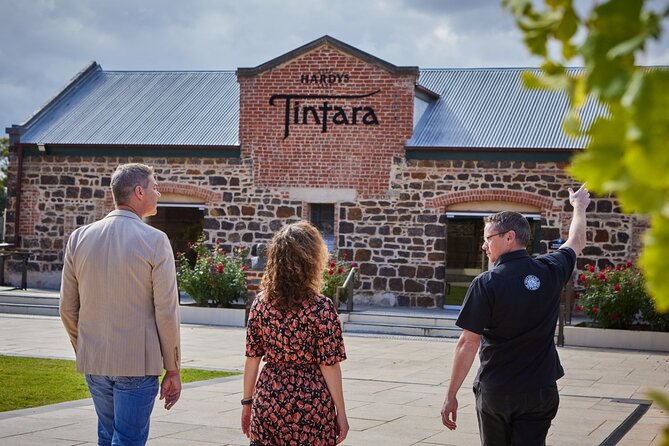
This is where I think the tour’s design really shines. Because you can hop off and on, you can build a tasting strategy that matches your energy level instead of pushing through because the schedule says so.
Here’s how I’d pace it for a comfortable day:
- Use the included water early. It helps you stay sharp for the conversations and keeps you from feeling foggy between tastings.
- Do fewer tastings but better choices. Cellar door fees add up fast. If you want to try wines across styles, pick venues that clearly offer what you’re curious about.
- Plan a lunch break mid-day if you’re planning to taste more than a couple of times. Lunch isn’t included, so you’ll want to time it instead of grabbing something too late and rushing through it.
Also, don’t ignore the staff at each venue. One of the most positive review signals centers on how friendly cellar doors and wineries are, with a real interest in making sure you have a good time. That means you’ll likely get more out of your visits if you ask questions and let people guide you a bit based on what you like.




Why the Guide Matters: Nathan’s Recommendation Approach
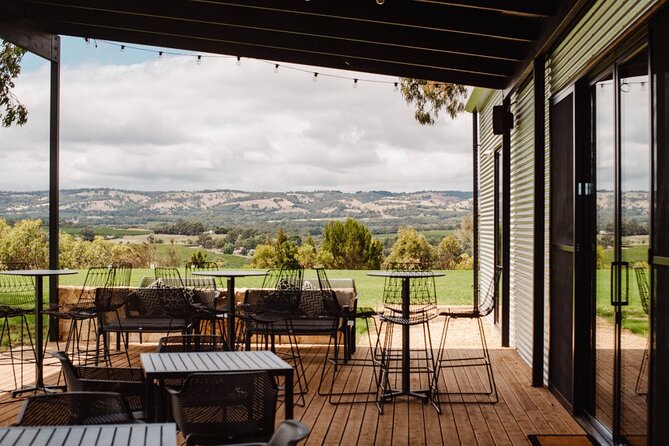
Even though this is hop-on hop-off, you’re not wandering completely blind. The guide Nathan is singled out for being fantastic and for giving excellent recommendations that help you plan the day.
What I like about this kind of guidance is that it doesn’t replace your freedom. It just gives you a head start. When someone helps you sort out what to prioritize, you spend less time guessing and more time enjoying.
His recommendations seem to have landed with the tour’s vibe too: the wineries are portrayed as welcoming, and the staff are paying attention to whether you’re actually having a good experience. That combination matters. A flexible route is great, but it’s even better when the people at the end of the route want you to enjoy yourself.
If you’re the type who usually overthinks wine regions, use Nathan’s tips as guardrails. Pick one or two priorities, then let the rest stay casual.
What the 7 Hours Feels Like in Real Life
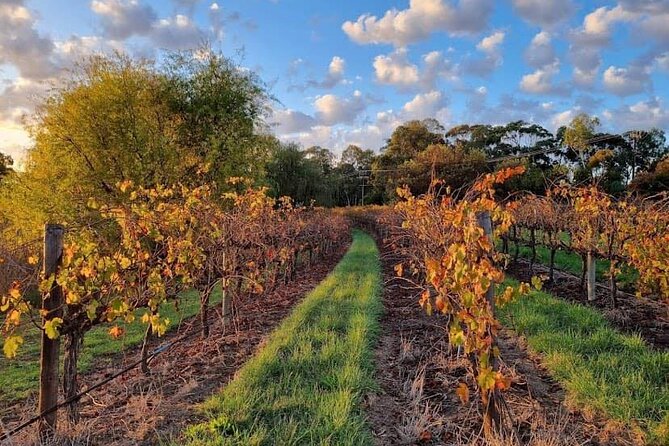
A 7-hour wine tour can sound long, but it moves fast once you’re hopping on and off, walking between venues, and taking in the views. The tour is built for staying relaxed, not speed-running.
Because you’re choosing how long you stay at each place, your best plan is to aim for variety early, then repeat your favorites later. That reduces decision fatigue. Decision fatigue is sneaky on wine days: by late afternoon, you want fewer choices, not more.
I’d also think about transport timing in simple terms. Build in enough time to reach the next stop without sprinting. If you end up chatting for a while, great, but keep an eye on how long you’ve been away so you don’t turn your day into a stressful scramble.
One more small but useful mindset: treat the day like exploring. You’re visiting welcoming cellar doors across the region, not trying to check boxes at ten different places.
Who This Tour Suits Best (and Who Might Skip It)
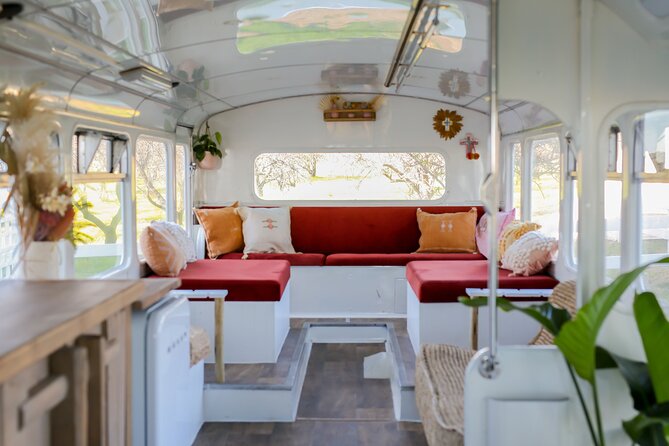
This tour is a strong fit if you want:
- Easy wine-region mobility without renting a car
- A relaxed day where you choose your stops instead of following a strict timetable
- A comfortable ride with air-conditioning and water included
- A way to see what McLaren Vale feels like across different venue styles
It’s also a good option if you’re traveling with people who have different tastes. One person might want one kind of experience; another might want something different. The hop-on hop-off format lets you split your priorities without derailing the whole day.
You might want to look elsewhere if:
- You want lunch and tastings included in the price
- You prefer a fully guided, structured tasting program where everything is paid for up front
- You’re hoping for a single-venue heavy day rather than moving around the region
Practical Tips to Get More Out of Every Hop
Since tasting fees and food aren’t included, you’ll get better value if you treat the tour like a system:
- Plan your stops with your wallet in mind. Decide early which venues are paid tasting priorities.
- Keep water top-of-mind, especially if you’re tasting more than once.
- Ask staff at each venue what pairs well with your tastes. The friendliness you’ll likely encounter can turn a simple tasting into a more memorable conversation.
- Use the guide’s recommendations as a starting point, not a rigid map. The best parts of the day will still be the choices you make once you’re there.
Should You Book This McLaren Vale South Hop-On Hop-Off Tour?
I’d book it if you want a low-stress wine day with transportation handled, comfort taken care of, and enough freedom to follow your own interests. The included water and air-conditioned ride make it feel practical, not fancy-for-fancy’s sake. And the standout praise for Nathan’s recommendations is a good sign that you’ll actually get help choosing where to spend your limited tasting time.
I’d hesitate if you already know you want an all-in package with lunch and tasting fees built into the price. This tour sets you up for flexibility, but you’ll be paying extra on the ground for food and wine. If you budget for that, it works very well.
FAQ
How long is the McLaren Vale South hop-on hop-off winery tour?
It’s listed as approximately 7 hours.
How much does the tour cost?
The price is $71.72 per person.
What’s included in the ticket price?
Included are an air-conditioned vehicle, GST, bottled water, transport between wineries and venues in the McLaren Vale region, and the hop-on hop-off bus tour.
Are lunch, alcohol, or tasting fees included?
No. Lunch, alcoholic beverages, and cellar door tasting fees are not included. Any food or drinks you purchase at venues are also not included.
Where does the tour start?
You can depart from Adelaide City or join in-region. The first stop is McLaren Vale.
Is free cancellation available?
Yes. You can cancel up to 24 hours in advance for a full refund.