REVIEW · TASMANIA
Mount Field And The Derwent Tasting Trail
Book on Viator →Operated by Tassie Tours Tasmania · Bookable on Viator
Two worlds in one Tasmania day. This Mt Field to MONA outing strings together World Heritage forest walks, waterfalls, and an unforgettable art detour at MONA Museum. On top of that, you get food-and-drink stops along the Derwent Tasting Trail, starting from Hobart around 9:30am on an air-conditioned vehicle.
I like how the day balances big nature moments with a clear, quirky art payoff—so you’re not stuck doing only hiking or only museums. I’m also a fan of the guide energy; I’ve seen departures run by guides like Mark (big on fun facts and laughs) and Peter (steady driving and serious local knowledge).
One thing to keep in mind: no lunch is included, and you may pay extra along the way (a Mount Field national park pass and Salmon Ponds entry). Also, a couple of stops are seasonal, so what you do at the raspberry farm and distillery depends on the time of year.
In This Review
- Key points worth knowing before you go
- Mt Field National Park: your first wow-factor stop
- Russell Falls and the forest walk you’ll remember
- Westerway Raspberry Farm: a quick hit of sweetness (with timing rules)
- Salmon Ponds Heritage Hatchery and Gardens: trout roots and those famous pancakes
- Plenty Cider: craft tastings with a grazing-plate option
- New Norfolk Distillery swap in May–Aug (rum, guided tasting or paddle)
- MONA Museum: where the day gets delightfully strange
- Price and value: what you’re paying for at $129
- Timing and comfort: how to get through the full day feeling good
- Who should book this tour, and who might not
- Bottom line: should you book Mount Field and the Derwent Tasting Trail?
- FAQ
- How long is the Mt Field and Derwent Tasting Trail tour?
- What is the tour price?
- What’s included in the tour price?
- Is lunch included?
- Do I need to buy entry tickets for Mount Field and Salmon Ponds?
- Is the Westerway Raspberry Farm stop available all year?
- Does the tour include MONA Museum?
- What is the cancellation policy?
Key points worth knowing before you go
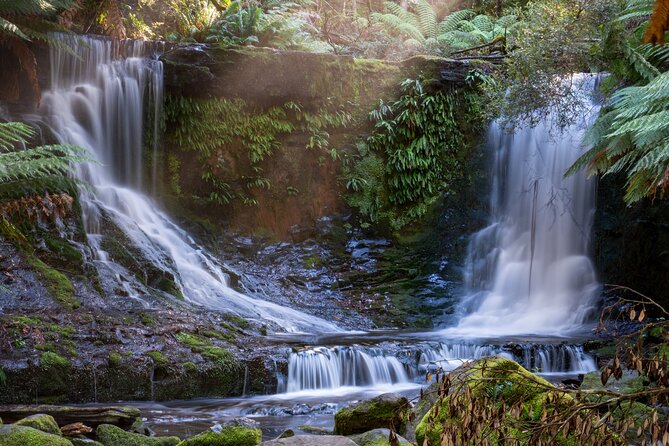
- Russell Falls is the star walk: an easy-to-moderate forest walk with chances to spot local wildlife.
- MONA Museum turns the day on its head: ancient, modern and contemporary art in a single, interactive experience.
- Seasonal food stops: raspberry picking at Westerway runs Nov–June; the rum distillery swap happens in May–Aug.
- Small-group feel: capped at 22 travelers, so it doesn’t feel like a mass bus tour.
- Extra costs can add up: expect a national park pass (up to $22.35 pp) and Salmon Ponds entry (up to $10).
- Guide style matters: humor and local stories are a big reason people remember this day.
Mt Field National Park: your first wow-factor stop
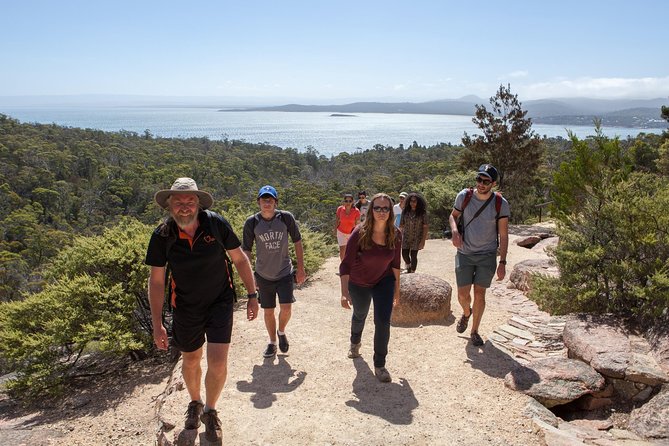
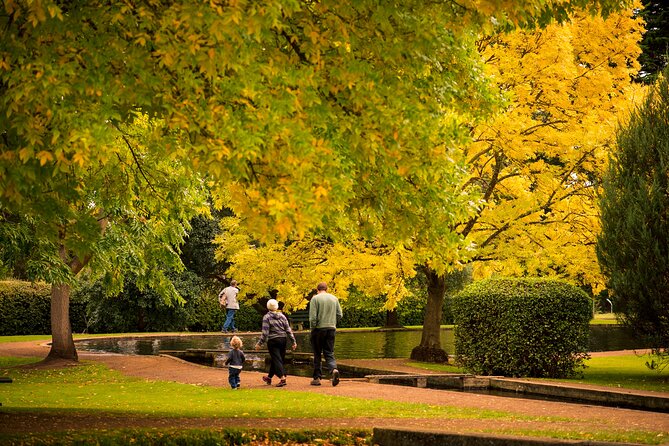
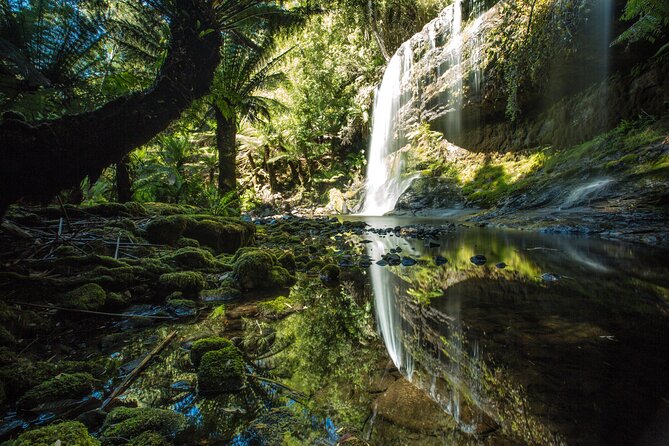
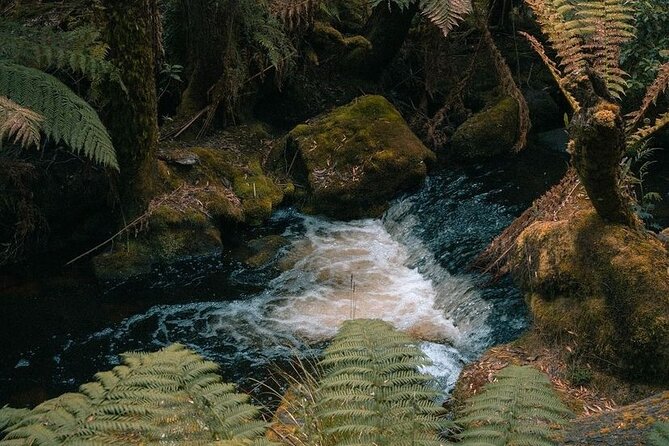
Mt Field National Park is the kind of place that looks good in photos and still surprises you in person. The setting is part of a World Heritage-listed area, and the park mix is what makes it special: giant eucalyptus trees, ancient rainforest, and dramatic waterfalls in one compact region. On this tour, you get a focused chunk of time—about two hours—to stretch your legs and see the key sights without needing to plan a route yourself.
This is also where the hiking choices matter. Some walkers want the short route; others go for a longer trek. Either way, you’ll be in the right place at the right time for that rainforest atmosphere: cool shade, mossy textures, and that sound of water nearby long before you see it.
Practical tip: bring layers. Tasmania weather can shift fast, and you’ll be moving in and out of shaded forest. A light rain jacket and grippy shoes are worth it. And yes, plan for the possibility of a national park pass even if the tour itself lists certain admission as free—your final “ticket reality” depends on what’s required for entry that day.
You can also read our reviews of more food & drink experiences in Tasmania
Russell Falls and the forest walk you’ll remember
If you ask me what part of this day has the highest “tell-your-friend” potential, it’s Russell Falls. People consistently connect this stop with a specific kind of magic: walking through old-growth trees where the path feels like it belongs to a living story, then rounding a bend to meet a waterfall that actually looks powerful rather than just scenic.
You’ll have options here. Some itineraries are built for quick viewing; this one includes time for walks, and you can choose a shorter or longer route depending on your comfort level. That flexibility is great if you’re traveling with someone who hikes well but doesn’t want to sprint every step.
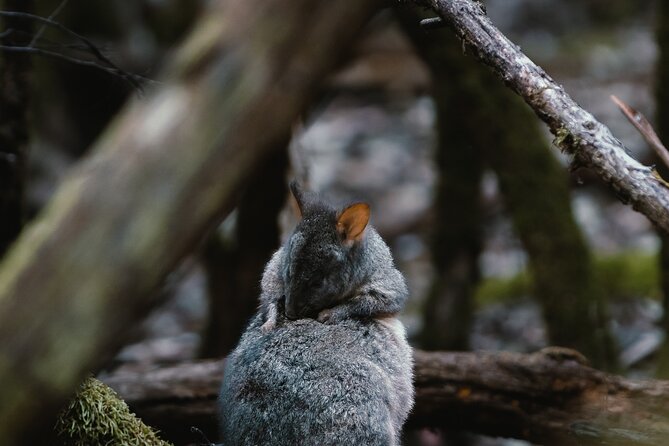
Wildlife sightings are possible around Mount Field, and that’s a big part of why this stop feels more alive than a simple waterfall viewpoint. It’s not guaranteed, but you’ll be in habitat where wildlife activity can happen, especially during calmer moments on the trail.
Practical tip: if you want the best waterfall photos, don’t just stop at the loudest sound. Give yourself a minute to scan for better angles—sometimes the shot isn’t from the first spot you reach, but from where the path opens up slightly.
Westerway Raspberry Farm: a quick hit of sweetness (with timing rules)
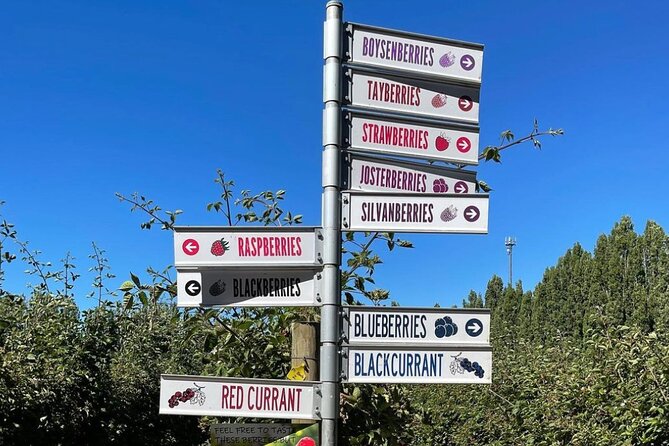
This is the stop that feels like a break from the rainforest pace—small, fun, and very hands-on. At Westerway Raspberry Farm (operating Nov–June), you can hand-pick raspberries or try raspberry ice cream. The time is brief—around 30 minutes—but it’s the kind of pause that resets your energy for the rest of the day.
If you’re traveling outside Nov–June, you shouldn’t count on the exact berry-picking experience. The tour information is clear that the raspberry farm experience is tied to that window, so check your travel dates before assuming you’ll be plucking fruit from bushes.
Practical tip: bring cash or card depending on what the farm offers, since your tour isn’t built as a food-inclusive package. Even if tastings and the basic experience are set up, you may want to buy extra treats.
Salmon Ponds Heritage Hatchery and Gardens: trout roots and those famous pancakes
Next comes Salmon Ponds, a heritage hatchery and gardens stop that mixes animals, history, and food. The site is known as the birthplace of trout in Australia, which gives the place a “wait, really?” factor. It also has a reputation for pancakes, and you’ll have about an hour here—enough to look around and eat at your own expense.
Because lunch isn’t included on the tour, this is one of the best moments to plan your meal. If you want a simple decision that doesn’t require hunting for a café later, this is the stop to do it. The setting also includes gardens, so even if you’re not focused on fish, it can still feel like a pleasant break.
One extra angle: you may see local wildlife here, and platypus sightings are possible according to the kinds of moments people describe from this stop. That doesn’t mean it’s a guarantee, but it does mean you should keep your eyes open and your camera ready for “sudden wow” moments.
Practical tip: wear shoes that can handle garden paths and uneven ground. You’re not doing a full day of hiking now, but you are still walking.
Plenty Cider: craft tastings with a grazing-plate option
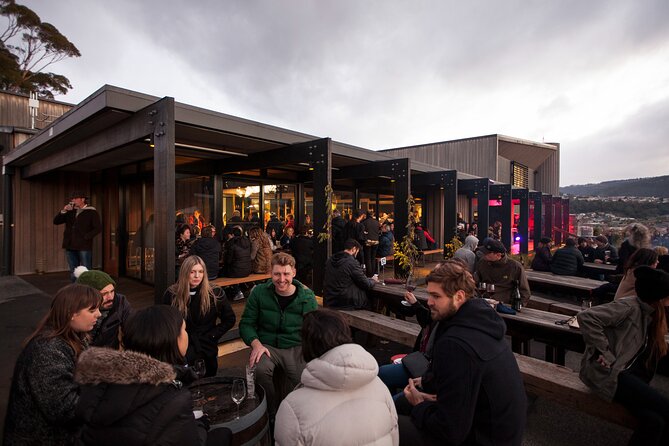
After the hatchery, you shift into the tasting rhythm. Plenty Cider is family-owned and operated, and the emphasis is on craft ciders. This stop is about an hour, so it’s not just a quick taste-and-go—it gives you time to try a few varieties and decide what you actually like.
Food-wise, the tour doesn’t include meals, but there’s an option to grab something like a grazing platter at their cidery. That’s a smart move if you’ve already had a snack and want a more filling, low-effort lunch/dinner fix later in the day.
Practical tip: don’t overdo samples early. You’re still going to a museum visit afterward, and you want to enjoy it with a clear head. If you’re the type who likes to try everything, share pours or pick two you’re curious about most.


New Norfolk Distillery swap in May–Aug (rum, guided tasting or paddle)
Here’s a neat detail that affects what you experience. When Plenty Cider is shut (May–August timing), the tour swaps in a stop at New Norfolk Distillery. It’s Tasmania’s very first rum distillery, and it’s anchored in a former asylum—which makes the setting instantly memorable even before you taste anything.
On these days, you can expect a guided tasting or a paddle (a guided tasting-style flight). The stop is shorter—around 30 minutes—so think of it as a concentrated “try and learn” moment rather than a long sit-down.
If you’re visiting outside May–August, you should assume you’ll stay with the Plenty Cider plan instead of this rum-focused detour. The tour’s structure is designed to keep the day moving, not to force every stop year-round.
MONA Museum: where the day gets delightfully strange

By the time you reach MONA, the tour has already done a good job setting up contrast: wet forests, waterfalls, and then—art that doesn’t care if you’re having a normal day. MONA is the largest privately owned museum in the Southern Hemisphere, and it covers ancient, modern and contemporary art.
This is where I think the tour earns its place. A museum visit can feel passive on a day trip, but MONA’s reputation for interactive, quirky experiences makes it more like wandering through a big, odd conversation. You’re not just looking; you’re reacting.
The timing also works. After Mt Field’s walking and the food/tasting stops, you’re ready for something that pulls you in from a different direction. The switch from outdoors noise to gallery silence (and back again later) keeps the day from blurring together.
Practical tip: give yourself permission to skip what doesn’t click. MONA is big, and the best approach is to focus on a few sections that grab you rather than trying to “finish” it all.
Price and value: what you’re paying for at $129
At $129 for roughly 8 hours, this is priced for a packed day with transport, multiple stops, and a guide who sets the pace. You’re also getting an air-conditioned vehicle, pickup is offered, and you’ll use a mobile ticket. The “value” really comes from combining two major draws—Mt Field and MONA—with three extra regional food moments.
But you should go into it expecting add-ons:
- National park pass: up to $22.35 per adult may be required for Mount Field.
- Salmon Ponds admission: up to $10 AUD per person.
- Lunch/food: no food or drinks are included on the tour.
So the best way to think about the price is this: $129 covers the structure and movement, and the small extra fees cover the sites where entry is needed and where you’re choosing your meals. If you’d otherwise be paying for Mt Field entry, arranging your own transport, and trying to squeeze MONA in around it all, the tour format can feel like a tidy shortcut.
Also, the group size max of 22 helps. A smaller group means fewer waiting moments at the stops, and it keeps the day from turning into a long shuffle through parking lots.
Timing and comfort: how to get through the full day feeling good
A starting time of 9:30am means you’ll want to be ready early. Expect a long-ish day: the tour runs about 8 hours, with several stops and changeovers.
To make it comfortable:
- Wear supportive shoes. Russell Falls is the most important footwear check.
- Bring a light jacket and something to protect from rain.
- Pack water if you tend to get thirsty on walks. The tour does not include drinks.
- If you’re sensitive to motion, sit where you feel best in the vehicle during transitions.
The most common reason people enjoy days like this is simple: you don’t feel rushed, and the guide keeps the schedule readable. When the guide is strong—like the guides praised for humor and local stories—the day feels like it has a flow rather than a series of stops.
Who should book this tour, and who might not
This tour is a strong fit if you want:
- Mt Field National Park plus the standout waterfall walk
- MONA Museum without having to plan a separate day
- A taste of regional food stops along the Derwent Tasting Trail
- A small group day trip with a guide who makes the ride fun
You might want to choose something else if you:
- Need a fully food-inclusive day (since lunch and drinks aren’t included)
- Only want one big attraction and don’t like hopping between multiple stops
- Are traveling outside the raspberry farm window and were hoping for berry-picking specifically
Bottom line: should you book Mount Field and the Derwent Tasting Trail?
I’d book this day trip if you like variety and you’re the type who enjoys pairing a major natural site with something unexpected. The combination of Mt Field’s forest-and-waterfall energy and MONA’s ancient-to-contemporary art mix is exactly the kind of “one day, two memories” travel that makes sense for a Hobart stay.
Just budget a little for the real-world extras—park pass, Salmon Ponds entry, and your meals—and you’ll be set. And if you’re lucky enough to get a guide like Mark or Peter, the day’s pacing and humor can turn simple sightseeing into something you’ll talk about later.
FAQ
How long is the Mt Field and Derwent Tasting Trail tour?
It runs for about 8 hours.
What is the tour price?
The price is $129.
What’s included in the tour price?
The tour includes an air-conditioned vehicle and a guide. Pickup is offered, and you’ll receive a mobile ticket.
Is lunch included?
No. The tour states that no food or drinks are included.
Do I need to buy entry tickets for Mount Field and Salmon Ponds?
Yes. A national park pass may be required up to $22.35 per person for Mount Field, and Salmon Ponds admission is not included (up to $10 AUD per person).
Is the Westerway Raspberry Farm stop available all year?
No. The raspberry farm experience is noted for Nov–June.
Does the tour include MONA Museum?
Yes. The tour pairs Mount Field National Park with a visit to MONA Museum.
What is the cancellation policy?
You can cancel for a full refund up to 24 hours before the experience starts. If you cancel less than 24 hours in advance, the amount paid is not refunded.