REVIEW · HOBART
Shore Excursion: Hobart Highlights Day Tour
Book on Viator →Operated by Tassie Tours Tasmania · Bookable on Viator
Hobart, packed into one easy day. I love the Mt Wellington payoff and the cruise-terminal pickup that removes guesswork from a port stop. The day also moves with a tidy pace, so you can see five major sights without burning your whole schedule on transit. One thing to plan for: Mt Wellington can be bitterly cold and windy, so you’ll want warm layers and a bit of flexibility if the weather forces a change.
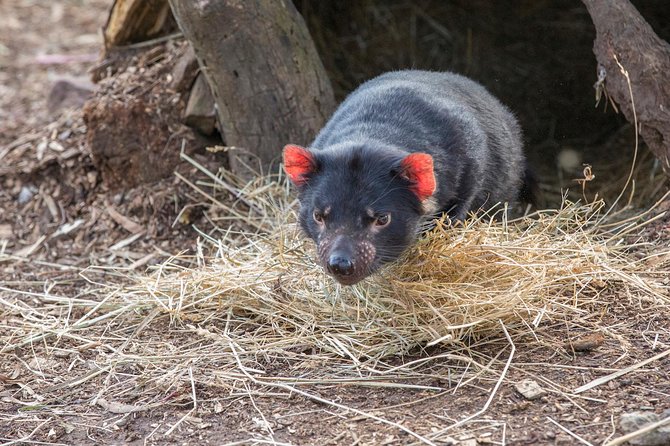
For wildlife lovers, the stop at Bonorong Wildlife Sanctuary is the emotional center of the tour. You get a full hour or so to get close to kangaroos and Tasmanian devils, with time that feels more human than rushed. The trade-off is that lunch is on your own, and stop times are designed around the ship schedule, so you can’t always count on a long sit-down meal.
In This Review
- Key things to know before you go
- Why Hobart Highlights Works for Cruise-Day Time Limits
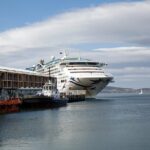
- Meeting Point, Small Van Feel, and How the Day Flows
- Kunanyi (Mt Wellington): Best Views, Cold Weather Reality
- Salamanca Market on Saturdays: Local Color You Can Actually Use
- Richmond Convict Town Stop: Historic Buildings and a Famous Bridge
- Wicked Cheese Co. and Coal River Valley: Quick Stop, Clear Purpose
- Bonorong Wildlife Sanctuary: Kangaroos and Tasmanian Devils, Plus a Little Magic
- Price and Value: Does $107.59 Make Sense?
- Weather, Timing, and When Stops Might Change
- Who This Tour Is For (and Who Might Prefer Something Else)
- Should You Book This Hobart Highlights Day Tour?
- FAQ
- How long is the Hobart Highlights Day Tour?
- Where does the tour start and end?
- Is there free entry to the main sightseeing stops?
- Does the tour include Bonorong Wildlife Sanctuary entry?
- Is lunch included in the price?
- Does Salamanca Market happen every day?
- What if the weather is bad on Mt Wellington?
- How big is the group?
- What is the cancellation policy?
Key things to know before you go
- Cruise-port convenience: pickup and drop-off from the Hobart cruise terminal keeps your day simple.
- Small group feel: up to 20 people, often in a compact van, so you move efficiently between stops.
- Mt Wellington weather plan: if cloud/snow blocks the top, you may get Rosny Lookout instead.
- Salamanca Market is Saturday-only: if your cruise day lands on the right weekday, you’ll get that market stop.
- Wildlife time is real: Bonorong includes general entry, with a chance to feed kangaroos.
- Lunch is not included: you’ll need to handle food planning during the free time window.
Why Hobart Highlights Works for Cruise-Day Time Limits
This tour is built for the reality of cruise schedules: you have limited hours, you want big sights, and you don’t want to spend them fighting public transport. The route is set up as a best-of Hobart circuit—city sights, history, views, and wildlife—so you don’t need to guess what’s worth your limited shore time.
If you’re trying to get your bearings quickly, you’ll like the flow. You’ll start with a dramatic viewpoint, then move into town, then swing out to Richmond and the countryside, and finish with wildlife. It’s a lot to fit into one day, but the pacing generally feels controlled rather than chaotic.
A few more Hobart tours and experiences worth a look
Meeting Point, Small Van Feel, and How the Day Flows
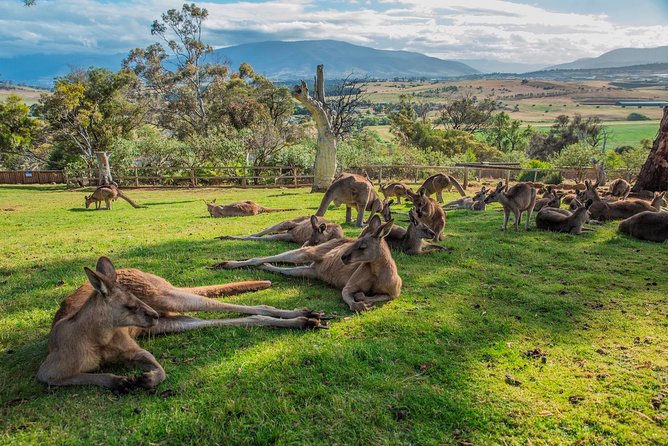
From the start, this is a low-stress setup. You get air-conditioned transport, live commentary, and a mobile ticket. In plain terms: you find the group, board, and let the driver handle the routes and timing.
Group size matters here. With a max of 20, it’s easier to hear the commentary and easier to make quick timing adjustments when traffic or weather acts up. Some departures run in a smaller coach/van setup—comfortable seats, but if you’re tall or have long legs, you might notice tighter space.
You’ll also see a pattern in how guides keep things moving. People often mention guides by name—Jodi Alexander, Peter, Andrew, Nathan, Mark, Steve, and Tammie among them—and the common thread is clear guidance and helpful commentary. That combination matters on a port day, because it reduces the mental load of figuring out where to go next.
Kunanyi (Mt Wellington): Best Views, Cold Weather Reality
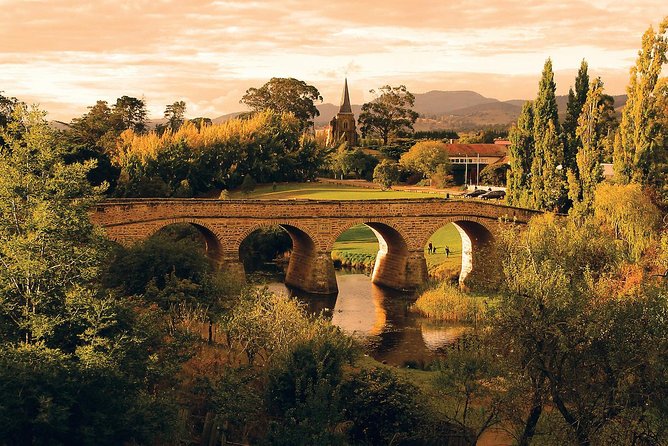
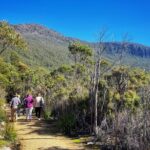
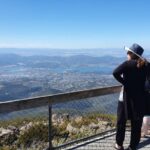
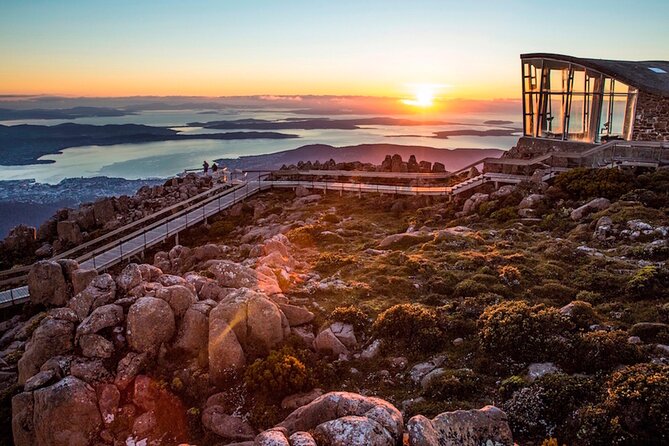
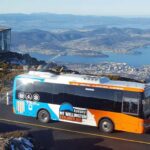
Mt Wellington is the star attraction for a reason. You go up to Kunanyi, also known as Mt Wellington, and you’re there long enough to actually enjoy it. The scheduled stop is about 30 minutes, and admission is free.
Here’s the part you should respect: the top can be much colder and windier than Hobart. Multiple guides emphasize this, and it’s worth taking seriously. If you’re wearing just a light layer, you’ll feel it fast. Bring a warm jacket, gloves if you run cold, and something to fight the wind. Your reward is a big-sky view over the port and surrounding region.
And there’s a built-in fallback. The tour can operate in most weather, but if cloud or snow hides the summit, Rosny Lookout may be used as a substitute. In practice, that means you’re not totally stuck; you’ll still get your viewpoint moment, even if the summit isn’t cooperating.
Salamanca Market on Saturdays: Local Color You Can Actually Use
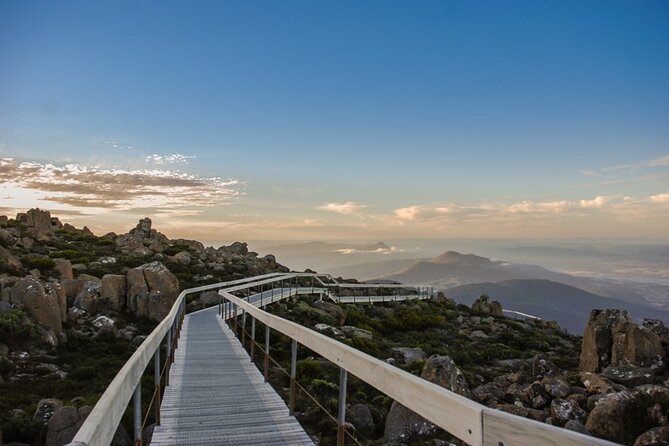
If your cruise day is a Saturday, this stop is a treat. Salamanca Market runs on Saturdays only, and the tour sets aside about 1 hour 15 minutes. Admission is free, so your money goes to what you choose to buy.
This is one of those places where you can make the stop match your travel style:
- Food and local produce if you want snacks and souvenirs that don’t feel touristy.
- Handmade items and Tasmanian art if you want gifts that look like you cared.
- People-watching if you just want to absorb the culture for a short time.
The time window is short by design, so don’t plan on a slow wander from stall to stall for hours. Instead, use it like a scan: pick one or two priorities, then buy or snack and move on.
If your day isn’t Saturday, don’t worry—you’re still getting the rest of the highlights. But Salamanca is the one stop you can’t swap if the calendar doesn’t line up.
Richmond Convict Town Stop: Historic Buildings and a Famous Bridge
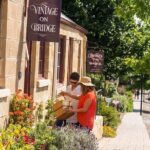
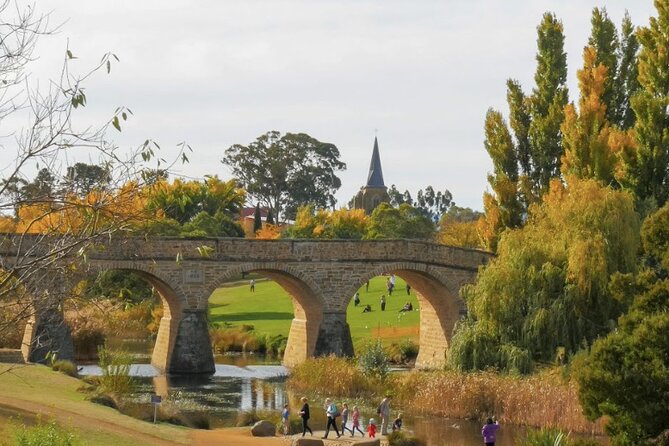
Richmond is the “pause” stop in the middle of the tour. You’ll spend about 1 hour here, with admission listed as free. Richmond is known for its convict-era past and for its historic buildings, including sandstone and colonial architecture. You’ll also get to see Australia’s oldest bridge, which gives the town a strong sense of age and continuity.
What makes Richmond worth your time on a shore day is the variety within a compact area. You can walk, take photos, and get a feel for the town’s character without needing a long tour guide lecture. It’s also a good place to grab a quick bite, since the rest of the day includes a proper wildlife stop but not included lunch.
The downside is simple: one hour is not long enough for a leisurely meal-and-shop combo. If you want a real lunch, you’ll need to plan for a quick snack or a takeaway, then settle in later—because the overall schedule is built around getting you to the other stops before ship time.

Wicked Cheese Co. and Coal River Valley: Quick Stop, Clear Purpose
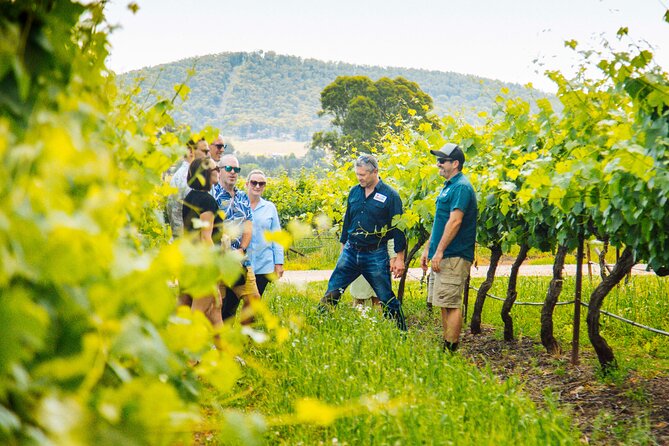
After Richmond, you head toward the Coal River Valley wine region area. The tour includes a short stop at The Wicked Cheese Co., scheduled for about 15 minutes.
This isn’t a long tasting session. Think of it as a chance to stretch your legs, look around, and buy something if cheese is your thing (or if you want a food souvenir to bring home). Reviews tend to describe it as more of a shop stop than a full experience, so go in expecting browsing and purchasing, not a deep multi-course detour.
If your priorities are more scenery than shopping, you might feel this segment is brief. But for many people, it breaks up the day nicely and keeps the countryside travel from feeling like pure transit.
Bonorong Wildlife Sanctuary: Kangaroos and Tasmanian Devils, Plus a Little Magic
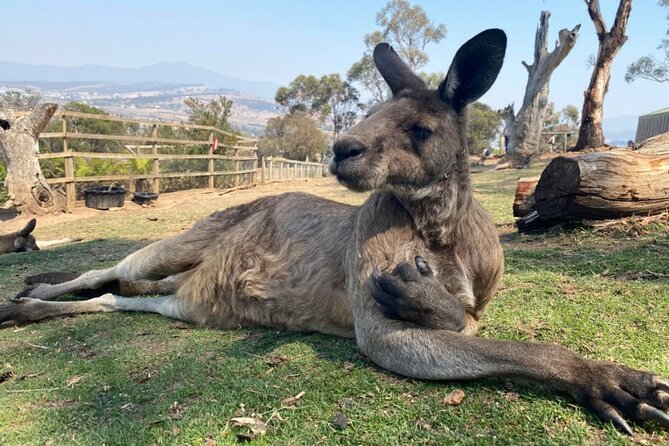
The final major stop is Bonorong Wildlife Sanctuary. You get about 1 hour 15 minutes, and general entry is included—so you don’t have to add another ticket cost in the middle of your day.
This is the portion most people remember, and for good reason. You’ll have a real chance to see Tasmanian devils and to interact with friendly wildlife like kangaroos. Many descriptions mention the thrill of feeding kangaroos, and some mention other animals like wombats as part of the sanctuary experience.
A practical note: wildlife encounters are often weather-sensitive in a general sense, but the bigger point is that this stop has enough time to feel like more than a photo op. You can look around the grounds, watch enclosures, and still have time for the hands-on moments.
If you’re traveling with kids, or if wildlife is your main reason for coming to Tasmania, this stop justifies the entire shore tour structure. It’s also a nice emotional contrast to the cold, windy Mt Wellington portion—warm, calm, and busy in a good way.
Price and Value: Does $107.59 Make Sense?
At $107.59 per person, you’re paying for convenience plus ticket value. Here’s how to think about it:
You’re getting:
- Cruise terminal pickup and drop-off
- Air-conditioned transport
- Live commentary
- General entry to Bonorong Wildlife Sanctuary
- Multiple free-admission stops (Mt Wellington, Salamanca Market, Richmond), depending on the day
So the cost isn’t just “driving around.” You’re paying for someone to handle routing, timing, and the sequencing of multiple attractions while you’re only in port for a limited window. That’s the real value.
The biggest “value check” isn’t the ticket price—it’s whether you want this many different experiences in one day. If you’re happy doing a tight circuit, you’ll feel like the price is fair. If you’d rather linger at one place, the tour’s structured timing might feel a bit rushed.
Also factor in that lunch and drinks aren’t included, so your day budget should include an easy meal plan. One review-style warning you should actually listen to: the Richmond time can be too short for a full lunch. That doesn’t make the tour bad—it just means you’ll want to plan snacks or quick meals.
Weather, Timing, and When Stops Might Change
Hobart weather can move quickly, and this tour is designed to keep running even when conditions aren’t perfect. The most common weather issue is the one you already suspect: Mt Wellington. Cloud, wind, or snow can reduce visibility at the summit.
When that happens, the plan can shift to Rosny Lookout. That’s a thoughtful backup, because it protects the core viewpoint element even if the top isn’t accessible as planned. The tour is described as operating in most weather conditions, with appropriate dressing recommended.
Timing is another factor. The tour is built around cruise ship departure times, so the day may feel more scheduled than spontaneous. Guides do their best to keep you on track, and they often adjust the order to help you avoid crowds—for example, some departures may start with Bonorong to get ahead of other ship tours.
If you’re the type who likes total freedom and long unstructured browsing, you might find the fixed rhythm limiting. If you want efficiency and reliability on a port day, this structure is exactly why people book it.
Who This Tour Is For (and Who Might Prefer Something Else)
This works best if you:
- Have limited time in Hobart and want a high hit-rate day.
- Want a blend of views, city life, history, and wildlife.
- Prefer guided stops where someone else handles the logistics.
- Like the idea of seeing multiple major sights without coordinating them yourself.
It might not be your best fit if you:
- Want a slow, deep dive into one attraction (for example, spending hours at markets or in town).
- Expect a full lunch included (it’s not).
- Get uncomfortable in cold wind easily, since Mt Wellington can be tough without warm layers.
If you’re a first-time visitor, it’s particularly sensible. It gives you a broad feel for Hobart in a way that helps you plan a second visit later—or at least helps you understand what you’d like to see more of.
Should You Book This Hobart Highlights Day Tour?
I think this tour is a strong choice when you want a structured, port-friendly Hobart day that mixes the big scenery with real wildlife time. The standout elements are the Mt Wellington viewpoint (as long as you dress for wind), the Saturdays-only Salamanca Market if your schedule matches, and the payoff of Bonorong with kangaroos and Tasmanian devils.
Book it if:
- You’re on a cruise and need smooth pickup and drop-off.
- You want to see a lot without organizing anything.
- Wildlife and viewpoints are high on your list.
Consider skipping it or switching plans if:
- You’re hoping for long stop times and a relaxed lunch.
- You really, truly only want one neighborhood or one attraction.
If you do book, pack for cold at the summit, bring a plan for lunch, and keep your expectations aligned with a ship-day schedule. Done right, you’ll get that classic Tasmania mix: top-of-the-world views, historic town charm, and close-up wildlife time.
FAQ
How long is the Hobart Highlights Day Tour?
It runs about 5 to 7 hours, depending on conditions and port timing.
Where does the tour start and end?
You can get pickup and drop-off from the Hobart cruise terminal.
Is there free entry to the main sightseeing stops?
Yes. Mt Wellington, Salamanca Market, and Richmond are listed as free admission stops.
Does the tour include Bonorong Wildlife Sanctuary entry?
Yes. General entry to Bonorong Wildlife Sanctuary is included.
Is lunch included in the price?
No. Lunch and drinks are not included.
Does Salamanca Market happen every day?
No. Salamanca Market is only included when the tour date falls on a Saturday.
What if the weather is bad on Mt Wellington?
The tour notes that if Mt Wellington is covered by cloud or snow, Rosny Lookout can be used as a substitute.
How big is the group?
The tour has a maximum of 20 travelers.
What is the cancellation policy?
You can cancel for free up to 24 hours in advance for a full refund. If you cancel less than 24 hours before the start time, the amount paid is not refunded.