REVIEW · HOBART
Shore Excursion-Hobart Wanderer
Book on Viator →Operated by iWander Tasmania · Bookable on Viator
Mount Wellington can steal your attention fast. This small-group Hobart shore excursion is built for limited time on land: you ride up a mountain for panoramic pictures, stop in historic Richmond, and head to Bonorong Wildlife Sanctuary for close-up Australian animals with a mission behind it.
What I like most is the mix of viewpoints and living wildlife—Hobart from above, then Tassie wildlife on the ground. I also like that the pace stays practical: you get guided context all day, plus just enough time at each stop to actually do something (not just hop off and rush back on).
One thing to consider: the mountain and the sanctuary are weather-dependent experiences. On foggy or windy days, Mount Wellington can feel less dramatic, and animal activity at Bonorong can vary depending on the conditions.
In This Review
- Key things that make this tour work
- A cruise-friendly Hobart day that doesn’t feel like a checklist
- Mount Wellington: the views, the timing, and the weather reality
- How to make the most of a short summit stop
- Richmond Bridge and town time: history you can actually walk
- Bonorong Wildlife Sanctuary: your best animal time depends on the day
- Simple ways to improve your odds at Bonorong
- The drive around Hobart: getting context between the big stops
- Price and value: where $114.04 fits (and where it might not)
- Who this tour is best for
- Practical tips before you go (so the day runs smooth)
- Should you book Hobart Wanderer?
- FAQ
- How long is the Hobart Wanderer tour?
- Where does the tour start?
- Is pickup included?
- What’s included in the price?
- What about lunch and snacks?
- How many people are in the group?
- What happens if weather is poor?
Key things that make this tour work
Small group size (up to 20): easier conversation with your guide and more flexible timing if the day runs long or short.
Mount Wellington by vehicle: you get big views without needing to hike or plan a separate cab or car rental.
Richmond Bridge stop: real break time in a historic town where you can grab a snack like a scallop pie (at your own cost).
Bonorong included admission: this is where the money-to-memories ratio usually shines for wildlife lovers.
Practical cruise connection: the tour starts at Tasports/ Macquarie Wharf No. 2 Cruise Terminal area, with pickup options for other points by request.
Guide-led storytelling: guides such as Paul, Brett, Jared, Peter, and Gary are repeatedly praised for keeping the drive informative and the stops well timed.
A cruise-friendly Hobart day that doesn’t feel like a checklist
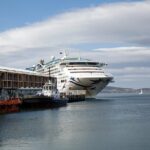
If your ship docks and you’ve only got a few hours, you usually face a tradeoff: either you cover a lot and feel rushed, or you slow down and miss key sights. This tour tries to do both—so you can see the best-known corners of Hobart and still come back on board feeling like you actually did the day.
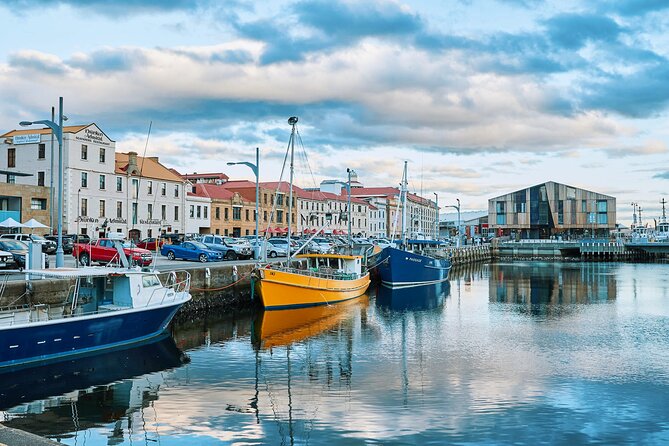
The format is simple. You start in the Hobart cruise area (Macquarie Wharf No. 2 Cruise Terminal / Hunter St area) around 9:00 am, then you move through a sequence of high-impact stops. The tour runs about 5 to 6 hours, which is the sweet spot for cruise timing: long enough to feel like a real outing, short enough to avoid that late-afternoon panic.
And because it’s a small group, you tend to get more attention from your guide than you would on a bigger bus. That matters most when you’re deciding where to spend extra minutes—especially if you’re trying to catch clearer views on the mountain or better animal movement at the sanctuary.
A few more Hobart tours and experiences worth a look
Mount Wellington: the views, the timing, and the weather reality
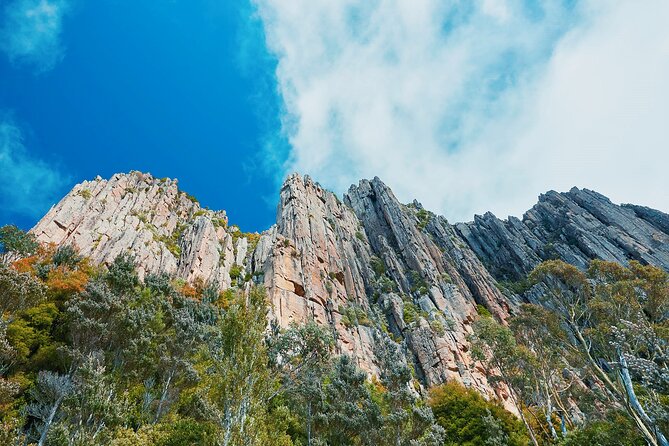
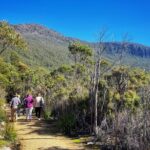
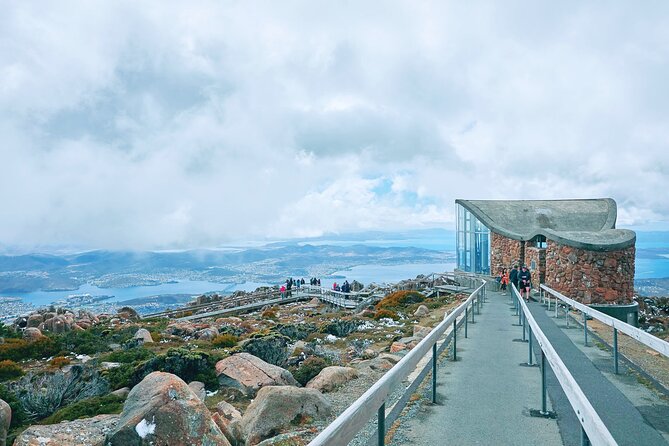
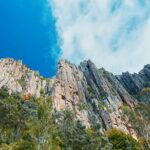
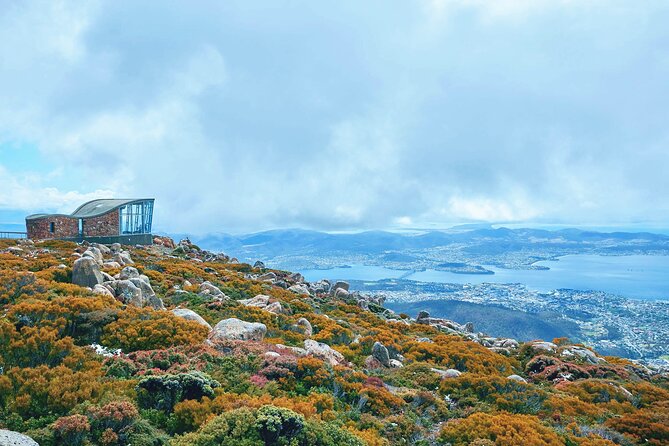
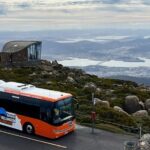
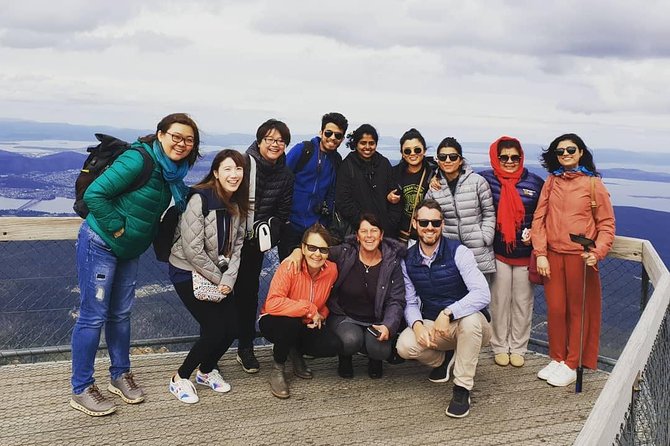
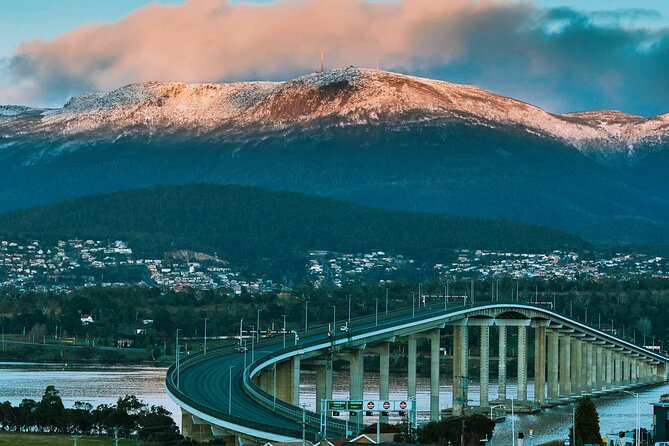
Mount Wellington is the headline for a reason. From the summit area, you get panoramic chances to see Hobart’s harbor and the surrounding region, and it’s usually the stop that makes people say this was worth the drive.
You ride up by vehicle, then you typically have around 40 minutes at the summit (drive up and view time). On a clear day, that’s a great window to get photos and take in the scale of the area. On a foggy day, though, you can feel like you paid for an atmospheric photo filter—one review notes it can be less impressive when fog limits the views.
Also, it’s often cold and windy at the top. Pack a layer even in summer. This is not a place to wear “cute and thin” clothes and hope for the best.
How to make the most of a short summit stop
- Arrive with your camera settings ready. You won’t have time to troubleshoot mid-view.
- If the day looks iffy, spend your first minutes confirming where the clearest sightlines are.
- Be ready for motion: the road up can be narrow and winding, so sit comfortably and hold on where it feels natural.
Richmond Bridge and town time: history you can actually walk
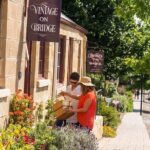
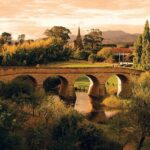
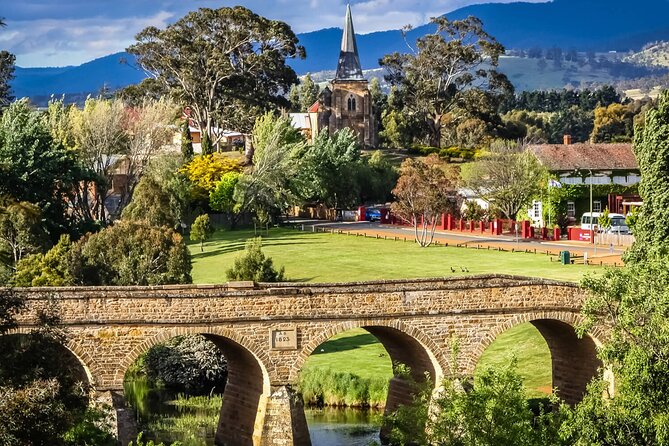
After the mountain, you head to Richmond, one of Tasmania’s best-preserved historic towns. The centerpiece is Richmond Bridge, a photo stop that also sets a sense of place—this isn’t just a highway viewpoint. There’s about 1 hour 30 minutes at Richmond, which is enough time to stroll, pop into shops, and grab a bite without feeling trapped at a single corner.
This is also where the tour gives you a chance to eat something local in a low-stress way. They mention Tasmanian scallop pies as an option—at your own cost. Even if you don’t go for that exact item, Richmond is a good spot for a snack break because you can spend time deciding what you want rather than eating on the move.
A few things to set expectations: Richmond can feel charming, but it’s still a small town with a relaxed pace. If you’re hoping for a full lunch stop or multiple major attractions, you might wish the time were longer. Still, as a break between the mountain and wildlife sanctuary, it’s an effective rhythm.
Bonorong Wildlife Sanctuary: your best animal time depends on the day
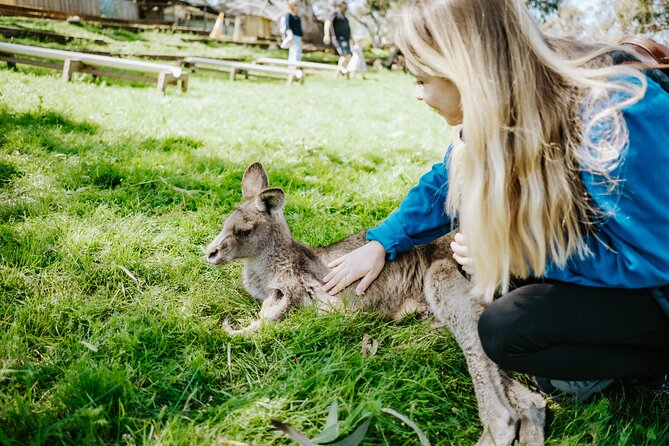
Bonorong is a wildlife sanctuary with a social enterprise mission. What I love about including a place like this is that it turns “seeing animals” into a more meaningful stop. You’re not just ticking a box—you’re visiting a team that cares for wildlife.
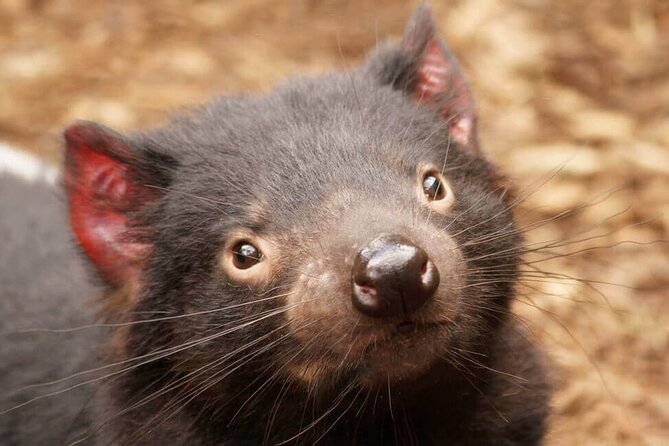
The sanctuary stop runs about 1 hour 30 minutes, and admission is included. The big win is interaction with animals where permitted, and the chance to see iconic species such as Tasmanian devils, plus animals like wombats and echidnas. One guide-focused highlight from the day is that some guides intentionally adjust the stop order to improve animal viewing—Bonorong earlier can mean animals are more active.
But here’s the honest part: wildlife doesn’t schedule itself. Some people come away thrilled, with multiple animals clearly visible, while others have a different experience—like seeing a Tasmanian devil briefly or only a few species in view. That’s not a flaw in the sanctuary; it’s just how animal behavior works.


Simple ways to improve your odds at Bonorong
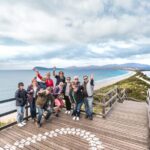
- Wear comfortable shoes and take your time in the areas with the most foot traffic—those are often the spots where animals move more predictably.
- If animals seem sleepy, don’t just stand still. Walk slowly and watch how staff guide movements.
- Ask your guide what to watch for first. Guides such as Paul and Brett are repeatedly praised for guiding your attention so you don’t miss the moments that matter.
The drive around Hobart: getting context between the big stops
Between Mount Wellington, Richmond, and Bonorong, you also get a sightseeing drive around the Hobart area. That part matters more than people expect, because it helps the day feel connected rather than like three separate tourism pins.
Guides like Paul, Brett, Jared, Peter, and Gary are specifically mentioned for keeping the commentary going during the drive. That’s the difference between staring out a window and learning why the harbor, neighborhoods, and roads look the way they do.
It’s also the time to ask practical questions. For example, you’ll often pick up quick tips on what to eat, what weather is doing, and how to plan your free time after the tour.
Price and value: where $114.04 fits (and where it might not)
At $114.04 per person, this isn’t the cheapest way to see Hobart—but it’s not overpriced for what you get either. Here’s the value math that matters:
You’re paying for:
- Transport for a full half-day between multiple locations
- a local guide
- a small-group setting (max 20)
- included admission to Bonorong
- and practical pickup/drop-off around the cruise terminal area
You’re not paying for:
- lunch (not included)
- alcoholic drinks (available to purchase)
- snacks like the scallop pie (own cost)
If you’re comparing this to hiring your own driver or renting a car, the guide and bundled admission can make the tour feel like a smart shortcut—especially if you don’t want to deal with timing, parking, or finding the correct roads up the mountain.
Where value can feel weaker is when the weather doesn’t cooperate. If fog wipes out summit views, you may feel that the money should buy more scenic payoff. Still, with flexible time and a guided day, it usually remains a solid way to maximize limited shore time.
Who this tour is best for
This works especially well if you:
- are on a cruise shore excursion with a short window and want a structured day
- want the big Hobart highlights without self-planning
- love wildlife but also want history and views, not just animal time
- prefer a smaller group where you can ask questions and adjust pacing
It may not suit you as well if you:
- are very photo-driven and extremely weather-sensitive (fog and wind can affect the mountain)
- want long, slow stops for lunch or shopping
- expect guaranteed high-visibility wildlife every minute (animal activity varies)
Practical tips before you go (so the day runs smooth)
A few details can make the day more comfortable:
- Dress for wind and cold at the top of Mount Wellington. Bring a warm layer even if Hobart feels mild.
- Bring a small snack or water plan. Lunch isn’t included, and you’ll want something satisfying between stops.
- If you’re prone to motion discomfort, expect winding roads on the way up. One passenger even joked about the bumpiness—so choose your seat with that in mind.
- Charge your phone early. Summit stops can be short, and you’ll want photos before the light changes.
- Use the guide’s timing. If your guide suggests a photo spot or a route at the sanctuary or in Richmond, follow it—this is where local knowledge helps.
Should you book Hobart Wanderer?
I’d book it if you want one well-run day that mixes Mount Wellington, Richmond, and Bonorong without making you coordinate transport yourself. For cruise passengers and first-timers, it’s a strong “maximum value in limited time” option, and the small group size makes it feel personal.
I’d hesitate if you’re traveling strictly for summit views and you know the weather is unreliable. In that case, you might still have a good day thanks to Bonorong and Richmond, but you’ll want realistic expectations about what fog or wind can do to panoramic sightlines.
FAQ
How long is the Hobart Wanderer tour?
It runs about 5 to 6 hours.
Where does the tour start?
It starts around Macquarie Wharf No. 2 Cruise Terminal near Hunter St in Hobart, with a start time of 9:00 am.
Is pickup included?
Yes. Pickup and drop-off at Tasports are included, and pickup from other destinations can be requested.
What’s included in the price?
You get a small-group tour, local guide, transport, and admission to Bonorong Wildlife Sanctuary. Admission at the other main sights mentioned is free.
What about lunch and snacks?
Lunch isn’t included. Alcoholic drinks are available to purchase. If you want a scallop pie in Richmond, it’s at your own cost.
How many people are in the group?
The tour has a maximum of 20 travelers.
What happens if weather is poor?
This experience requires good weather. If it’s canceled due to poor weather, you’ll be offered a different date or a full refund.