REVIEW · SYDNEY
Sydney Photography Course in the Historic Rocks Area
Book on Viator →Operated by Alfonso Calero Photography · Bookable on Viator
Street scenes make the best classrooms. This Sydney photography course uses The Rocks as your outdoor lab. You’ll get tailored help for manual mode and composition, plus real photo time at iconic Harbour Bridge and Opera House viewpoints.
I like that the session stays practical: the guide works with your actual camera settings and you get plenty of chances to experiment while you’re walking. I also like the small group limit (up to 10), which usually means you’re not shouting over a crowd to get help.
One thing to consider: you need to bring your own camera, and the course depends on good weather—if conditions are poor, it may be rescheduled or refunded.
In This Review
- Key moments you’ll care about
- The Rocks district: why this is a smart place to learn your camera
- Alfonso Calero coaching: what makes the instruction work
- Stop 1 in The Rocks: laneways, sandstone, and the “make it look right” practice
- Stop 2 and the Sydney Photography Tours wrap: using what you learned
- Manual settings you’ll actually be able to use: exposure, shutter speed, composition
- Afternoon versus nighttime: picking the class that fits your style
- What €154 buys you: value check for a 2.5-hour coaching session
- Practical details that affect your day
- Who should book this course (and who might skip it)
- Should you book Alfonso Calero’s Rocks photography course?
- FAQ
- Where does the course start?
- How long is the Sydney photography course?
- Is there a group size limit?
- Do I need to bring my own camera?
- Is food or drinks included?
- Is hotel pickup or drop-off included?
- Can I choose an afternoon or nighttime class?
- What photo spots are covered?
- Is this tour dependent on weather?
- How does cancellation work?
Key moments you’ll care about
- Small group coaching (max 10 travelers) keeps attention focused on your questions
- Manual-mode guidance helps you stop guessing and start controlling exposure
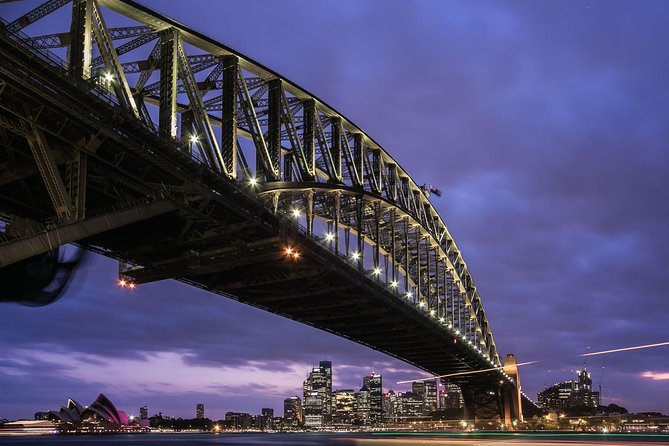
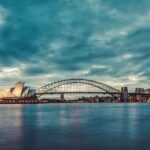
- Icon photo viewpoints target Harbour Bridge, Sydney Opera House, and sandstone buildings
- Multiple time options let you pick an afternoon or nighttime class
- Course notes support what you practice during the walk
The Rocks district: why this is a smart place to learn your camera
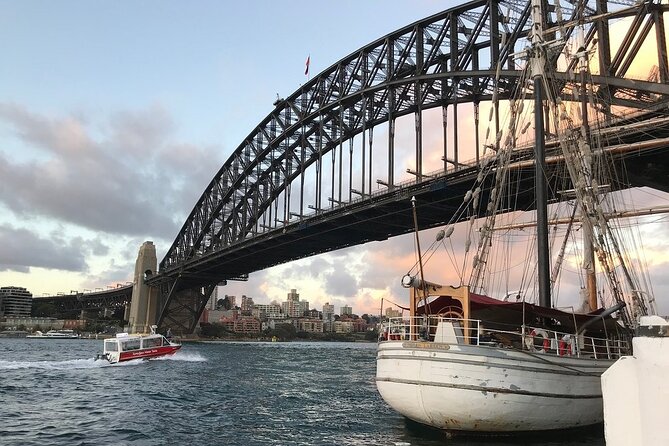
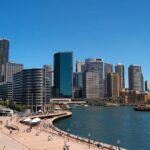
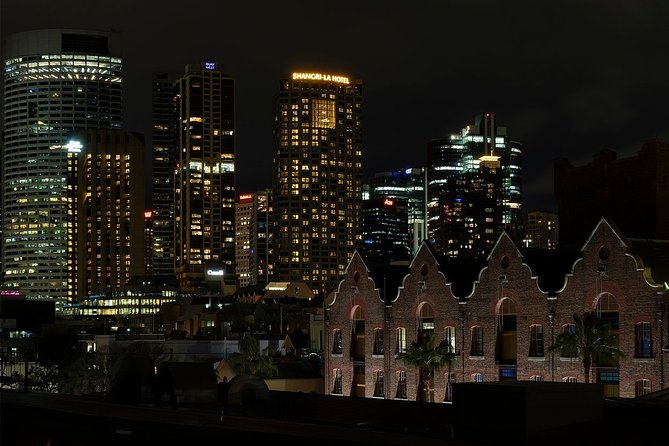
The Rocks is one of those areas where every corner gives you something worth photographing—laneways, old sandstone buildings, and classic views toward Sydney Harbour. That variety is great for a photo course because it forces you to practice more than one kind of shot.
You’re not stuck only with one subject. One moment you’re working with architecture lines and textures, and the next you’re aiming at bright, contrasty harbor scenes. That mix is exactly what helps you learn exposure and composition in a way that transfers to the rest of your trips.
Also, the meeting point puts you right in the action. You start at Kendall Lane in The Rocks, so you’re not spending your lesson time commuting around the city.
You can also read our reviews of more historical tours in Sydney
Alfonso Calero coaching: what makes the instruction work
This course is run through Alfonso Calero Photography, and the standout theme in the course feedback is simple: the guide is friendly and genuinely helpful. In practice, that matters, because manual photography can feel intimidating if someone throws terms at you and moves on.
Here, you get customized guidance on how to use your camera in manual mode, plus clear tips on:
- composition
- exposure
- shutter speed
- how to think about what you’re seeing before you press the shutter
You also receive course notes. Those aren’t just paper souvenirs; they’re useful for reminding you what you tried and what you should adjust next time you’re out photographing.
Stop 1 in The Rocks: laneways, sandstone, and the “make it look right” practice
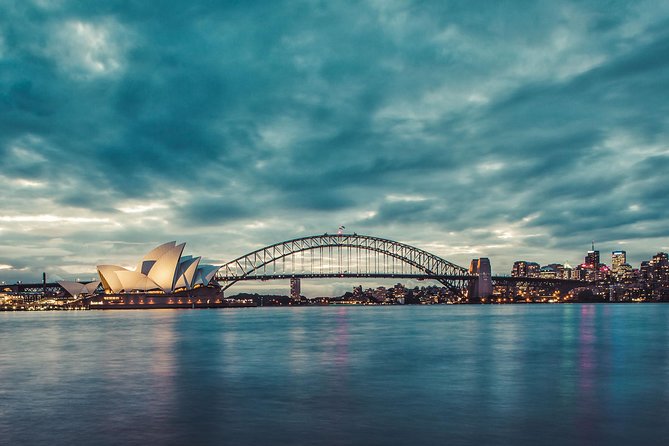
Your first stop is The Rocks, and that’s where the lesson vibe really clicks. You’ll move through the historic area and get directed to great spots for photo opportunities. The Rocks Discovery Museum is part of what you can expect along the way, along with other historic sites dotted around the laneways.
What makes this stop valuable is how it blends technique with real scenery. Instead of only hearing about camera settings, you’re applying them to:
- sandstone buildings with strong texture
- tight laneway compositions
- wider harbor-facing views
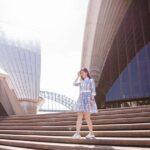
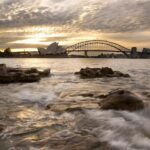
You’re also heading toward viewpoints for Sydney Harbour Bridge and Sydney Opera House. That’s a big deal because both landmarks are bright, detailed, and often surrounded by challenging light conditions—exactly the kind of scene that forces you to learn control instead of relying on auto mode.
A drawback to keep in mind: The Rocks is walkable and active. If you’re expecting a sit-down classroom with long explanations, you might feel like the pace is a bit more hands-on than that.
Stop 2 and the Sydney Photography Tours wrap: using what you learned
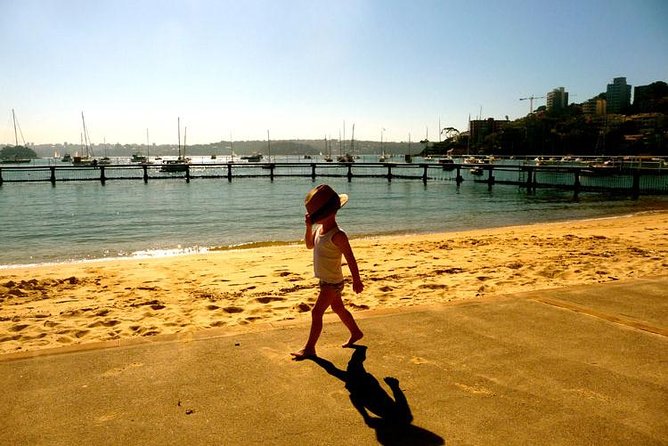
The second stop is listed as Sydney Photography Tours, and the overall tour structure makes it clear this isn’t just a “go take photos” walk. It’s a guided loop built around learning targets, then checking your results as you go.
By this point, you should have a better sense of what your camera is doing when you change shutter speed or exposure. That means you can refine your choices: keep the parts you want sharp, manage brightness, and build compositions that look intentional rather than accidental.
This stop is also where the course notes can start to make more sense. If something felt confusing earlier—like how shutter speed affects motion blur or how exposure changes how shadows and highlights behave—your final positioning time is your chance to apply the fix.
Manual settings you’ll actually be able to use: exposure, shutter speed, composition
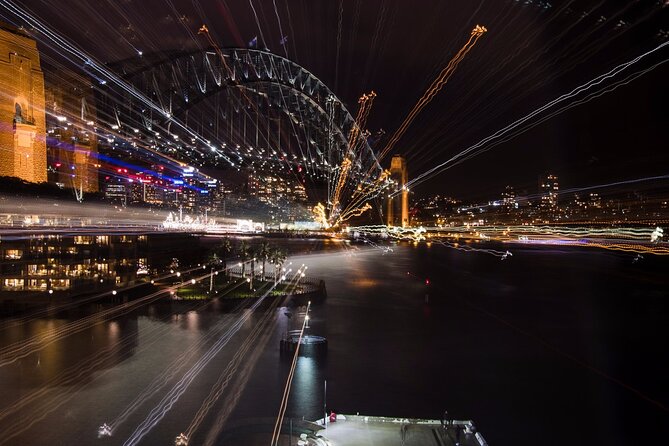
The course message is “control your camera settings,” and that’s the difference between taking pictures and making pictures. The guide focuses on manual mode and gives tips you can use immediately while you’re shooting.
Here’s why those topics matter in real life:
Exposure: If your images keep coming out too dark or too bright, manual exposure is your lever. You’ll learn how to think about the brightness of the scene so the camera isn’t guessing for you.
Shutter speed: Shutter speed is where motion becomes part of the story. Even if you’re photographing buildings and architecture, there’s often enough movement around—water shimmer, people walking, or shifting light—to make shutter speed worth understanding.
Composition: The guide helps you see framing choices—where to place a subject, how lines can pull attention, and how to build a shot so it doesn’t feel flat.
All of this is easier when you’re in a place like The Rocks, where there are lots of visual cues. And with a small group, you can get help without waiting your turn for the next explanation.
You can also read our reviews of more photography tours in Sydney
Afternoon versus nighttime: picking the class that fits your style
This course offers a choice of an afternoon or a nighttime class. That matters because the lighting changes what you’ll practice.
In the afternoon, you can focus on clarity—details in sandstone, brighter contrast on building edges, and easier visibility for composing quickly. At night, you’ll likely have more challenge and more payoff, since light sources can complicate exposure and demand more deliberate control of your settings.
If you like predictable conditions and building a strong base, choose afternoon. If you enjoy working with low light and experimenting with shutter speed and exposure decisions, nighttime is the better fit.
What €154 buys you: value check for a 2.5-hour coaching session
At €154 for about 2 hours 30 minutes, you’re paying for two things: instruction and time in the right locations.
In a regular workshop, instruction can be generic. Here, you’re getting:
- a photography tutor/guide
- course notes
- customized manual-mode coaching
- small-group attention (up to 10)
- guided photo stops aimed at real Sydney icons
You also get a practical outcome: you’ll leave with a better understanding of how to change settings and what those changes do to your images. That’s the kind of value that lasts beyond one day, especially if you keep photographing after the course.
One cost to plan for: food and drinks aren’t included, and there’s no hotel pickup or drop-off. You’re responsible for your own travel to Kendall Lane and any snacks or water you want during the walk.
Practical details that affect your day
A few notes help you show up prepared:
- Bring your own camera (this is a hands-on course, not a loaner setup).
- Wear comfortable shoes for walking through laneways.
- The class meets at Kendall Lane (Kendall Ln, The Rocks NSW 2000), and it ends back at the meeting point.
- It’s near public transportation, which makes it easier to fit into a Sydney itinerary.
- Service animals are allowed.
- You’ll use a mobile ticket.
Also, the course depends on weather. If it’s canceled for poor conditions, you’ll be offered another date or a full refund.
Who should book this course (and who might skip it)
This is a great choice if:
- you want to learn manual mode without feeling lost
- you enjoy walking photo assignments and want guidance while you shoot
- you’re aiming to photograph Sydney Harbour Bridge, Opera House, and The Rocks architecture
- you prefer small-group instruction with real help from a guide
You might consider a different option if:
- you want a fully indoors lesson with minimal walking
- you don’t want to bring your own camera or aren’t ready to practice settings
- your schedule is tight and weather changes would be a problem (since the course requires good weather)
Should you book Alfonso Calero’s Rocks photography course?
Yes, if you want instruction that’s geared toward getting better results with your own camera. The strongest signal from the experience details is that the guide is approachable, friendly, and focused on helping you improve. Add small-group size and a location that naturally supports multiple types of shots, and you’ve got a lesson that feels like time well spent.
Book it especially if manual mode is the thing holding your photos back. The Rocks gives you the scenes to practice, and the coaching helps you turn those settings into images you actually like.
FAQ
Where does the course start?
The tour starts at Kendall Lane, Kendall Ln, The Rocks NSW 2000, Australia.
How long is the Sydney photography course?
It runs for approximately 2 hours 30 minutes.
Is there a group size limit?
Yes. The maximum group size is 10 travelers.
Do I need to bring my own camera?
Yes. You must bring your own camera.
Is food or drinks included?
No. Food and drinks are not included.
Is hotel pickup or drop-off included?
No. Hotel pickup and drop-off are not included.
Can I choose an afternoon or nighttime class?
Yes. You can choose from an afternoon or nighttime class to fit your schedule.
What photo spots are covered?
You’ll visit photo viewpoints for Sydney Harbour Bridge, Sydney Opera House, and the historic sandstone buildings in The Rocks.
Is this tour dependent on weather?
Yes. The experience requires good weather, and if it’s canceled due to poor weather you’ll be offered another date or a full refund.
How does cancellation work?
You can cancel for free up to 24 hours in advance for a full refund. If you cancel less than 24 hours before the start time, the amount paid isn’t refunded.
More Photography Tours in Sydney
More Historical Tours in Sydney

More Tour Reviews in Sydney
- Blue Mountains Small-Group Tour from Sydney with Scenic World,Sydney Zoo & Ferry
★ 5.0 · 3,709 reviews