REVIEW · SYDNEY
Sydney Photography Masterclass – Private Photography Lesson
Book on Viator →Operated by Aperture Tours · Bookable on Viator
Sydney looks like a movie set after dark, and this lesson shows you how to photograph it for real. A small private group (up to four) means you get focused help, plus practical coaching on the camera basics and night settings you’ll actually use in Sydney. I love the way the instruction connects exposure triangle settings to real tradeoffs, and I love that you also get photo review so you know what to fix next. One thing to consider: you’re out walking and working in low light, so you’ll want to bring the right mindset (and be ready to try, adjust, and try again).
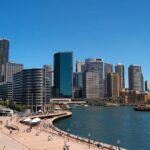
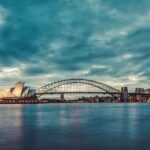
You’ll start in Kirribilli at 41 Broughton St, work your way past Luna Park and the Harbour Bridge, then swing into the lights around Circular Quay and the Rocks. The big value is that this isn’t just pretty views—it’s a guided route that helps you stand in the right place at the right time, with someone steering your camera settings while you shoot.
In This Review
- Key Highlights You’ll Care About
- Private Sydney Coaching With Real Small-Group Attention
- Price and Value: Why This Costs $186.48 Per Person
- The Lesson Plan You Can Actually Use: Camera Basics to Night Settings
- Milsons Point to McMahons Point: Getting Your First Frames Right
- Luna Park and the Harbour Bridge: Shooting Icons Without Losing Control
- Hickson Road Reserve and the Opera House: Making Night Detail Look Intentional
- Cahill Expressway and Mrs Macquarie’s Chair: Finding Angles That Actually Work
- The Rocks to Circular Quay: From Landmark Shots to Street-Level Success
- Gear and Prep Tips (So You Can Spend Time Shooting)
- Who Should Book This Sydney Night Photography Masterclass
- Should You Book? My Take
- FAQ
- How long is the Sydney Photography Masterclass?
- Is this a private photography lesson?
- What does it cost per person?
- Where do we meet and where does it end?
- What locations will we photograph?
- What’s included in the session?
- What should I bring?
- Is public transportation nearby?
- Can I cancel for a full refund?
Key Highlights You’ll Care About
- Private, up-to-four-person coaching so your questions and settings get answered right away
- Hands-on lesson on Aperture, ISO, and shutter speed with practical examples you can copy
- Night photography focus: what settings and locations work when light gets scarce
- Iconic-to-street route: Luna Park, Harbour Bridge, Opera House, the Rocks, and Circular Quay
- Feedback built in with photography tuition plus a review of what you captured
Private Sydney Coaching With Real Small-Group Attention
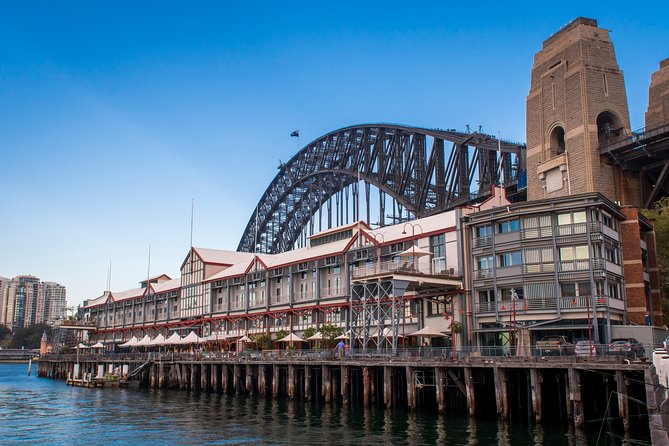
This is built as a true private lesson. That matters more than it sounds. With only you and up to three others, you’re not stuck waiting your turn while a group handler sorts through everyone’s settings. You get help that matches what you’re shooting, and that’s especially useful for night work, where the “right” choice changes fast.
Your guide is a professional photographer guide, plus a local guide who knows how to move through Sydney’s best sight lines. The teaching style is practical: you get the fundamentals, then you immediately apply them on-location. In one of the best-form parts of the experience, the lesson is designed to work across different abilities, so you’re not punished if you’re new to manual mode or overwhelmed if you already shoot confidently.
Possible drawback? Expect to adjust quickly. Night photography has a learning curve, and the route includes multiple viewpoints over a few hours. If you’re the type who wants everything explained in one calm place, this may feel like you’re constantly on the move—but that pace is part of what makes it effective.
You can also read our reviews of more private tours in Sydney
Price and Value: Why This Costs $186.48 Per Person
At $186.48 per person for about 3 hours, the price makes sense when you compare it to what you’d pay for solo coaching time. Here, the value is in three things:
First, you’re not just getting a lecture about cameras. The plan includes technical instruction (Aperture, ISO, shutter speed), framing/composition guidance, night photography techniques, and then a review of your results. That full arc is what turns “I took photos” into “I improved.”
Second, you’re paying for access to a targeted route through high-impact locations. Sydney’s icons are great, but the real win is learning where to stand and how to compose them so the final image looks intentional rather than accidental.
Third, you get it as a private group. Even if you come with a friend, you’re still in a small bubble where the guide can slow down for your questions.
What’s not included is straightforward: your camera and a tripod. Tripods can be rented, which is helpful because night work often needs steadiness and longer exposures.
The Lesson Plan You Can Actually Use: Camera Basics to Night Settings
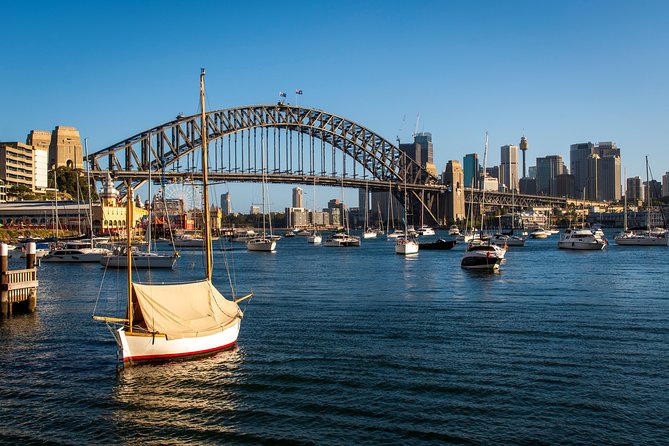
This is the kind of class where the structure matters. You’ll cover the core trio:
- Aperture: how much light you let in, and how much of the scene stays sharp
- ISO: your camera’s sensitivity, and the tradeoff with noise/grain
- Shutter speed: motion blur vs. sharpness
But here’s the part that makes it click: you’ll see real-world examples of the tradeoffs, not just definitions. Night photography forces these choices to collide. Faster shutter speeds can freeze light trails but require more light; higher ISO can brighten the shot but adds noise; wider apertures can help in low light but affect depth of field.
You’ll also get coaching on framing—what to include and what to leave out. That’s huge in Sydney, where there are always extra signs, rails, and distractions trying to steal attention from your subject. The guide helps you simplify scenes into a strong composition that still feels like Sydney.
Finally, there’s review time. That’s where you figure out what to repeat on the next exposure and what to avoid.
Milsons Point to McMahons Point: Getting Your First Frames Right
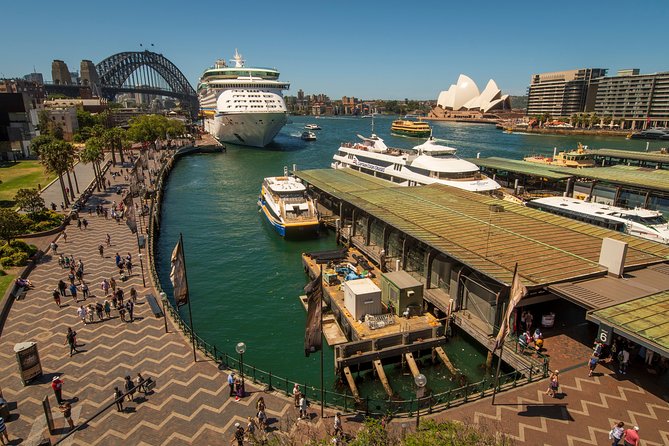
You start in Milsons Point (at 41 Broughton St, Kirribilli). This is a smart kickoff because it gives you a harbor context early, before you chase the biggest icons. It helps you get your bearings fast—literally and technically.
At this stage, you’re usually working on the basics of composition and how to translate a view into a photograph. I like using this first segment to set a baseline: you try a few shots with different settings, then the guide helps you see what changed in the image.
Why this stop matters: you learn how to frame the harbor and surrounding structures so you’re not just shooting a postcard. A common night-photo problem is letting the camera decide everything. The lesson is set up to help you understand what the camera is doing and then take control.
Possible drawback: depending on conditions, the light can shift quickly along the water. That’s normal in Sydney evenings. Build in a little patience and plan to make multiple exposures rather than chasing one perfect frame.
Luna Park and the Harbour Bridge: Shooting Icons Without Losing Control
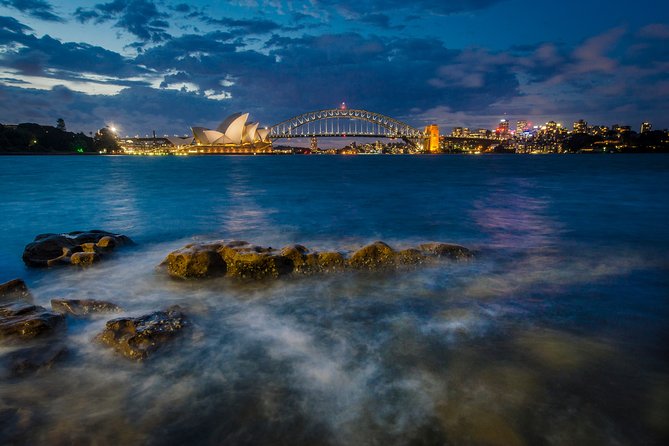
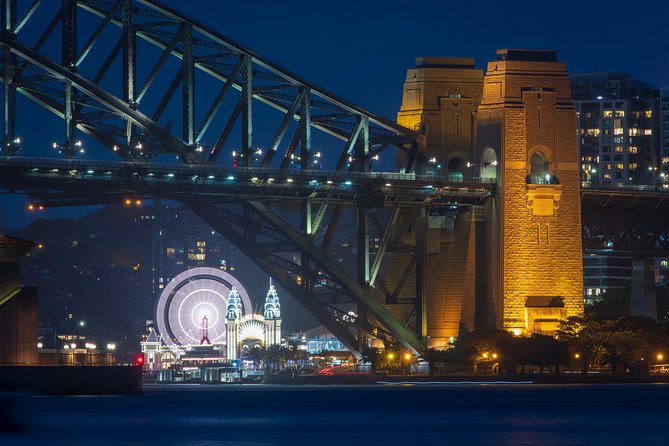
From Milsons Point toward Luna Park, you’re in the zone where Sydney’s personality hits you. But icons come with traps. Too much going on in the frame. Too much brightness from signage. Too many angles that look good in real life but fall flat on camera.
This is where the class’ night approach earns its keep. Instead of treating Luna Park as just a background, the coaching helps you plan the composition so the lights become part of the story, not just a glow.
Then you move into the big one: Sydney Harbour Bridge. Under or near the bridge area, you get dramatic perspectives and strong lighting contrast. Bridge shots are a perfect test of the exposure triangle:
- Push ISO too far and you get noise.
- Slow your shutter too much and the scene turns into a blur mess.
- Open the aperture too wide and your focus might not land where you want.
If you’re new to manual mode, this is still workable. The lesson is structured to help you gain confidence quickly, with real examples of how changing one setting changes the result.
A practical consideration: crowds can complicate viewpoints. With a small group and a guide who’s moving you to the best positions, you spend less time stuck and more time shooting.
You can also read our reviews of more photography tours in Sydney
Hickson Road Reserve and the Opera House: Making Night Detail Look Intentional
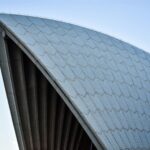
Next up: Hickson Road Reserve, then Sydney Opera House. This is the segment where many people want to start from scratch, because Opera House images can look either crisp and cinematic or flat and blown out.
The coaching here is about settings and placement. The goal is to keep the iconic shapes recognizable while still capturing the water, bridge glow, and surrounding light patterns without washing everything into bright mush.
Why this stop is valuable: it teaches you how to think beyond the camera display. You’ll practice choices that affect how bright areas behave and how darker parts hold detail. Night photography rewards consistency—small changes, repeated frames, then a clear path toward improvement.
Drawback to plan for: Opera House and harbor scenes can include bright points of light. That means you might need to dial back brightness in one area to preserve detail elsewhere. Don’t expect one click to solve it.
Cahill Expressway and Mrs Macquarie’s Chair: Finding Angles That Actually Work
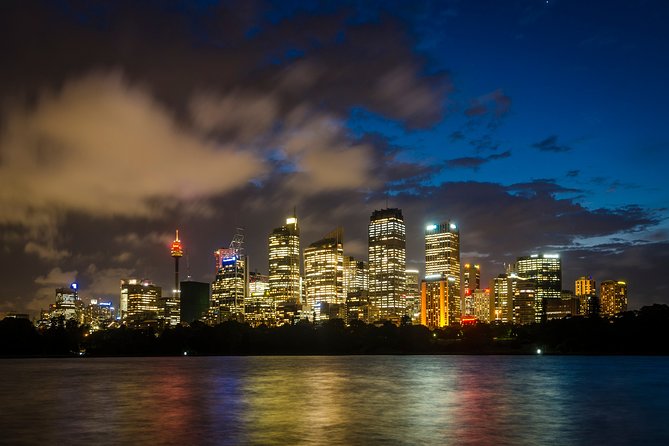
As the route moves on, you’ll hit Cahill Expressway, then Mrs Macquarie’s Chair. This is a good reminder that night photography isn’t only about the main landmarks. It’s also about angle, elevation, and how the scene layers.
Mrs Macquarie’s Chair is often the kind of viewpoint that makes you want to photograph everything at once. The lesson helps you choose what the viewer should notice first. Maybe it’s the Opera House silhouette. Maybe it’s the bridge lines. Maybe it’s a combination with the harbor acting like a reflective connector.
This is also where framing lessons become practical. Instead of shooting wide open and hoping it looks good, you learn to organize the image: foreground, subject, and supporting shapes.
Tradeoff mindset matters here. When you change exposure settings, you change more than brightness—you affect how lines appear, how water texture holds up, and how light points behave. The coaching makes those cause-and-effect connections clear.
The Rocks to Circular Quay: From Landmark Shots to Street-Level Success
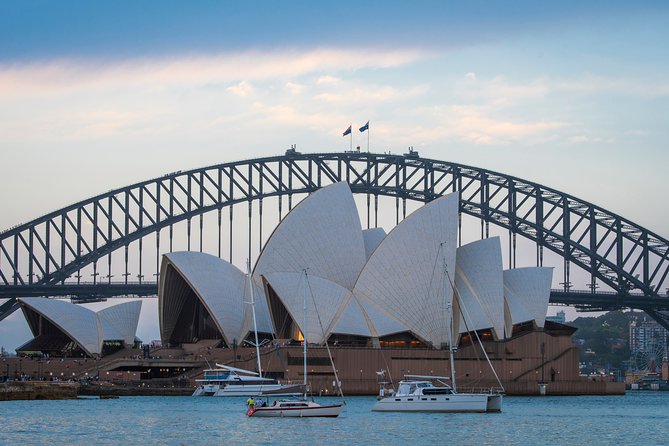
Then the route shifts into character: The Rocks, followed by Circular Quay. This is where you stop treating Sydney as only icons and start seeing it as a set of textures and details.
The Rocks is a strong place to practice night street photography basics: include the right amounts of context, avoid clutter, and use framing to keep attention on your subject or chosen landmark. The small private format helps because the guide can recommend what to focus on based on what you’re currently learning.
Circular Quay closes the lesson with a payoff. You get that harbor energy again, but now you’ve been through the technical lessons and you’ve trained your eye on composition and on controlling brightness. By the end, your images should show a cleaner approach, even if you’re still experimenting.
One more key value here: review. If your camera settings feel confusing, this is where the guide can help you see what your images are telling you and how to fix the next set quickly.
Gear and Prep Tips (So You Can Spend Time Shooting)
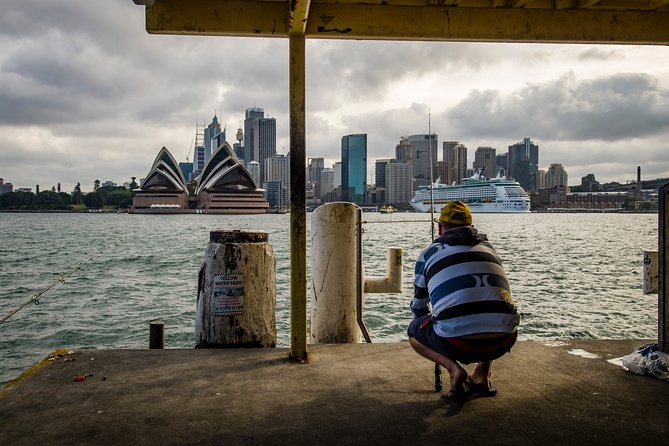
This experience doesn’t include your camera or a tripod (though tripod rental is available). Since the lesson includes night techniques, the practical implication is simple: bring gear you know how to use.
Here’s what I suggest based on how night coaching typically works:
- If you have manual mode, be ready to use it. The instruction focuses on settings like aperture, ISO, and shutter speed.
- Consider bringing a tripod if you have one, or plan to rent. Longer exposures are common in night work, and steadiness helps.
- Bring fully charged batteries. Night sessions drain power faster than daytime shooting.
- Expect to make multiple exposures. You’ll learn faster when you compare variations.
If you’re unsure what you have, the guide can help you connect your camera controls to what you’re trying to photograph.
Who Should Book This Sydney Night Photography Masterclass
Book it if you want more than sightseeing. This is a good fit for:
- You’re planning a Sydney trip and want photos that look like your memories, not accidental snaps
- You want to learn night photography in a structured way, with settings guidance and real feedback
- You’re traveling with a small group (up to four total) and like the idea of private coaching rather than a crowded workshop
- You want help even if your camera skills differ from your group member’s level
If you already know every camera setting and never want coaching, you might not get full value. But for most people, the combination of icon locations and hands-on teaching is exactly what makes this worth the time.
Should You Book? My Take
I think this is worth booking if your goal is to improve your photography in a short window. The route makes sense for learning: start with harbor framing, hit big icons like Luna Park, the Harbour Bridge, and the Opera House, then practice composition and detail in the Rocks and Circular Quay.
You’ll get the most out of it if you arrive willing to experiment—because the class teaches you the why behind the settings, then helps you apply it immediately. If you’re on the fence, think of it like this: paying for a private lesson is cheaper than paying for a month of trial-and-error after your trip.
FAQ
How long is the Sydney Photography Masterclass?
It’s approximately 3 hours.
Is this a private photography lesson?
Yes. It’s a private tour/activity, and only your group will participate (up to four people total).
What does it cost per person?
The price is $186.48 per person.
Where do we meet and where does it end?
You meet at 41 Broughton St, Kirribilli NSW 2061, Australia and it ends back at the meeting point.
What locations will we photograph?
Stops include Milsons Point, McMahons Point, Luna Park, Sydney Harbour Bridge, Hickson Road Reserve, Sydney Opera House, Cahill Expressway, Mrs Macquarie’s Chair, The Rocks, and Circular Quay.
What’s included in the session?
Included are a professional photographer guide, a local guide, and photography tuition and review.
What should I bring?
You’ll need to bring your camera (not included). A tripod is available to rent, but it is not included by default.
Is public transportation nearby?
Yes, the meeting area is near public transportation.
Can I cancel for a full refund?
Yes. Free cancellation is available, and you can cancel up to 24 hours in advance for a full refund. Cut-off times are based on local time.
More Photography Tours in Sydney
More Private Tours in Sydney


More Tour Reviews in Sydney
- Blue Mountains Small-Group Tour from Sydney with Scenic World,Sydney Zoo & Ferry
★ 5.0 · 3,709 reviews