REVIEW · HOBART
Tasmania 8 Day – Tour in Circle
Book on Viator →Operated by Fun Tassie Tours · Bookable on Viator
Tasmania in one tight loop feels like a win. Starting in Hobart with a small group (max 15), you’ll hit major highlights without spending your whole week planning, from Port Arthur to Cradle Mountain to the West Coast World Heritage area. It’s guided, well-paced for mixed abilities, and built around real stops with food breaks and viewpoints rather than rushing from place to place.
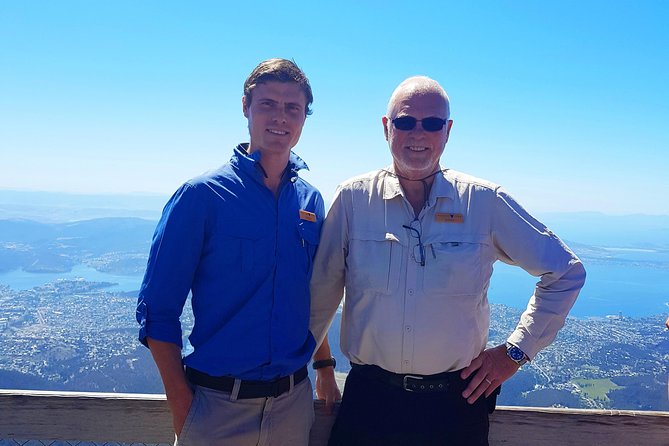
I especially liked two things: the included meals plus tastings and the way the guide leans into storytelling at each stop. On this trip, you get hotel pick-up and drop-off, bottled water on tour, daily afternoon tea/coffee breaks, and free sampling experiences (wine, chocolate, cheese, oysters, honey) that turn drive days into foodie highlights. Reviews also point to guides like Dean, and the general vibe sounds like calm, safety-first driving paired with sharp local knowledge (names like Morgan and Ben come up too).
One drawback to weigh: the schedule is built for seeing a lot, so you’ll spend meaningful time in the vehicle between regions. If you want a slower pace with lots of free wandering, this might feel a bit structured, and Day 8 is explicitly more free than guided. Also, note the experience is non-refundable, so you’ll want your dates locked in before you commit.
In This Review
- Key points worth knowing
- A small-group Tasmania loop that starts in Hobart
- Day 1 in Hobart: check in at Movenpick and stay central
- Day 2: Hobart history, Mt Wellington views, and the Tasman Peninsula coastline
- What to watch for
- Day 3: Port Arthur with a guided 3 hours, plus Maria Island and Spiky Beach
- Best use of your time
- Day 4: East Coast wildlife, Bay of Fires color, oysters, and Pyengana cheese
- A good day for food lovers
- Day 5: Launceston city highlights, caves, honey, and gearing up for Cradle Mountain
- Walking notes
- Day 6: Cradle Mountain UNESCO time, then Zeehan mining and Huon pine
- Why I like this combo
- Day 7: West Coast World Heritage—steam rail, Nelson Falls, Lake St Clair, and The Wall in the Wilderness
- How this day feels
- Day 8: Free morning in Hobart and an easy finish
- Price and value: what $2,721.94 buys on this Tasmania circle
- Who should book this tour (and who might not)
- Should you book this Tasmania Circle tour?
- FAQ
- Is pickup included on this Tasmania tour?
- Where does the tour start and what time do you depart?
- How many people are in the group?
- How long is the tour and what does that include?
- What meals are included?
- Are attraction entry fees and national park passes included?
- Are food tastings included?
- What about getting to and from the airport?
- Is the chairlift at Cataract Gorge included?
Key points worth knowing
- Max 15 people keeps it personal, and you can actually hear the guide during the stops.
- Most breakfasts and lunches included, plus two dinners, so you’re not constantly hunting meals.
- Food tastings are baked in: wine, chocolate, cheese, oysters, and honey are all part of the route.
- UNESCO sites are included with guided time at Cradle Mountain–Lake St Clair and major World Heritage coastline.
- Accommodation is part of the deal with 7 nights included, and you start at the Movenpick in the city.
- Day 8 is unguided, which is great for flexibility, but less so if you want constant guidance.
A small-group Tasmania loop that starts in Hobart
This tour is designed as a full-circle feel: you begin in Hobart, fan out across the island’s “must-see” regions, then come back around. The magic is the balance of guided highlights and break time that keeps the day from turning into a checklist.
With a group capped at 15, you’re not lost in a crowd. That matters on Tasmania’s lookouts and heritage sites where parking can be tight and walking can be uneven underfoot.
You also get the practical stuff lined up. The tour includes hotel pick-up and drop-off, entry fees, and the national park passes and fees, so you can focus on the driving days and the walking you choose to do.
You can also read our reviews of more tours and experiences in Hobart.

Day 1 in Hobart: check in at Movenpick and stay central
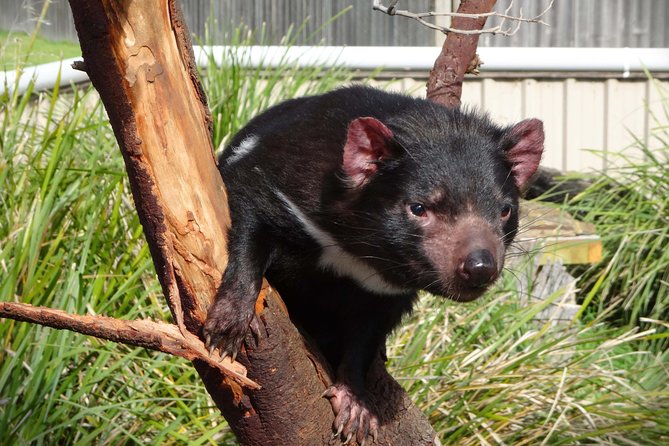
Day 1 is arrival at your own pace. You check into the 4-star Movenpick Hotel Hobart, in the middle of the city and within easy walking reach of many sights.
This is a smart start because it removes the stress of turning up late and trying to make sense of Hobart after a flight. You get a proper base, not a remote motel where you feel stranded.
If you arrive early enough, you can use that evening to get oriented on foot—this helps a lot for the next morning’s start.
Day 2: Hobart history, Mt Wellington views, and the Tasman Peninsula coastline
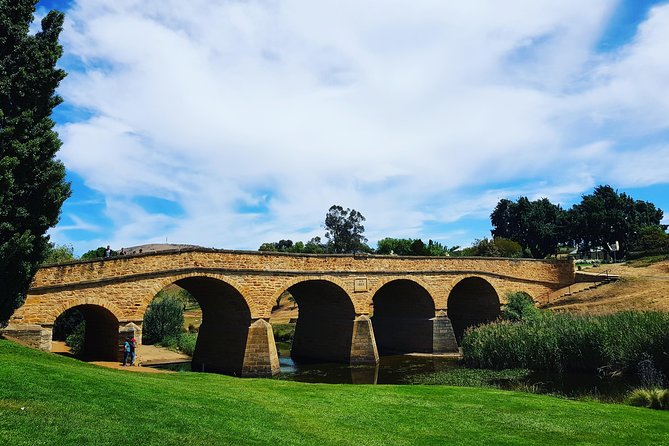
Day 2 is where the tour really turns on. You start with Constitution Dock, with a Mawsons Hut replica experience and statues tied to early south pole exploration. Then you pass through Salamanca and Battery Point, plus the area’s convict-era stories, including a look at the significance of a major female correctional facility.
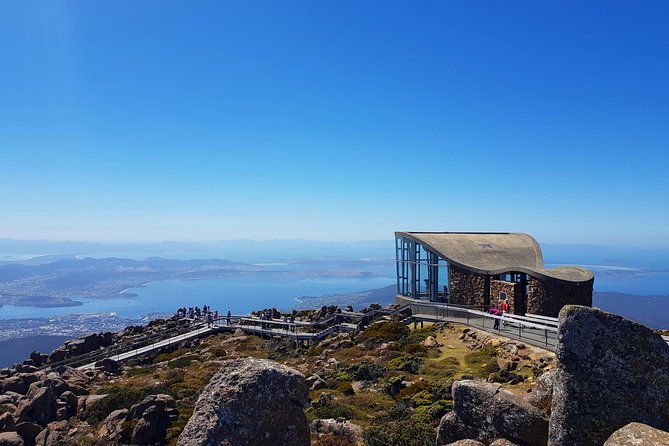
After those heritage stops, you head to Cascade Brewery for photos and brewing industry stories. Next comes one of the big view moments: Mt Wellington / Kunanyi. The ride up is part of the appeal because the summit viewpoint is the kind of place where Hobart suddenly makes sense on a map.
From there you cross the Tasman Bridge and move toward the east coast. Lunch is at Puddleduck Vineyard, where you get a platter of local produce and free wine tastings.
Then it’s more Tasmania classics: Richmond Bridge (Australia’s oldest still in use, built by convicts in 1823), the Denison Canal, and the lookout above Pirates Bay / Eaglehawk Neck. If you like rocks, this day has you covered with stops like Tessellated Pavement and Tasman National Park, including a walk over to view Tasman’s Arch and coastal cliffs.
You finish with Port Arthur Lavender, with time to see the lavender farm and browse the lavender products.
What to watch for
This is a lot of stops in one day, but most of them are short: photo stops, viewpoints, and short walks. If you’re sensitive to long days, pace yourself at the national park areas and save energy for Port Arthur the next day.
Day 3: Port Arthur with a guided 3 hours, plus Maria Island and Spiky Beach
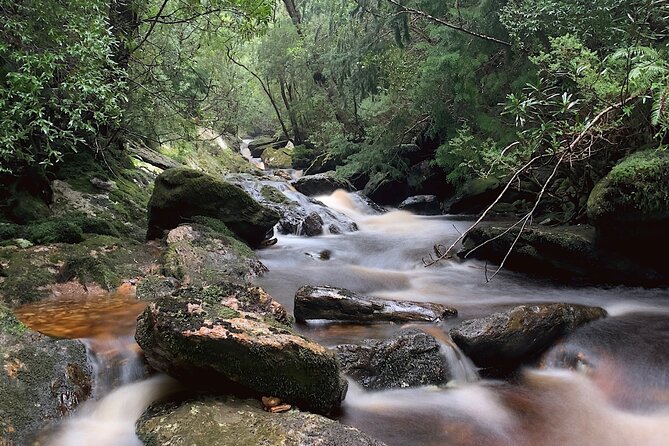
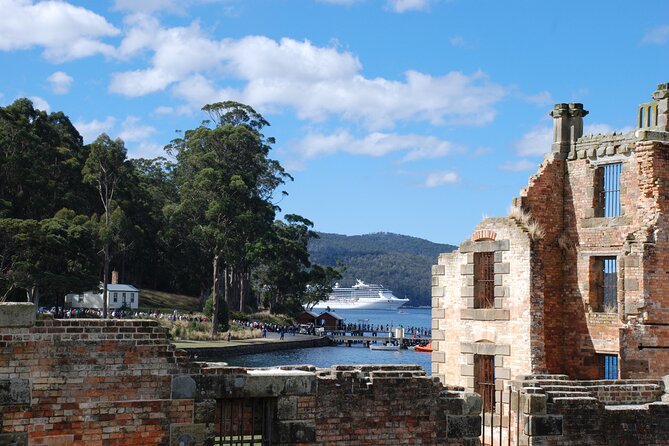
Port Arthur is the headline here, with a personally guided 3-hour visit to the historic site. Expect to move through many key buildings, learn the history of convict transportation to Tasmania, and get scenic vantage points along the way. This is the kind of stop where guidance helps because you’re not just seeing ruins—you’re understanding the system that built them.
After Port Arthur, you stop at Federation Artisan Chocolate for hand-made chocolate tasting. It’s brief, but it’s a fun reset after a heavy history site.
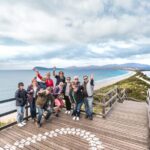
Then you pass Maria Island National Park and take in coastal views from Raspin’s Beach near Orford. You’ll hear about the convict settlement there and how the island is known for healthy devil populations today.
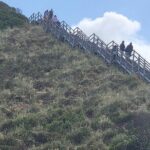
The day continues with the quirky convict-built look of Spiky Bridge, then down to the shore at Spiky Beach Conservation Area for a scenic tea/coffee break and views toward the Coles Bay / Freycinet area.
In the late part of the day, you switch from land history to wildlife. You do a guided penguin spotting adventure on the rocks near Bicheno Blowhole, watching penguins waddle ashore meters away in the wild.


Best use of your time
Port Arthur is emotionally heavy, so I like how the chocolate tasting and the sea views give you a break before the penguin night activity. If penguin spotting is high on your list, dress for cool coastal conditions and bring layers you can actually handle in the dark.
Day 4: East Coast wildlife, Bay of Fires color, oysters, and Pyengana cheese
Day 4 opens with another quick look at the Bicheno Blowhole in daylight, in case the morning’s wildlife didn’t give you enough coastal drama.
You then visit East Coast Natureworld for a fully guided tour. This is an animal sanctuary setting where many Tasmania native animals are either rescued from the wild or bred on site. Even if you’ve seen wildlife parks before, a guide helps you understand what you’re looking at and why conservation matters here.
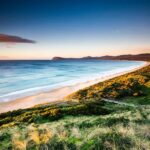
After lunch, you head to Bay of Fires, with its signature combination of white sand, ice-blue water, and red/orange rocks. This is one of those stretches where you can simply take your time: photos, a short wander, and a mental reset from earlier driving.
Next comes Lease 65, an oyster farm near St Helens. You get a short guided look at the working facility and then fresh oyster sampling.
From oysters to dairy: Pyengana Dairy for cheese tasting, plus a look at the automated robotic dairy processes behind the scenes.
The day also includes a scenic drive through temperate rainforest with giant myrtle trees and man ferns, then ends with a unique stop for coffee at Legerwood Memorial Tree Carvings, carved with chainsaws as war memorials.
A good day for food lovers
If you like tasting your way through places, Day 4 fits you. The oyster and cheese stops aren’t just shop time—they’re guided introductions to local production, then sampling so you can decide what you actually want to buy.
Day 5: Launceston city highlights, caves, honey, and gearing up for Cradle Mountain
By Day 5 you’re into northern Tasmania, with Launceston as the base for several classic sights.
Start at Cataract Gorge Reserve, where you walk a scenic circuit and you might spot wallabies, pademelons, and even peacocks. You’ll also have the option of a chairlift across the gorge, but that ride costs extra (the price isn’t included).
Then it’s a walking moment across the Alexandra Suspension Bridge, plus quick looks like the stonework and restoration details around Penny Royal, the Town Clock, and a stroll through City Park.
Lunch is at the secluded 41 Degree South Salmon farm, and you also get alcoholic beverages with lunch plus free samples of hot smoked salmon, rillettes, ginseng spice mix, and leatherwood honey. After that, you stop at Melita Honey Farm, where you can sample from more than 40 honey flavours and browse for take-home gifts.
The day’s adventure turn is Mole Creek Caves (Marakoopa Caves) with a guided one-hour cave tour through stalactites, stalagmites, and flow stones.
Then you head toward Cradle Mountain, with evening wombat spotting near your lodgings.
Walking notes
Most of these stops are short and optional where possible. Caves and gorge areas are the ones where footwear matters—take shoes you can wear comfortably for uneven paths.
Day 6: Cradle Mountain UNESCO time, then Zeehan mining and Huon pine
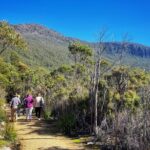
Day 6 begins in the Cradle Mountain–Lake St Clair National Park UNESCO area. You spend about three hours exploring, including Dove Lake and views toward the Cradle Mountain summit, plus time at Wadheim Chalet with an early settlement feel.
There’s also a stop for the Cradle Mountain Wilderness Gallery, where rotating art displays include an iconic permanent photography exhibition tied to Australian landscape history.
After Cradle Mountain, you head into mining and timber country. You stop at Zeehan Rock Shop to handle minerals like peacock ore, galena, stichtite, and crocoite. Then you drive through Zeehan to see the mining heritage.
Next comes Morrisons Huon Pine Sawmill, where you can handle, feel, and smell Huon pine—the tree that can live up to 5000 years. You also get exposed to other timber types on site.
As you continue toward the west, you visit Wilderness Woodworks Strahan, focused on finished products using Huon pine, including the smell of the timber itself when you walk through the store.
Why I like this combo
Cradle Mountain is nature-focused, then the tour swaps to mining and timber. It gives you Tasmania’s “what people did here” context instead of keeping everything only on scenery.
Day 7: West Coast World Heritage—steam rail, Nelson Falls, Lake St Clair, and The Wall in the Wilderness
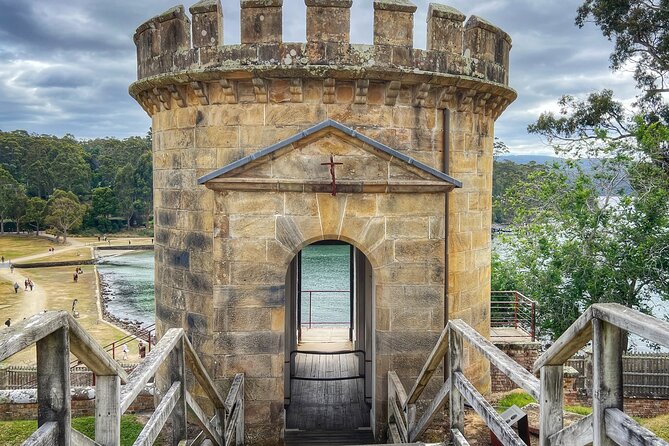
This day leans into the West Coast feel, with World Heritage-style coastline scenery mixed with cultural stops.
You start with West Coast Wilderness Railway (Queenstown Station), where you can wave off the restored steam engine and even get close enough to touch it. There’s also an ABT museum with photos and context.
Then you hit Iron Blow Lookout for panoramic views over Mt Lyell open cut mine, Mt Owen, Lake Burbury, and the west coast wilderness.
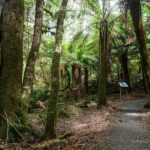
Next is Nelson Falls, with an easy rainforest walk to see the waterfall. If you like the calming effect of trees and misty air, this one does it.
From there you visit Lake St Clair, Tasmania’s largest natural freshwater lake, and you view it from the boat ramp jutting out into crystal clear water.
You also have a quick photo stop at King William Saddle for another view over the World Heritage area.
Then comes one of the most original culture stops: The Wall in the Wilderness. It’s a 100m long display carved entirely from huon pine, with stories of early pioneers.
The day ends with a Tarraleah Power Station Lookout view into hydro infrastructure, plus Russell Falls with a short 15-minute walk to view the two-tier waterfall from a spacious platform.
How this day feels
It mixes big nature moments (waterfalls, rainforest, lake) with strong “human-made Tasmania” stories (mining, timber, hydro). That keeps the day varied even if you’re tiring from the road.
Day 8: Free morning in Hobart and an easy finish
Day 8 is mostly for you. It’s unguided time back in Hobart, with about three hours included, and checkout at 11am.
This is the ideal moment to do anything you skipped on Day 1—grab a last walk, eat at a favorite spot, or just rest without planning. If you’re the type who likes souvenirs, this is a safer time to shop because you’re not racing a bus schedule.
Price and value: what $2,721.94 buys on this Tasmania circle
At $2,721.94 per person, you’re paying for a lot of logistics to be handled: 7 nights accommodation, hotel pick-up and drop-off, national park passes and entry fees, most meals, bottled water, and daily afternoon tea/coffee stops.
You also get free tastings that aren’t small side quests. There’s wine at Puddleduck, chocolate at Federation Chocolates, cheese at Pyengana, oysters at Lease 65, and honey sampling at Melita Honey Farm. For many people, that’s the difference between paying for a sightseeing route and actually paying for a week of experiences.
If you compare the cost to doing the route independently, the value is strongest if you want guided interpretation at places like Port Arthur and the UNESCO areas. You’re also not paying separately for a long list of entry fees and national park access.
What can make the price feel high is the fact that you’re in a structured group for most of the week. If your ideal Tasmania trip is mostly self-directed hikes and long stays in one place, you might feel boxed in.
Who should book this tour (and who might not)
This fits well if you want major highlights across Tasmania and you like the comfort of having the route handled. It’s also set up for mixed abilities, with the tour described as suitable for all ages and fitness levels.
It’s a great choice if you:
- want guided time at Port Arthur and Cradle Mountain
- like food tastings and planned lunch stops
- prefer a small group over the big-coach experience
- value staying central in Hobart with a real hotel base
It might not be the best fit if you:
- want lots of unscheduled time in each region
- plan to do long hikes every day
- hate spending hours traveling between stops
Should you book this Tasmania Circle tour?
If you’re coming to Tasmania for a first visit and you want the high-impact sights—Port Arthur, Cradle Mountain, Bay of Fires, the West Coast—this tour is easy to justify. The small group size, strong guided moments, and included meals and tastings turn it into more than a drive-by highlight reel.
Book it if your dates are firm and you’re happy with a structured week. I’d skip it if you’re chasing deep downtime or you’re the type who wants to linger for days in one small area.
FAQ
Is pickup included on this Tasmania tour?
Yes. The package includes free hotel pick-up and drop-off as part of the tour.
Where does the tour start and what time do you depart?
The tour start time is 8:30 am, with the meeting point provided by the operator after booking. The first day is arrival in Hobart at your own leisure.
How many people are in the group?
The tour is limited to a maximum of 15 travelers.
How long is the tour and what does that include?
It’s listed as 8 days (about a week and a bit) with 7 nights of accommodation. Day 1 is arrival, and Day 8 includes an unguided morning portion.
What meals are included?
Breakfast is included for 7 days. Lunch is included for 6 days, and dinner is included for 2 evenings.
Are attraction entry fees and national park passes included?
Yes. All attraction entry fees and national parks passes and fees are included.
Are food tastings included?
Yes. The tour includes free wine, chocolate, cheese, oyster, and honey tastings.
What about getting to and from the airport?
Transport to and from Hobart Airport and Hobart City is not included.
Is the chairlift at Cataract Gorge included?
No. The chairlift ride across the gorge is not included, and it costs $15 if you choose to ride.