REVIEW · SYDNEY
Photography Essentials Workshop in Sydney Harbour Foreshore
Book on Viator →Operated by Sydney Photographic Workshops · Bookable on Viator
Sydney Harbour becomes your photo classroom. This 4-hour essentials workshop teaches you how to make stronger images with an award-winning, Sydney-based photojournalist, while you move between iconic spots along the Foreshore. I like how the class gets you into manual mode for real creative control, and I like the small group size that keeps feedback practical. The one catch: it’s not suitable for compact cameras without full manual capability.
I also love that this isn’t “watch and hope.” You start with the basics—camera, lenses, and what’s actually in a workable kit—then you apply simple composition tricks and learn how to read changing light. You’ll come away with a way to plan shots (pre-visualising) instead of only reacting when you see a great view.
One more consideration: the workshop is outdoors and depends on good weather, so if conditions are poor you may need a different date. If you’re okay with that, it’s a very efficient way to get from camera basics to sharper results—fast.
In This Review
- Key highlights I’d plan around
- Why this Sydney Harbour workshop is a smart use of 4 hours
- Customs House start: getting your kit and mindset sorted
- Learning all camera modes (and then using manual for control)
- Sydney Opera House: framing, contrast, and iconic-but-not-easy angles
- Harbour Bridge: using light and perspective without overthinking it
- Circular Quay: a practical lesson in reflections and changing conditions
- The Rocks: turning “hidden corners” into deliberate compositions
- Price and what you actually get for $107.59
- Who this workshop is best for (and who should skip it)
- What to bring so you don’t waste the first hour
- Should you book this Sydney Harbour photography essentials workshop?
- FAQ
- How long is the Photography Essentials Workshop?
- Where does the workshop start?
- What time does it begin?
- Where does the workshop end?
- What camera types is the workshop designed for?
- Is it suitable for compact cameras?
- How many people are in the group?
- Is it near public transportation?
- Does weather affect the workshop?
- Is there free cancellation?
- Final note
Key highlights I’d plan around
- Manual mode training you can use right away: learn when to use every shooting mode and how manual gives you creative control
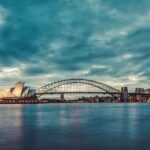
- Harbour Foreshore photo practice on real locations: Sydney Opera House, Sydney Harbour Bridge, Circular Quay, and The Rocks
- Composition and lighting lessons built for the street: learn how to frame and how to work with tough light
- Pre-visualise before you press the shutter: a planning habit that improves consistency
- Small group feedback (max 10 participants): you’re more than just part of the crowd
- Designed for SLR and mirrorless cameras: full manual capability is the goal, not phone-style simplicity
Why this Sydney Harbour workshop is a smart use of 4 hours
A great photo course does two things: it teaches you how to think, and then it forces you to practice before the day ends. This one does both, and it does it in a very focused format. In about four hours, you’ll travel around the Sydney Harbour Foreshore, stop at major sights, and learn the technical choices that turn a quick snapshot into a photograph you’d actually keep.
The best value here is the “why.” You’re not just told to change settings. You’re taught what shooting modes are for, why manual matters, and how lighting affects exposure and mood. That matters because Sydney’s harbour light shifts quickly—clouds move, sun angle changes, and reflections pop off water and stone.
It also helps that the instructor is a working photojournalist style teacher. From what’s known about the program’s instruction team (including Sydney Photographic Workshops’ instructors such as Daniel Linnet, and tutor Glenn Lockitch referenced in course materials), you get an emphasis on seeing, framing, and composing under real conditions—rather than only in a classroom.
You can also read our reviews of more photography tours in Sydney
Customs House start: getting your kit and mindset sorted
Your day begins at Customs House, 31 Alfred St, Sydney NSW 2000, with the activity ending back at the same meeting point. You’ll be starting at 12:00 pm, so expect daylight that can be bright and contrasty, especially around reflective water and light stone.
Before you even head out, the workshop starts with the essentials: camera bodies, lenses, and other items that make your photos easier (and not harder). This part is underrated. Most beginners either ignore gear basics or obsess over the wrong things. Here, you’re guided toward a simple kit mindset—what you need, what you actually use, and how to set up so you can concentrate on composition and lighting once you’re outside.
If you want the course to pay off, do one small prep thing beforehand: check that your camera truly supports full manual control. The workshop is aimed at SLR and mirrorless cameras, and the program is explicit that it’s not suitable for compact cameras without full manual capability. If your camera menu only offers limited manual options, you’ll likely end up frustrated rather than improving.
Learning all camera modes (and then using manual for control)
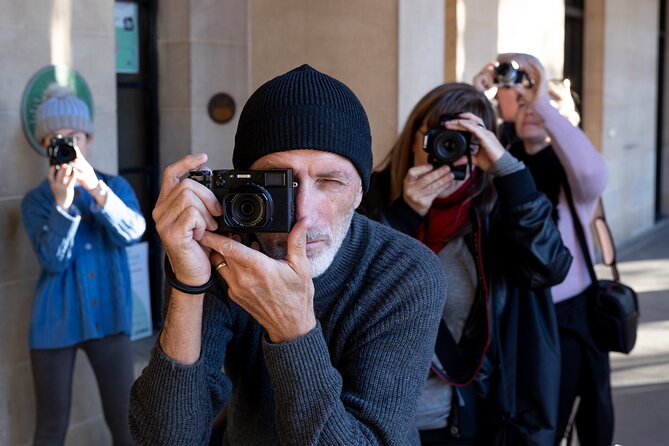
One of the most practical parts of this workshop is the way it connects settings to outcomes. You’ll learn what the different shooting modes do and when you’d choose them, then the class progresses into how to operate in manual mode.
That progression is the difference between “trying random settings” and building consistent results. In manual, you control exposure (how bright the image is) and you can shape how the camera behaves. That’s what “true creative control” means in a real-world way: you’re not waiting for the camera to guess; you’re making a deliberate choice.
You’ll also work on pre-visualising. That’s a fancy-sounding idea, but in practice it means you start thinking about your final image before you take it. Instead of shooting ten frames and hoping one lands, you’ll learn how to plan what you want: where the subject sits, what lines lead the eye, and how the light will affect contrast and shadow detail.
If you’re re-learning photography, this is also a strong refresher. The teaching approach goes back to essentials first, so you don’t need to be brand-new to benefit. It’s also built for people who feel stuck because their camera settings feel like a mystery box.
Sydney Opera House: framing, contrast, and iconic-but-not-easy angles
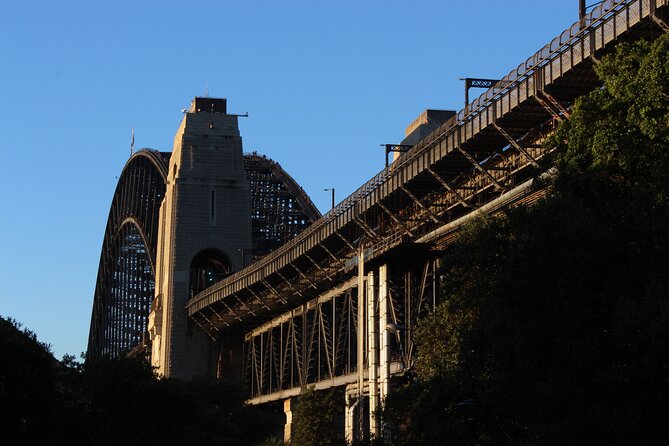
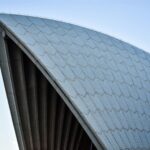
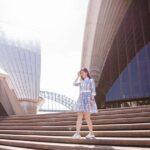
The first major stop is the Sydney Opera House. Iconic doesn’t automatically mean easy. Those white surfaces and bold shapes can produce high contrast, and they can fool your exposure if you’re chasing bright highlights.
This is where composition instruction earns its keep. You’ll practice simple techniques like using framing and perspective to turn a “famous building photo” into a more intentional image. Think in layers: foreground elements that add depth, lines that guide attention, and negative space that lets the architecture breathe.
Also watch what happens to light as you move. Around the Opera House area, you’ll likely encounter shifting brightness and reflections. The workshop’s emphasis on working with various lighting conditions is directly relevant here. You’ll learn how to react with settings that match the scene rather than fighting it.
A small drawback to keep in mind at this stop: you’ll be photographing a busy landmark. That can make it harder to get a clean frame without people in it. The solution is not just “wait it out.” It’s to use your composition skills and timing, and to keep moving to angles that reduce clutter.
Harbour Bridge: using light and perspective without overthinking it
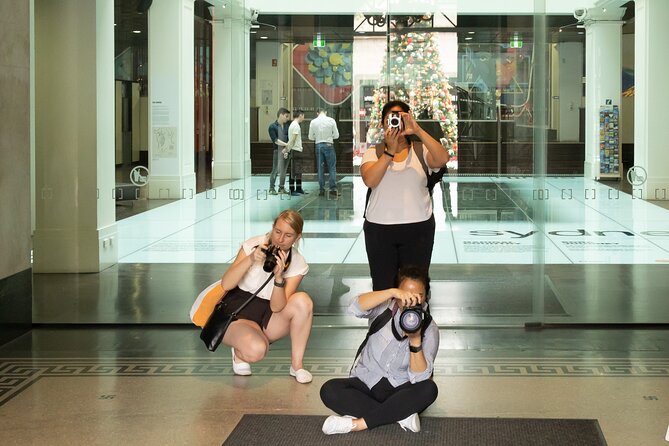
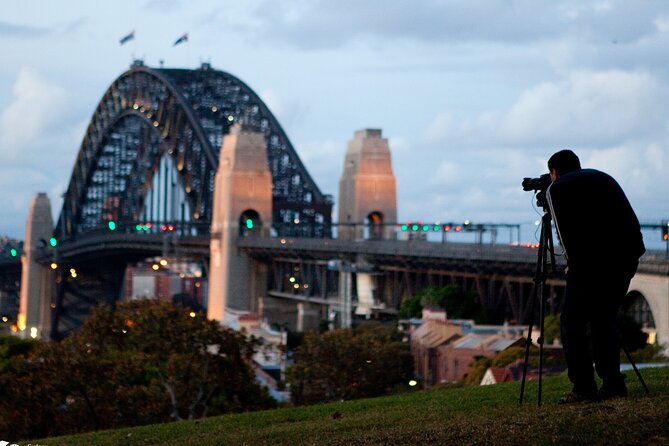
Next up is the Sydney Harbour Bridge. Bridges are great subjects for photography because they naturally create geometry—lines, curves, and strong leading paths. They’re also challenging because the scene can be both bright and deep in shadow, depending on your angle.
You’ll likely spend time practicing how to keep the bridge as the main subject while controlling the background so it doesn’t steal attention. This is where the course’s composition lessons make a noticeable difference. Once you understand how to position the subject and manage what’s included, you stop relying on the landmark to do the work.
Lighting is the other big theme. Harbour Bridge scenes can include glare, strong highlights, and shadow blocks. Instead of letting the camera’s automatic choices decide everything, you’ll learn how to make manual adjustments that fit the mood you want—crisper details, darker drama, or brighter openness.
A few more Sydney tours and experiences worth a look


Circular Quay: a practical lesson in reflections and changing conditions
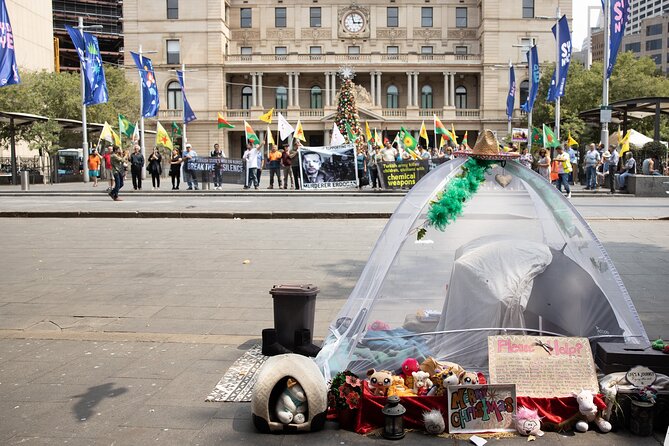
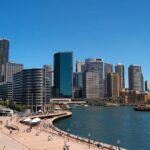
Your next stop is Circular Quay. If there’s one place that can teach you “real photography” fast, it’s an active waterfront hub like this. The scene changes quickly—people move, boats shift, and reflections appear or disappear depending on the light and the water surface.
This stop is ideal for the workshop’s emphasis on pre-visualising. You’ll learn to look first for the image you want, then set your camera intentionally. It’s also a good place to practice adjusting exposure and contrast as lighting changes. The point isn’t that conditions are perfect—it’s that you learn how to respond.
Circular Quay can also be a good stress test for beginners. If you’ve only been shooting in easy light, this is where you learn how to keep your images consistent when the scene isn’t cooperative. That’s exactly the kind of skill you’ll reuse on your next trip.
The Rocks: turning “hidden corners” into deliberate compositions
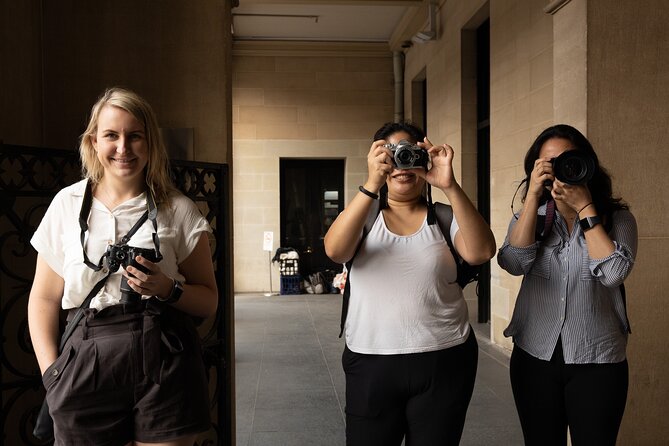
Finally, you’ll head through The Rocks, where the workshop focuses on both better-known and lesser-seen spots along the foreshore. This is where photography becomes less about one famous view and more about storytelling through details.
Stone streets, textures, and architectural edges are fantastic for composition practice. You can experiment with angles and framing. You can also test how your settings handle different surfaces—darker stone vs brighter walls, shadowy corners vs sunlit patches.
The value here is that you’re not only learning “how to shoot the harbour.” You’re learning how to find images even when the main postcard view isn’t the only option. For me, that’s what keeps the course from feeling like a checklist.
One practical consideration: The Rocks area can involve uneven sidewalks and short bursts of walking between angles. The workshop lists moderate physical fitness as a requirement. You don’t need to be an athlete, but you should be comfortable walking around for the half-day and stopping frequently.
Price and what you actually get for $107.59
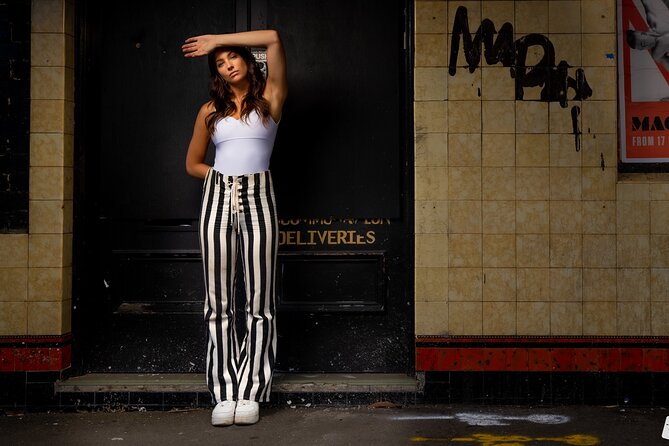
At $107.59 per person for about four hours, this workshop is priced in a way that makes sense for what you receive: guided instruction from a Sydney-based photojournalist, plus an on-location practice session across multiple major scenes.
A common trap with photography classes is paying for talk-time. This isn’t that. You’re learning camera modes and manual control, but you’re also actively using those settings outdoors. And because the group is capped at 10 participants, you’re more likely to get individual guidance rather than generic advice aimed at the entire group.
Is it the cheapest way to learn photography? Probably not. But it’s a strong value if you want results you can use immediately. If you’re the type who buys a camera and then struggles to translate settings into better images, this kind of structured practice can save you weeks of frustration.
You also get a built-in route logic. You’re not just wandering around the harbour trying to decide what to photograph next. The stops are chosen so you can practice composition and lighting across different types of scenes: architecture, geometry, waterfront reflections, and textured streets.
Who this workshop is best for (and who should skip it)
This course is a great fit if you fall into one of these buckets:
- You want a beginner-friendly entry point, but you also want genuine instruction—not just point-and-shoot tips
- You’d like a re-introduction to photography and camera fundamentals, especially manual settings
- You have an SLR or mirrorless camera with full manual capability and you want to use it more confidently
It’s not a match if:
- You use a compact camera that doesn’t offer full manual control
- You want a purely casual photo walk with zero technical focus
Also note the workshop is designed for a small group, and it’s outdoors. If you dislike walking between viewpoints, or if you’re expecting a “sit down and learn” style class, you may find it more active than you want.
What to bring so you don’t waste the first hour
The course is built around learning your camera in real time, so don’t show up empty-handed. Bring:
- Your camera with full manual capability
- The lenses you plan to use most (or the kit you use on trips)
- Any basics you typically carry for photography (like a way to protect gear and keep it accessible while you move)
If you’re not sure whether your camera qualifies, check your menu for manual options. The workshop specifically calls out that it works with cameras including SLR and mirrorless, and it says it isn’t suitable for compacts without full manual.
Also, dress for outdoor photography. This matters because you’ll be stopping often and looking closely. Wear comfortable shoes. If the weather turns, you might be offered a different date or a full refund, since the experience requires good weather.
Should you book this Sydney Harbour photography essentials workshop?
Yes, if you want a structured way to improve quickly and you have a camera that supports manual control. The strongest reason to book is the blend of instruction plus on-street practice, including manual mode training, composition techniques, and lighting problem-solving at real harbour locations.
Skip it if your camera can’t do full manual, because the course is built around getting you to work with manual settings and creative control. Also consider the time of day and the outdoors factor—good weather helps, and the workshop depends on it.
If you’re serious about stepping up from auto mode and getting images that look intentional, this is the kind of half-day class you’ll be glad you did before you waste your next trip just taking random shots.
FAQ
How long is the Photography Essentials Workshop?
It runs for about 4 hours.
Where does the workshop start?
It starts at Customs House, 31 Alfred St, Sydney NSW 2000.
What time does it begin?
The start time is 12:00 pm.
Where does the workshop end?
It ends back at the same meeting point.
What camera types is the workshop designed for?
It’s suitable for cameras with full manual capability, including SLR and mirrorless cameras.
Is it suitable for compact cameras?
No. It’s not suitable for compact cameras without full manual capability.
How many people are in the group?
The workshop has a maximum group size of 10.
Is it near public transportation?
Yes, it’s listed as near public transportation.
Does weather affect the workshop?
Yes. It requires good weather, and if it’s canceled due to poor weather you’ll be offered a different date or a full refund.
Is there free cancellation?
Yes. You can cancel up to 24 hours in advance for a full refund.
Final note
If your camera can go manual and you’re ready to practice immediately, this Sydney Harbour course is a practical way to sharpen your eye and your settings—without turning your half day into a guessing game.
More Workshops & Classes in Sydney
More Photography Tours in Sydney
More Tour Reviews in Sydney
- Blue Mountains Small-Group Tour from Sydney with Scenic World,Sydney Zoo & Ferry
★ 5.0 · 3,709 reviews