REVIEW · HOBART
Hobart City Sightseeing Tour including MONA Ticket
Book on GetYourGuide →Operated by Gray Line Tasmania · Bookable on GetYourGuide
Hobart moves fast, then gets wonderfully strange. This Hobart city sightseeing plus MONA day works because you get guided context on the streets first, then the Derwent River ferry drops you into an art world that’s unlike anything else. I especially like the mix of real local storytelling and the smooth rhythm of coach sightseeing followed by a modern ferry. One thing to keep in mind: your MONA time is about 3 hours, so if you like to slow-walk every gallery (and linger), you may want to adjust your pace.
I also like that you’re not stuck staring out a bus window all day. You get actual breaks—Cascade Gardens and the Royal Tasmanian Botanical Gardens—plus viewpoints over Hobart, Sandy Bay, and Tasman Bridge. And yes, guides can make a big difference: in past groups, people have singled out drivers such as Brody, Mark, Hugo, Tim, Phil, Evan, Barry, Craig, and Neil for turning the route into something you understand, not just something you pass.
In This Review
- Key highlights worth your attention
- Where the day starts: Brooke Street Pier and your game plan
- Hobart by coach: how the stops turn into context
- Cascade Gardens: the short walk that sets a mood
- Royal Tasmanian Botanical Gardens: a break that’s worth using well
- Views from above: Tasman Bridge and Rosny Hill lookout moments
- The Derwent River ferry: the calm link between city and MONA
- MONA: your 3 hours of ticket-in, no-stress exploring
- How to make your MONA time feel longer
- Timing and comfort: how to avoid the usual big-day problems
- Price and value: is $99 really paying off?
- Who should book this tour (and who might not love it)
- Should you book this Hobart city + MONA day tour?
- FAQ
- How long is the Hobart City Sightseeing Tour including MONA?
- Where do I meet for the tour?
- What is included in the price?
- Do I get entry to MONA included?
- How long do I have at MONA?
- Is hotel pickup included?
- What language is the tour guide?
Key highlights worth your attention
- Coach sightseeing with live commentary that ties the sights to how Hobart grew
- Over 40 historical sites covered in one efficient city circuit, with stops for photos and short walks
- Cascade Gardens + Female Factory remains for a quick taste of South Hobart’s layered past
- Royal Tasmanian Botanical Gardens with a real break built in (bring a coffee plan if you care about it)
- Derwent River ferry to MONA and back, making the museum feel like a destination, not a detour
- 3 hours inside MONA with entry included and ticket-line skipping
Where the day starts: Brooke Street Pier and your game plan
Your tour begins at Brooke Street Pier, at the Gray Line day-tours desk inside the Brooke St Pier Building. This matters because the day is built around being in the right place at the right time: you’re doing a city loop by coach, then switching modes to a ferry for the MONA afternoon.
I’d treat this like a “two-act” day. Act one is Hobart: landmarks, neighborhoods, and stories from a local driver-guide. Act two is MONA: you’re dropped into the museum with a set block of free time, so the best approach is mental prep. If you go in thinking it’s just a standard art museum, MONA can feel either fascinating or intense. If you go in expecting an experience, you’ll have an easier time settling in.
A few more Hobart tours and experiences worth a look


Hobart by coach: how the stops turn into context
The city part is built to get you oriented fast—broad highlights, short stops, and guide talk that helps you connect places. You’ll see sights like Sullivan’s Cove, Parliament House, Salamanca Place, Princes Park, and Battery Point. You’ll also get views and landmarks across the water as you cross the Tasman Bridge and look toward Kangaroo Bay Marina and Bellerive.
What makes this section work is the pace. It’s not designed for long museum-style walking between stops. Instead, the coach loop functions like a moving map. The guide’s job is to make you understand why each stop matters—how Hobart’s life shifted over time, what different neighborhoods were for, and what to look for when you later explore on your own.
If you’re the type who usually skips narration and just wants photos, this tour may surprise you. Several groups have praised guides for humor and clear explanations, including people like Tim and Phil. The difference shows: when the guide points out what you’re actually looking at—rather than just naming it—the landmarks stick.
Cascade Gardens: the short walk that sets a mood
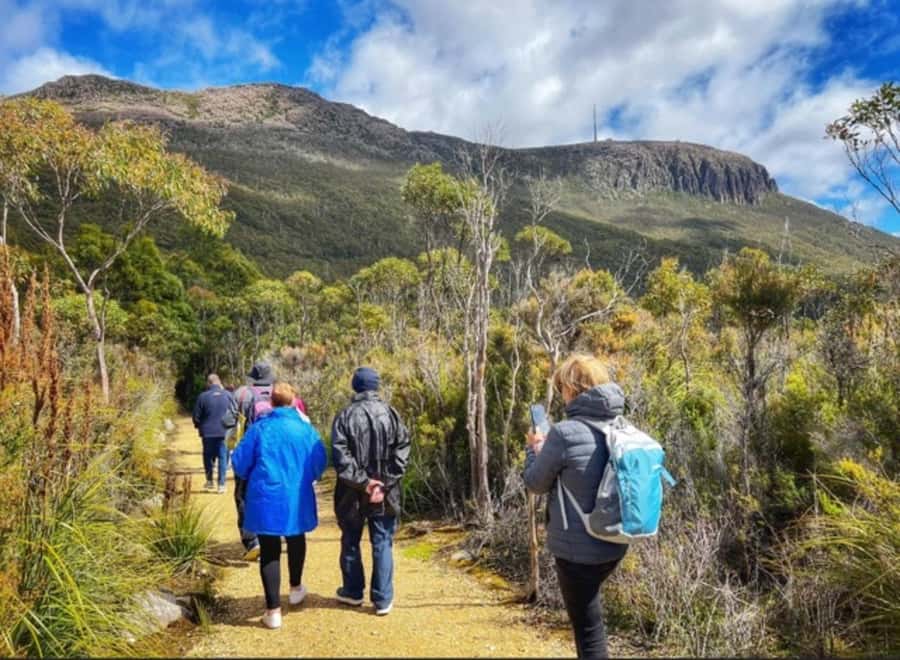
One of the first real pauses is at Cascade Gardens in South Hobart. You’ll walk for about 15 minutes. This stop is brief, but it’s strategically placed. Cascade Gardens sits in a part of Hobart where you can feel the city’s outdoor character without needing a full hike.
You’ll also see the exterior of the Cascade Brewery. A quick heads-up: this is an exterior-view moment, not a full brewery visit. That’s useful to know ahead of time because a few people have expected more than what’s actually included. If you want the brewery as a big mission, add a separate plan after the tour—or swap your expectations and use the stop for atmosphere and photos.
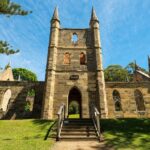
And then there’s another stop that adds depth: you’ll visit the remains of the Female Factory. Even if you only catch it briefly, it changes how you think about Hobart’s early days. It’s the kind of place where a guided comment can make a short visit feel meaningful.
Royal Tasmanian Botanical Gardens: a break that’s worth using well
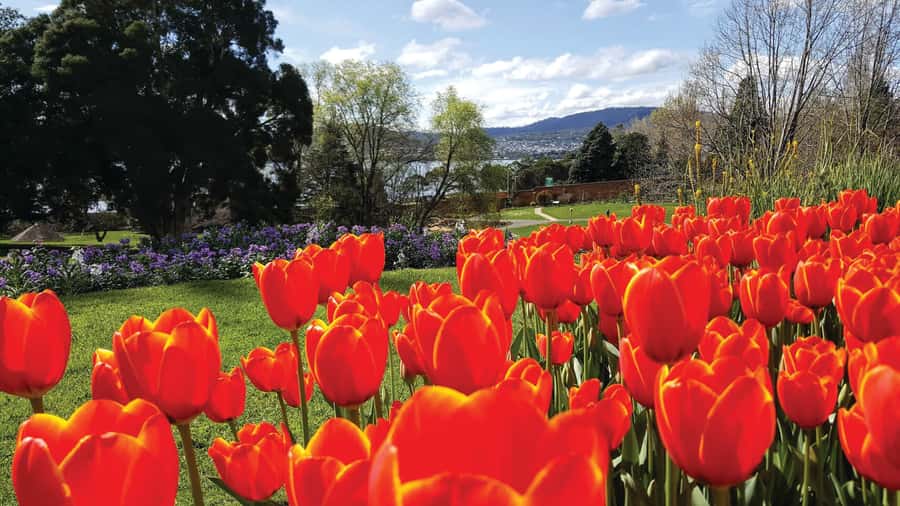
Next up is the Royal Tasmanian Botanical Gardens, with about 50 minutes for a break, sightseeing, and time to reset. This is the part of the day that helps you stay happy in the afternoon. After the coach talking and looking, you get space to stretch and breathe.
Do use the time intentionally. If you care about grabbing a coffee or snack, factor that into your 50 minutes, because you may not want to spend the whole break just wandering without a plan. Some past groups have felt the time could be tight if they wanted longer here, but the stop is still a great way to balance the day.
In practical terms, this is also when you can check your body. If you’re prone to motion sickness, you’ve already had some time on the coach. If you tend to feel tired halfway through big days, you’re getting your second chance to top up your energy here before the ferry and MONA.
Views from above: Tasman Bridge and Rosny Hill lookout moments
You’ll cross Tasman Bridge, and you’ll get a few scenic “pause points” where the guide helps you orient. You’ll see Hobart, Sandy Bay, Mount Wellington, Glenorchy, and areas around Victoria Dock and Constitution Dock.
One specific highlight is the stop at Rosny Hill lookout for views over the city and surrounding landscape. This is one of those moments that makes the rest of the tour click. After you’ve seen the skyline and the water from above, the places you visited earlier feel like they’re part of a single bigger picture.
Also: if the weather is clear, these outlooks can easily become the photos you’re happiest you took. If it’s grey or windy, the same stops still help you understand layout. Either way, it’s a good use of time.
You can also read our reviews of more city tours in Hobart





The Derwent River ferry: the calm link between city and MONA
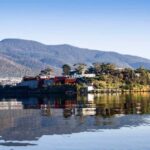
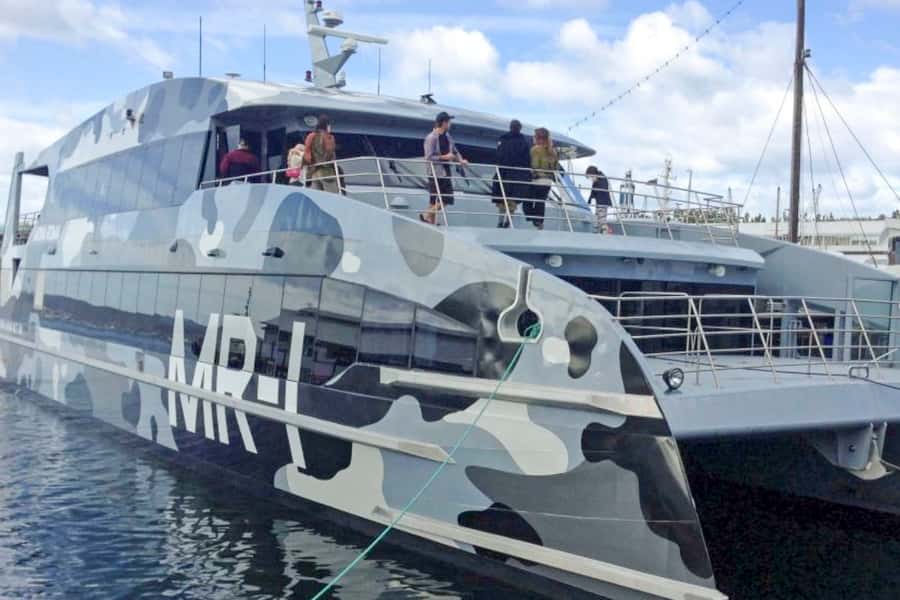
The ferry ride is built into the schedule with about 30 minutes each way. The first ferry transfer takes you from Hobart to MONA, then you head back later the same day.
Why I like this component: it changes the pace without requiring planning on your end. You don’t have to navigate. You just settle in and watch the coastline shift behind the scenes. It also helps you arrive at MONA with the right energy. After a coach day, you want a reset—and a ferry does that.
Past visitors have mentioned the ferry as comfortable, and some have liked grabbing a cold drink at the end of the day. Even if you don’t plan for that, the ferry gives you one of the best kinds of transportation value: it’s included, but it’s also part of the experience.
MONA: your 3 hours of ticket-in, no-stress exploring
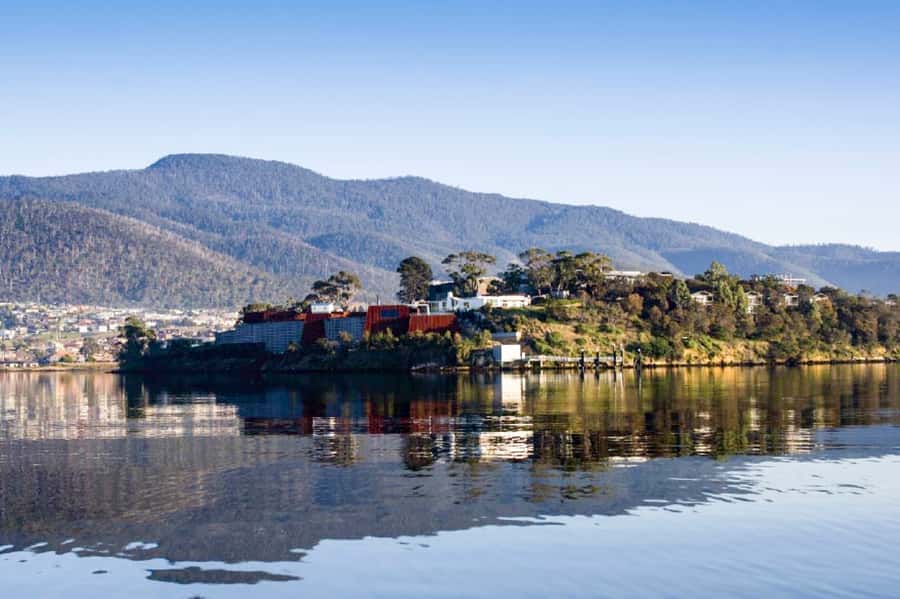
Your MONA visit includes entry ticket and about 3 hours of free time. You’ll arrive by ferry, then you’re on your own to explore.
Here’s the practical truth: MONA doesn’t read like a quiet walking tour with a predictable flow. It’s a big, unusual museum experience with areas that can feel dark and heavy. Some people love that intensity. Others find it less comfortable, especially if you don’t enjoy spending time in underground rooms or dim spaces.
If that’s you, don’t panic. The schedule gives you flexibility inside the 3-hour window. You can concentrate on the sections that feel right, skip what doesn’t, and still walk out feeling like you did MONA properly. The key is to go in deciding you’ll pace yourself, not force it.
Also, use the fact that the tour includes skip the ticket line. That saves you from losing your best energy on paperwork and queues, and it keeps your afternoon feeling smooth.
How to make your MONA time feel longer
With only 3 hours, you’ll get the most satisfaction if you treat MONA like you’re sampling, not conquering. You can:
- pick a few areas that sound interesting and let the rest be a bonus
- look for the tech and interactive elements people often talk about
- take breaks when you feel overwhelmed, rather than pushing through
The museum’s reputation is for being challenging, and that can be a plus. Some visitors have described it as bizarre and twisted in the best way, with art that makes you think. Others have left feeling it wasn’t for them. Your best defense is simple: go in curious, and if the mood doesn’t fit, shift your plan quickly.
Timing and comfort: how to avoid the usual big-day problems
This is an 8-hour day, with a return ferry so you’re back in Hobart at around 17:30 at Brooke Street Pier. That means you’ll be on your feet for some short walks, but you’ll also have a lot of seated time across coach and ferry.
A few things can make the difference between a great day and a tiring one:
- Wear shoes you can handle on museum floors and garden paths.
- Expect the day to include both talking and waiting. You’ll be listening on the coach, then exploring independently at MONA.
- Plan your snacks/water. You don’t have meal details in the schedule, but you will have breaks and a full afternoon at the museum, so having your basics sorted helps.
If the weather turns, your plan stays workable because the museum is indoors and the ferry is sheltered. Still, if you’re visiting during cooler months, layers are worth it—Hobart can feel brisk, especially in open-air lookout conditions.
Price and value: is $99 really paying off?
At $99 per person, this tour has a strong value story because the main big-ticket items are wrapped in:
- the coach sightseeing with live guide
- MONA entry
- return ferry transfer to get you to MONA and back
When you add those together yourself, the cost often climbs fast due to separate ticketing and transport logistics. Here, the tour bundles the hard parts into one day, which is exactly what you want when you only have one full day to spend in Hobart.
You’re also buying peace of mind. You don’t have to figure out timing, tickets, and ferry schedules while juggling city sightseeing. The day is structured, and the included ferry makes it feel like the museum belongs to your itinerary—not something you have to squeeze in.
Just remember the two trade-offs:
- the MONA block is fixed at about 3 hours
- some stops are views or short walk moments, not full-size visits
Who should book this tour (and who might not love it)
This tour is a great match for you if:
- you want an easy way to get your bearings in Hobart in one day
- you like guided context and don’t mind listening while traveling
- you’re curious about MONA and want entry plus transport handled
- you prefer a mix of viewpoints, short walks, and museum time
It may not be the best fit if:
- you want a lot more time at MONA than 3 hours
- you strongly dislike dark or underground-style museum spaces
- you expect every “named” stop to be an extended attraction (for example, Cascade is more exterior/view than a full visit)
If you’re between those, you can still make it work—just go in with a pace plan for MONA so the schedule supports you, not the other way around.
Should you book this Hobart city + MONA day tour?
Yes—if you want a smart, low-stress day that combines city orientation with an unforgettable museum, this is a very good bet. The blend of coach commentary and the Derwent River ferry feels efficient without feeling rushed, and the included MONA ticket removes the biggest planning friction.
I’d especially recommend it if it’s your first visit to Hobart and you want someone to point out the places that matter—from Salamanca Place to Battery Point—and connect it all to how Hobart developed. Just go in knowing MONA is intense and your time there is capped, and you’ll get what this day is built to deliver.
FAQ
How long is the Hobart City Sightseeing Tour including MONA?
The duration is 8 hours.
Where do I meet for the tour?
You meet at the Gray Line day-tours desk inside the Brooke St Pier Building.
What is included in the price?
It includes a 3-hour coach tram tour with a driver and guide, entry to MONA, and a ferry ticket back to Hobart.
Do I get entry to MONA included?
Yes. Your MONA entry ticket is included, and ticket-line skipping is listed.
How long do I have at MONA?
You have about 3 hours of free time at MONA.
Is hotel pickup included?
No. Hotel pickup is not included.
What language is the tour guide?
The live tour guide provides commentary in English.